The making of my special custom-made design edition Böhm SINFONIA 480 SE
Photo 1
End of 2017
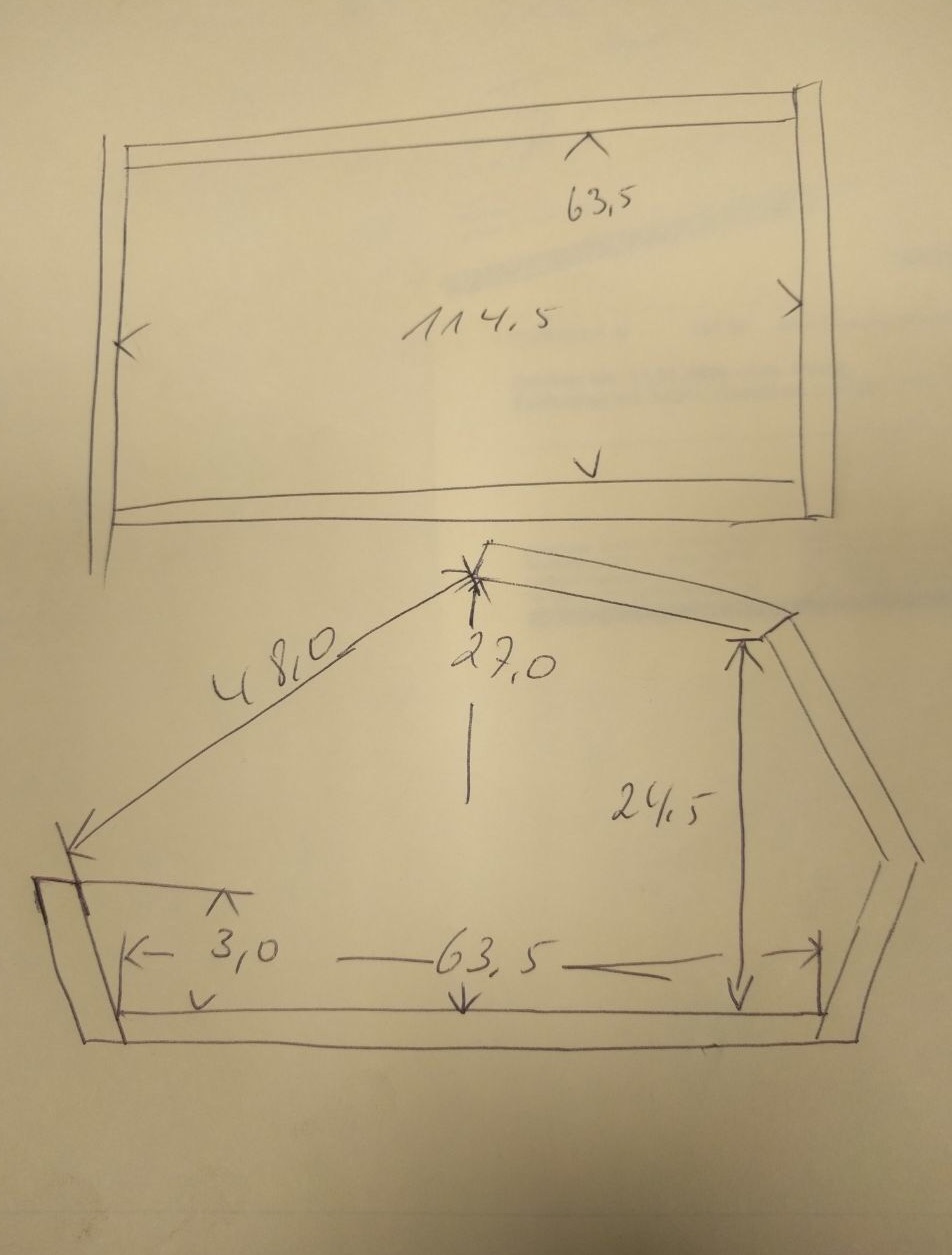
Photo 1 shows the first draft of the case top with measurements. It was important to me that the design of the case is a reminder of the earlier Diamant 300CT and 350CT models. For me this design is chic and classically timeless.
January 2018
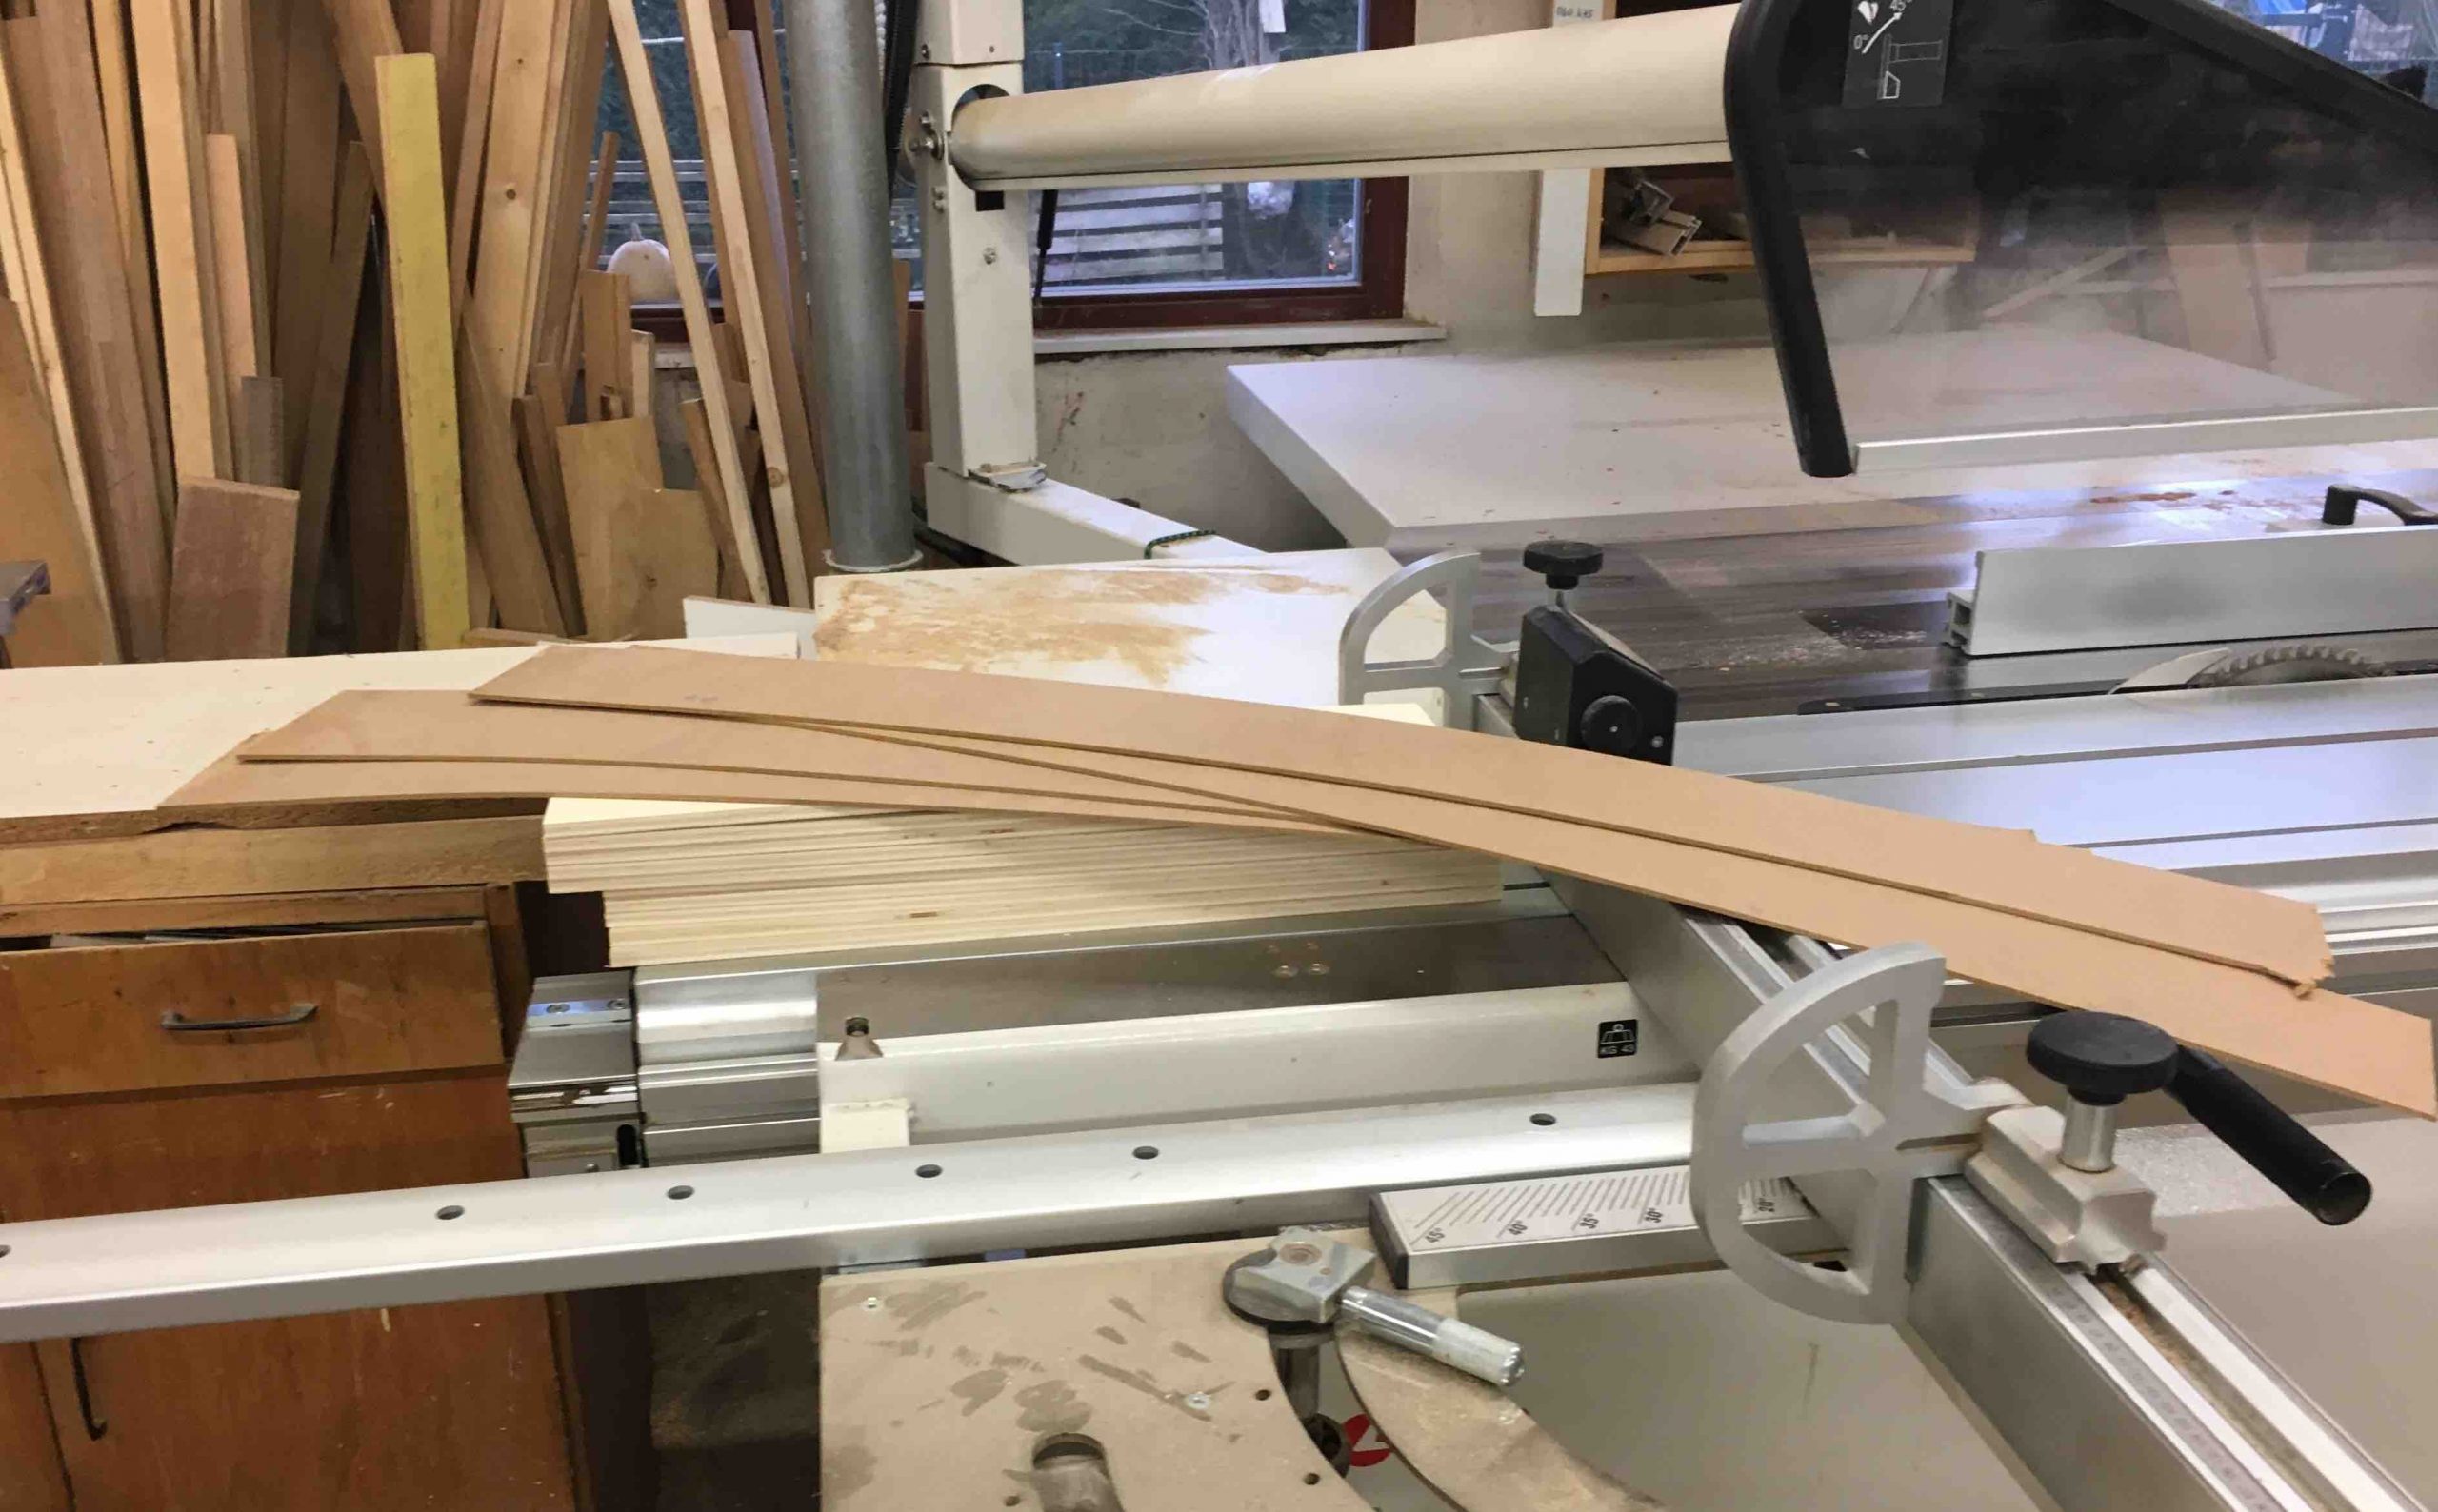
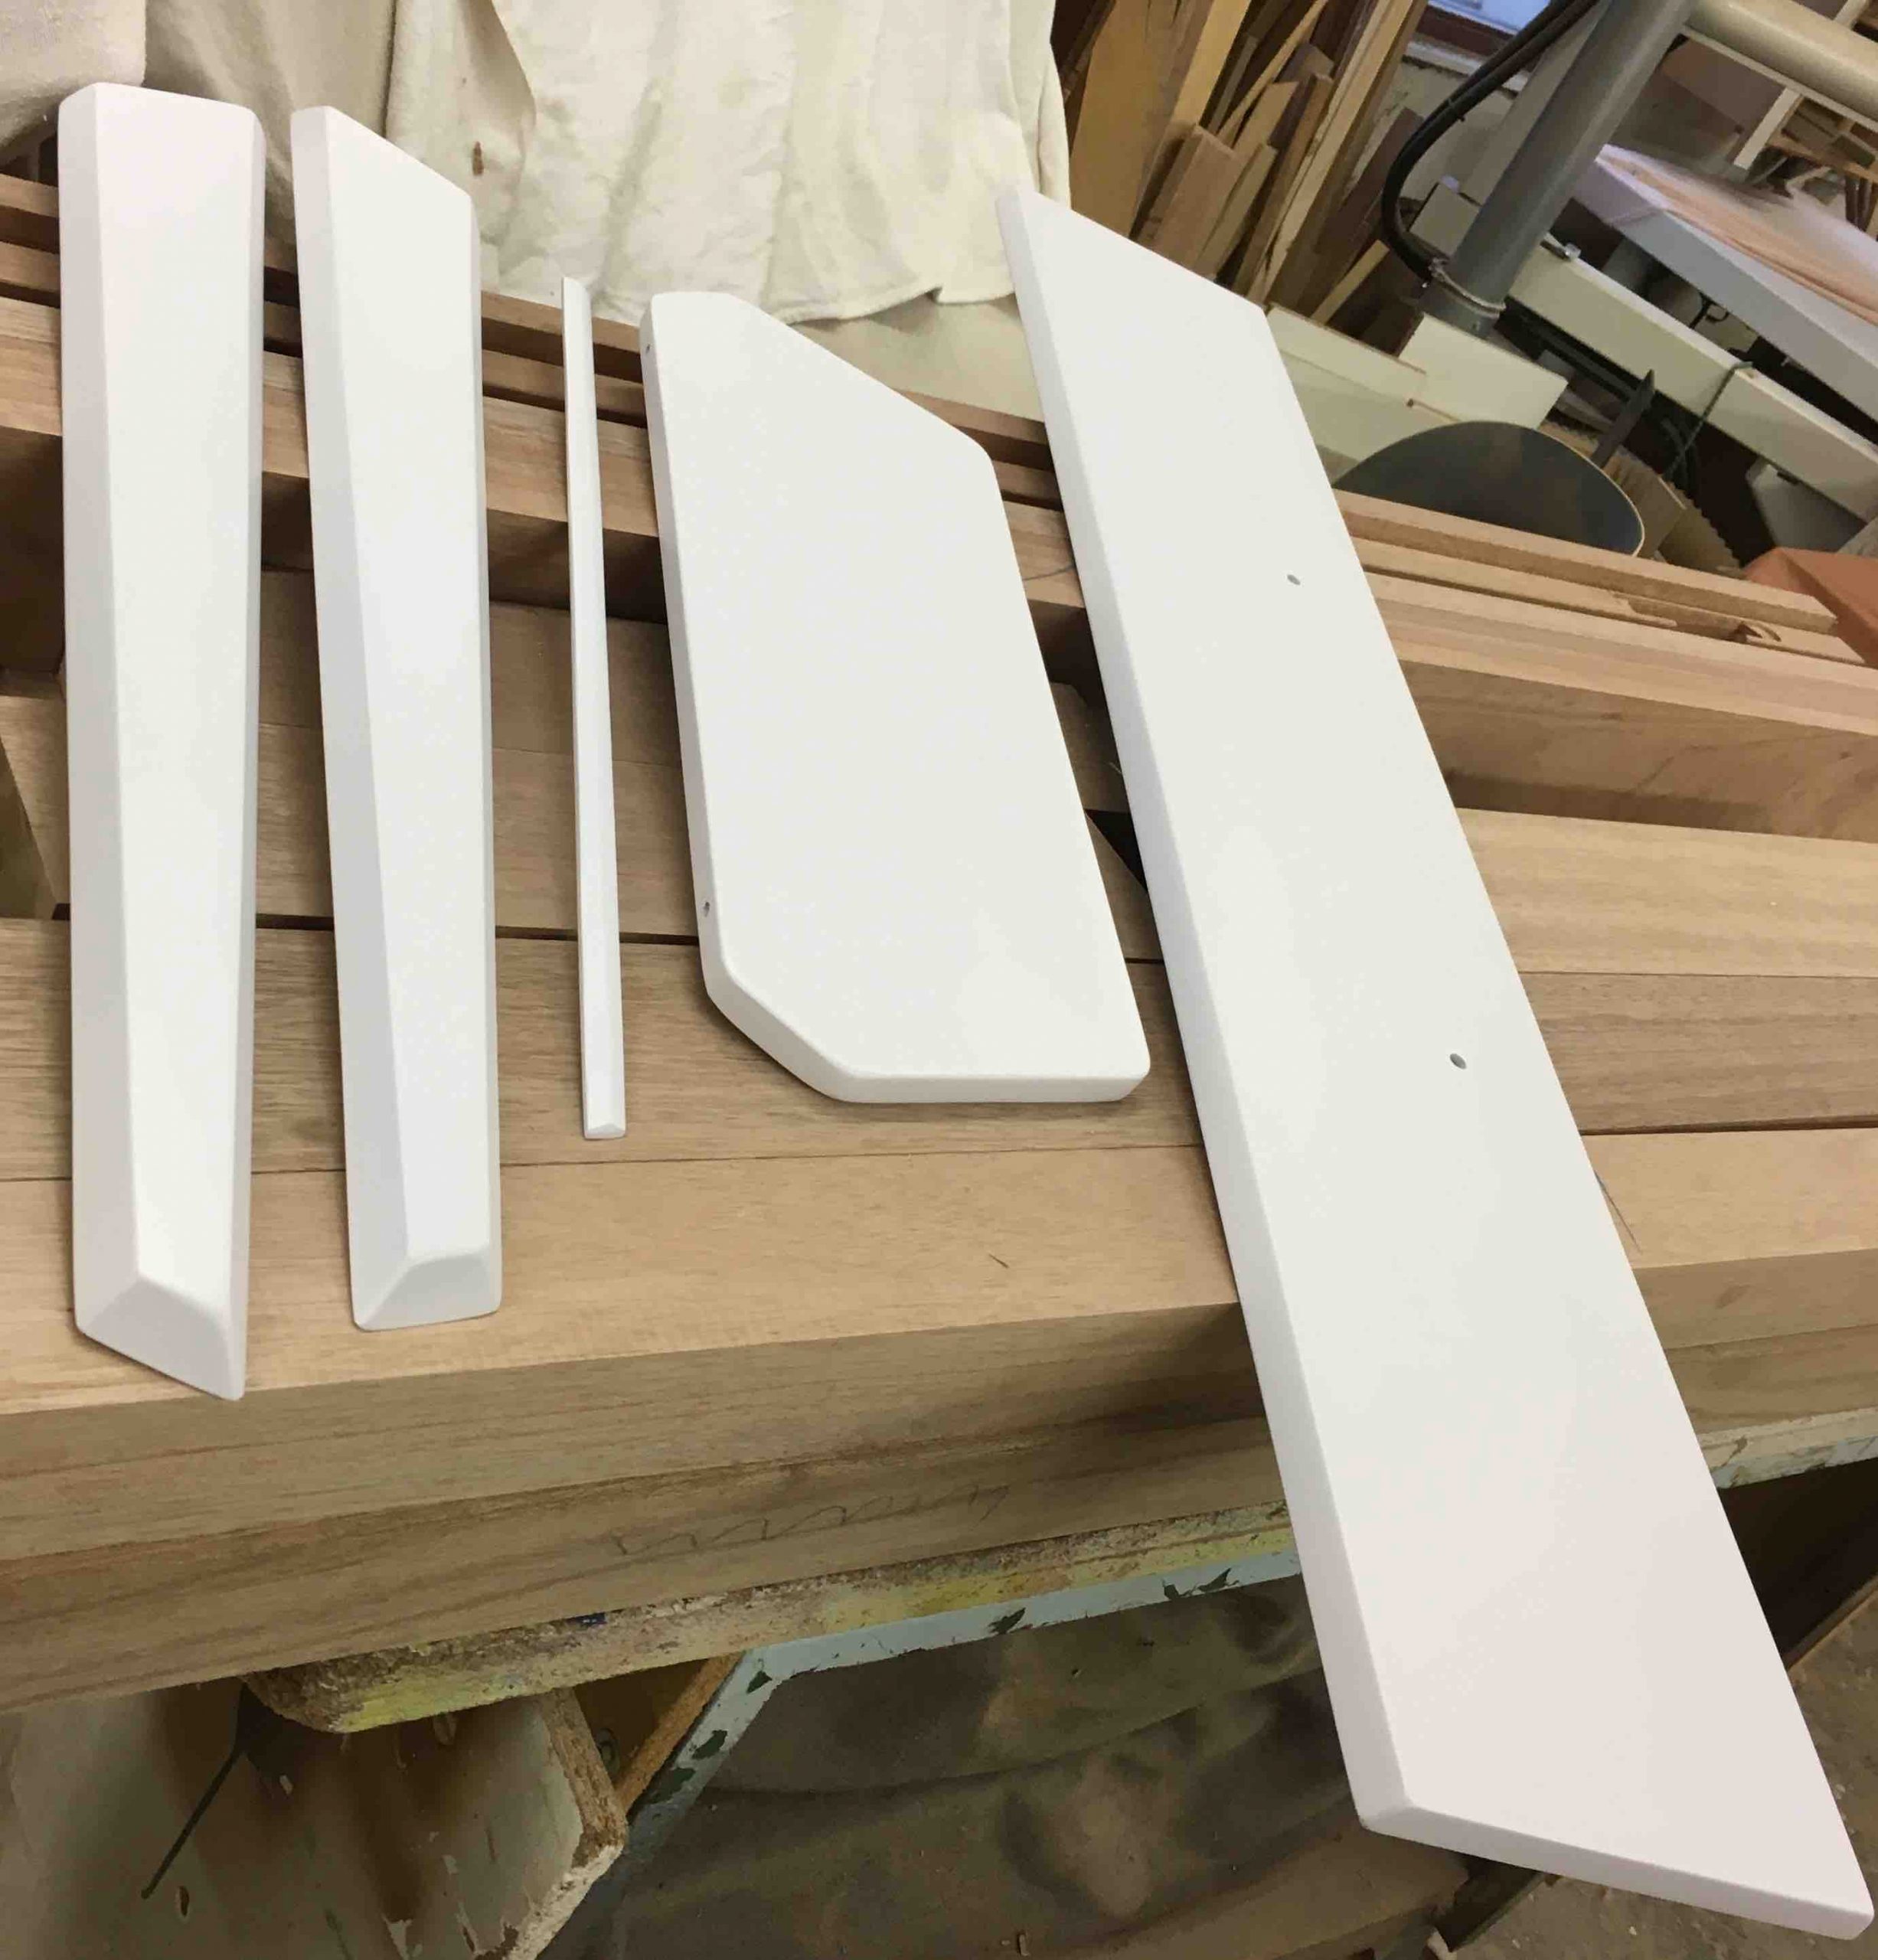
My brother is a Master carpenter with his own carpentry workshop. He built me all the case components designed and constructed to my own wishes and ideas. Photo 2 shows the raw material (poplar wood and MDF strips to glue on) from which the feet are made.
Photo 2
Photo 3
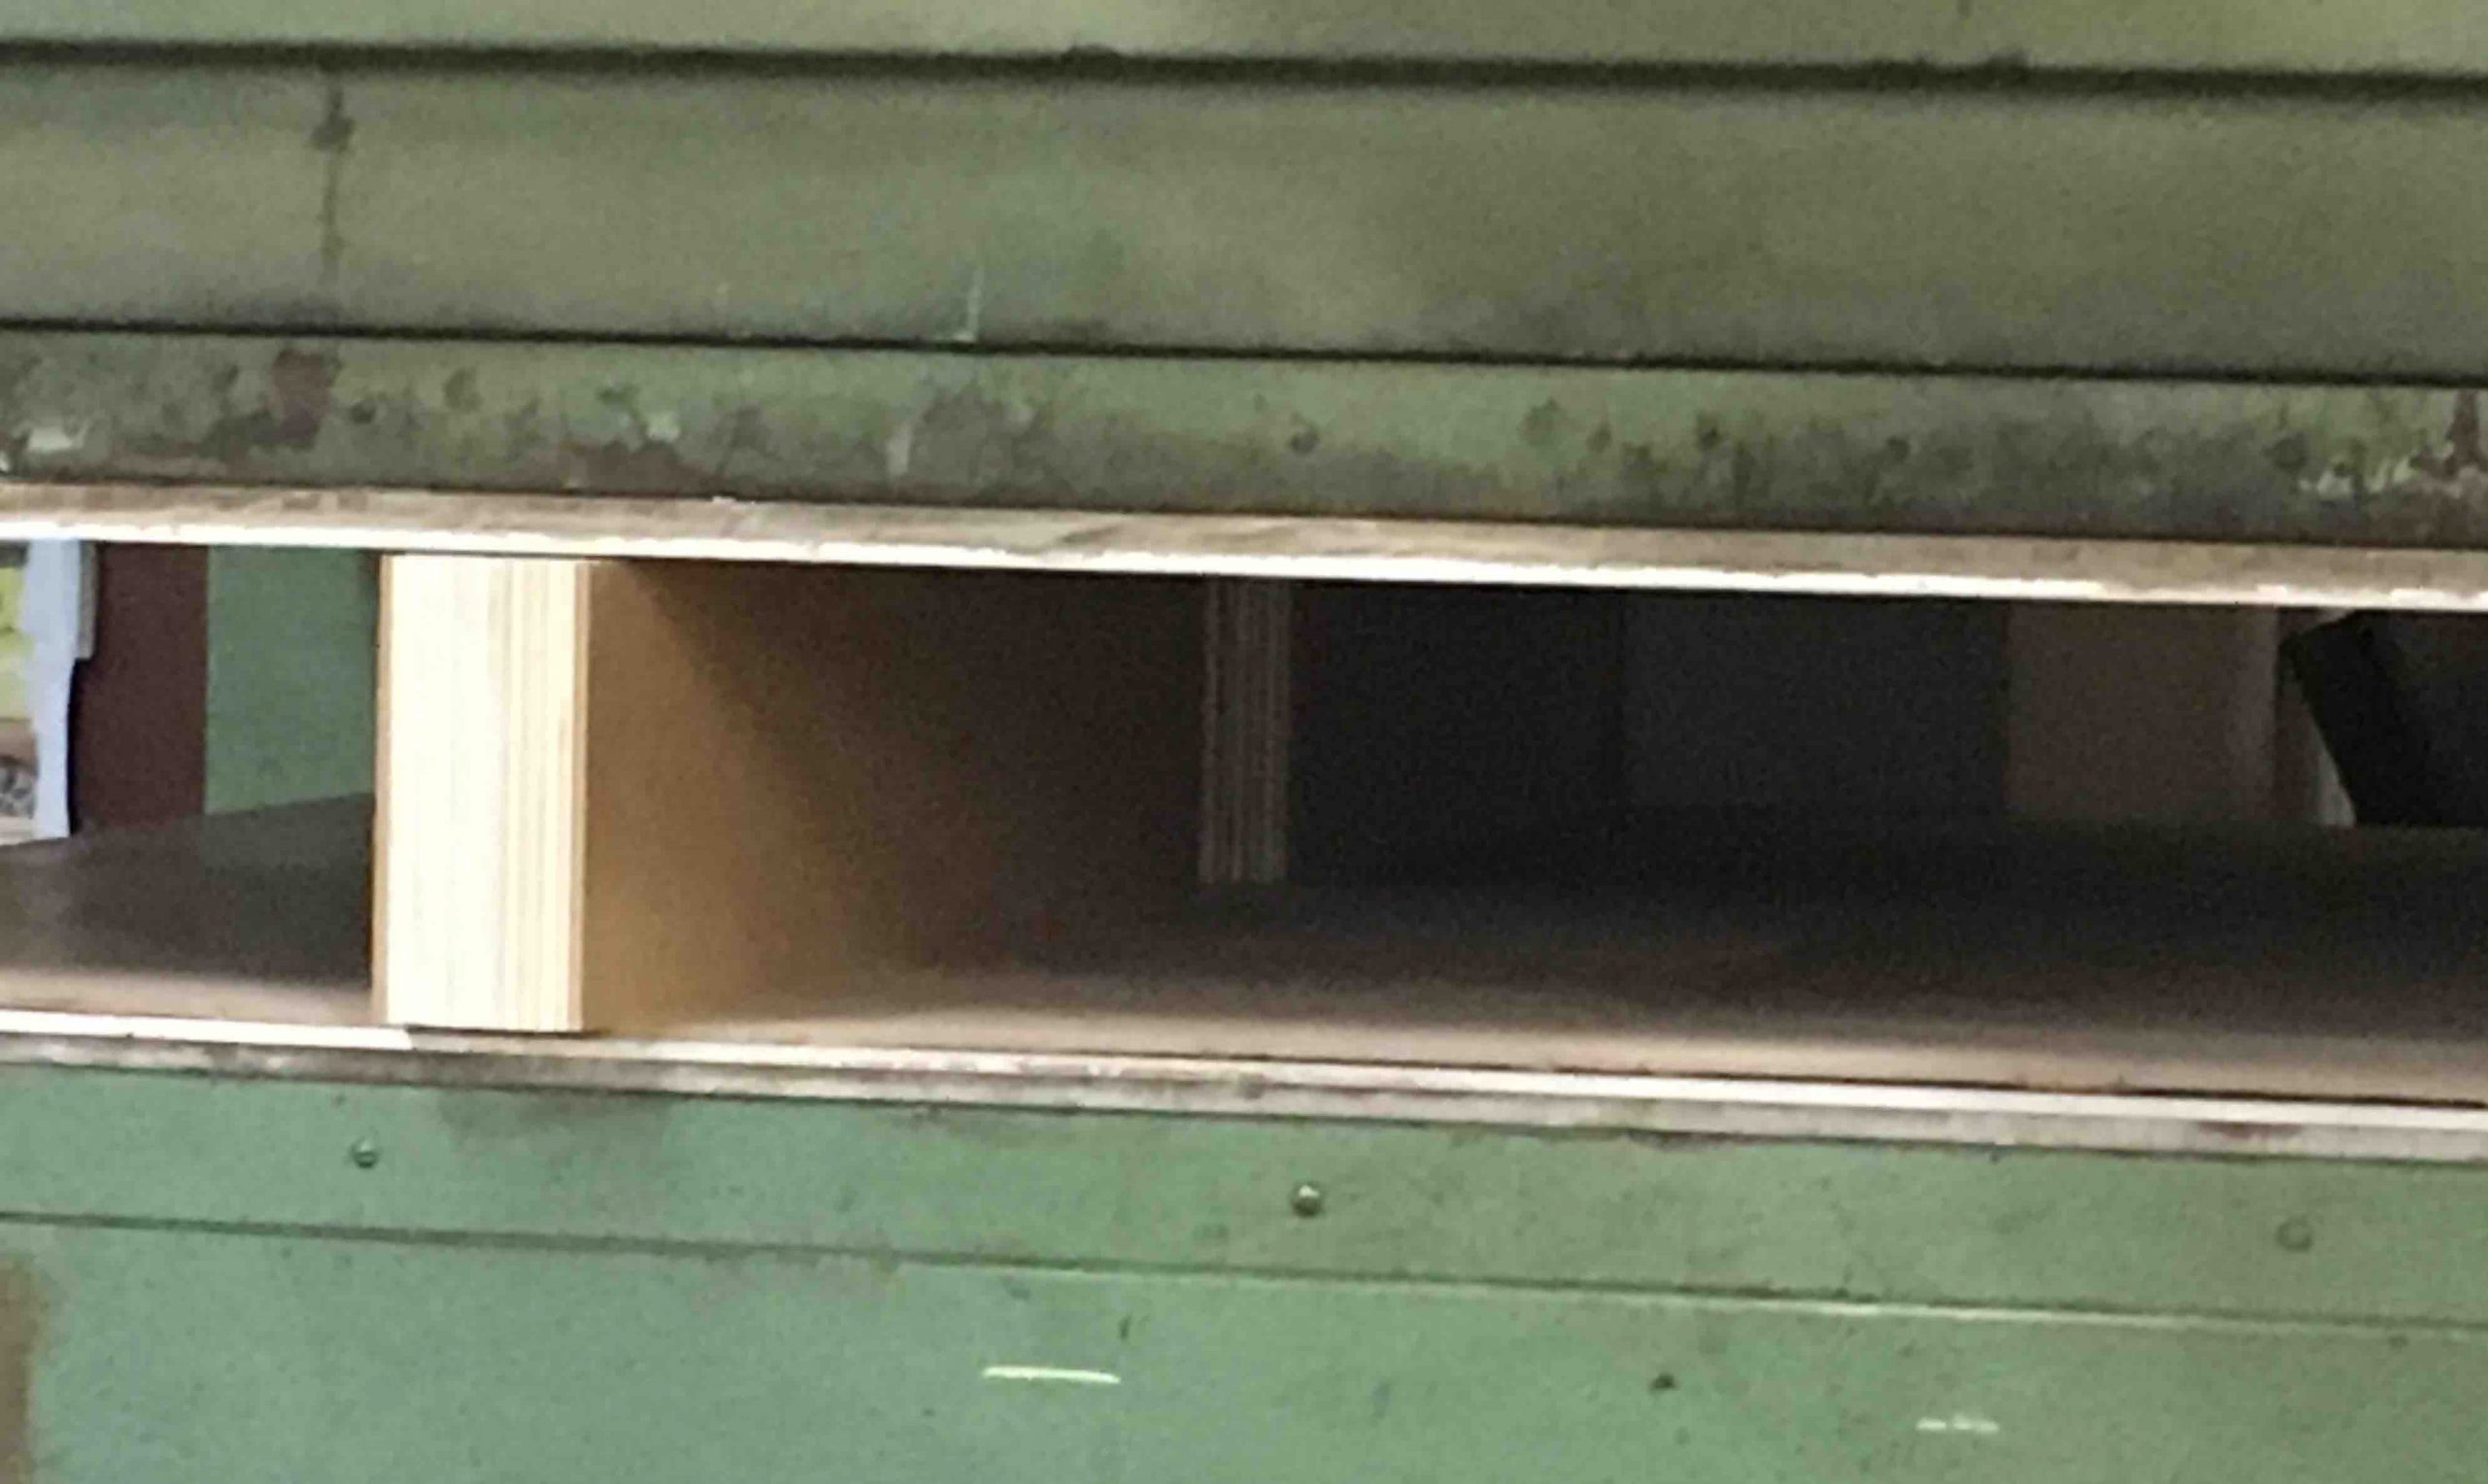
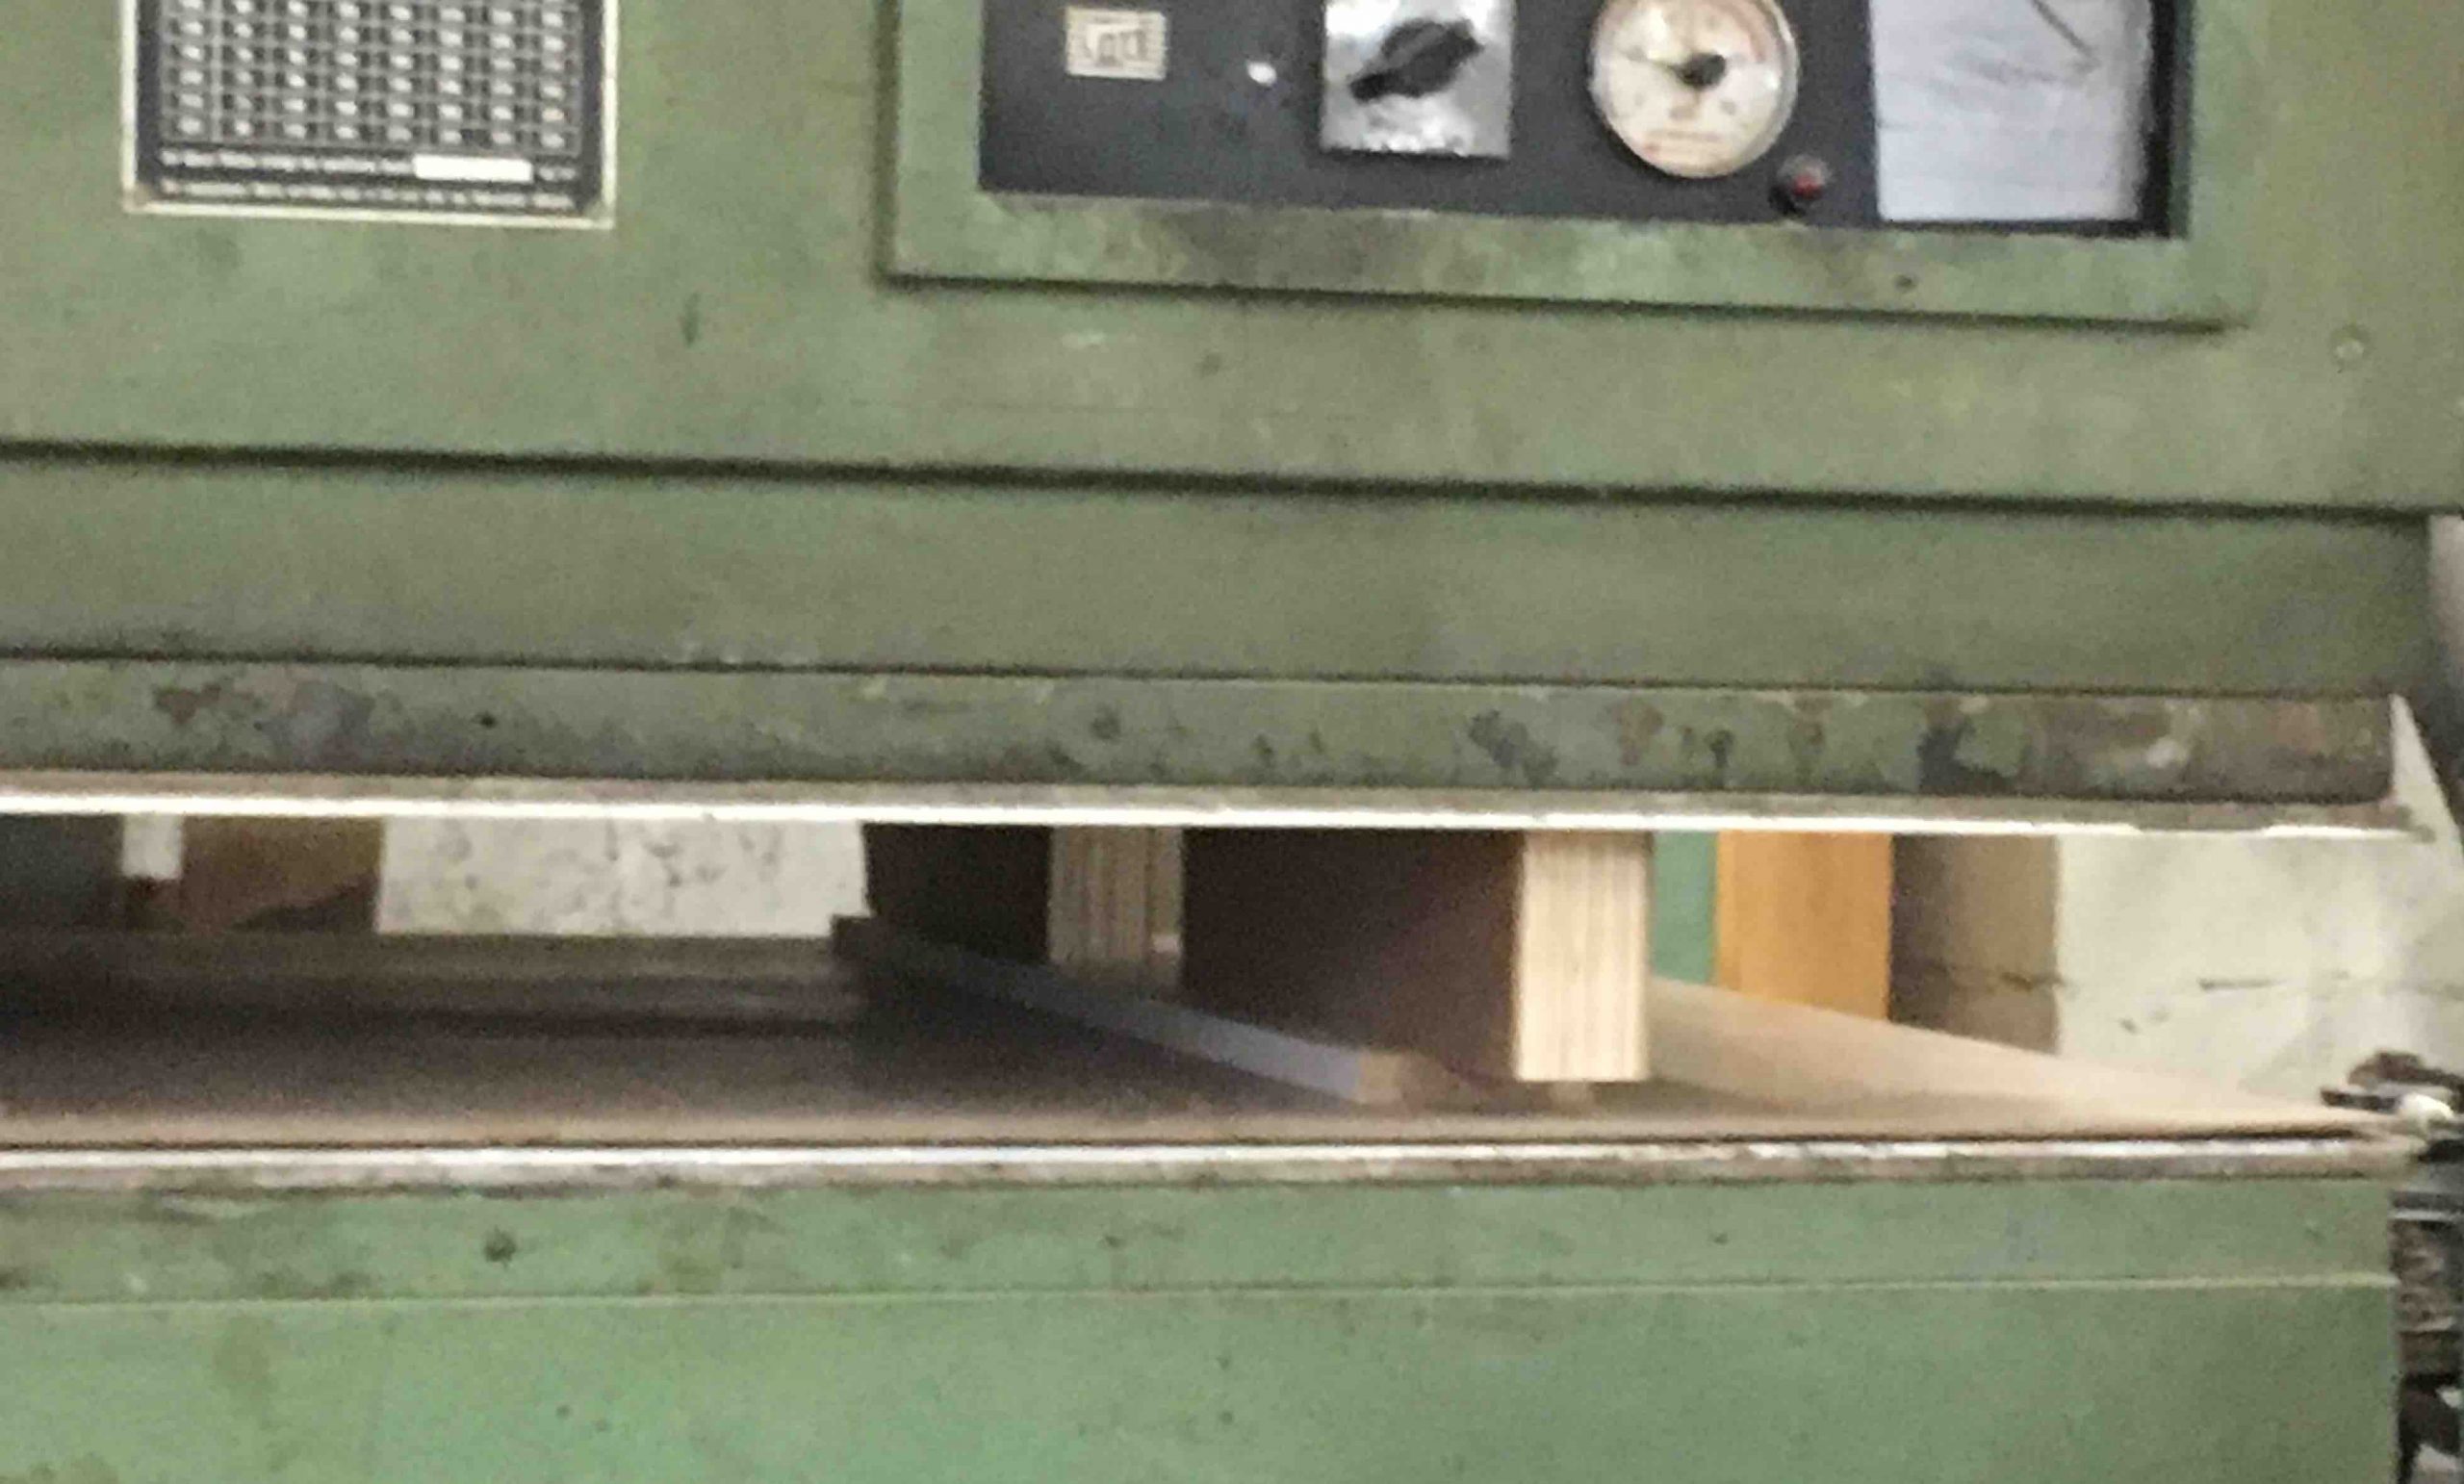
The glued feet for the console lower part (photo 3), and the smaller ones for the seating bench (photo 4) in the wood press. The press is adjusted to a pressure of 2,2 kg/cm².
Photo 4
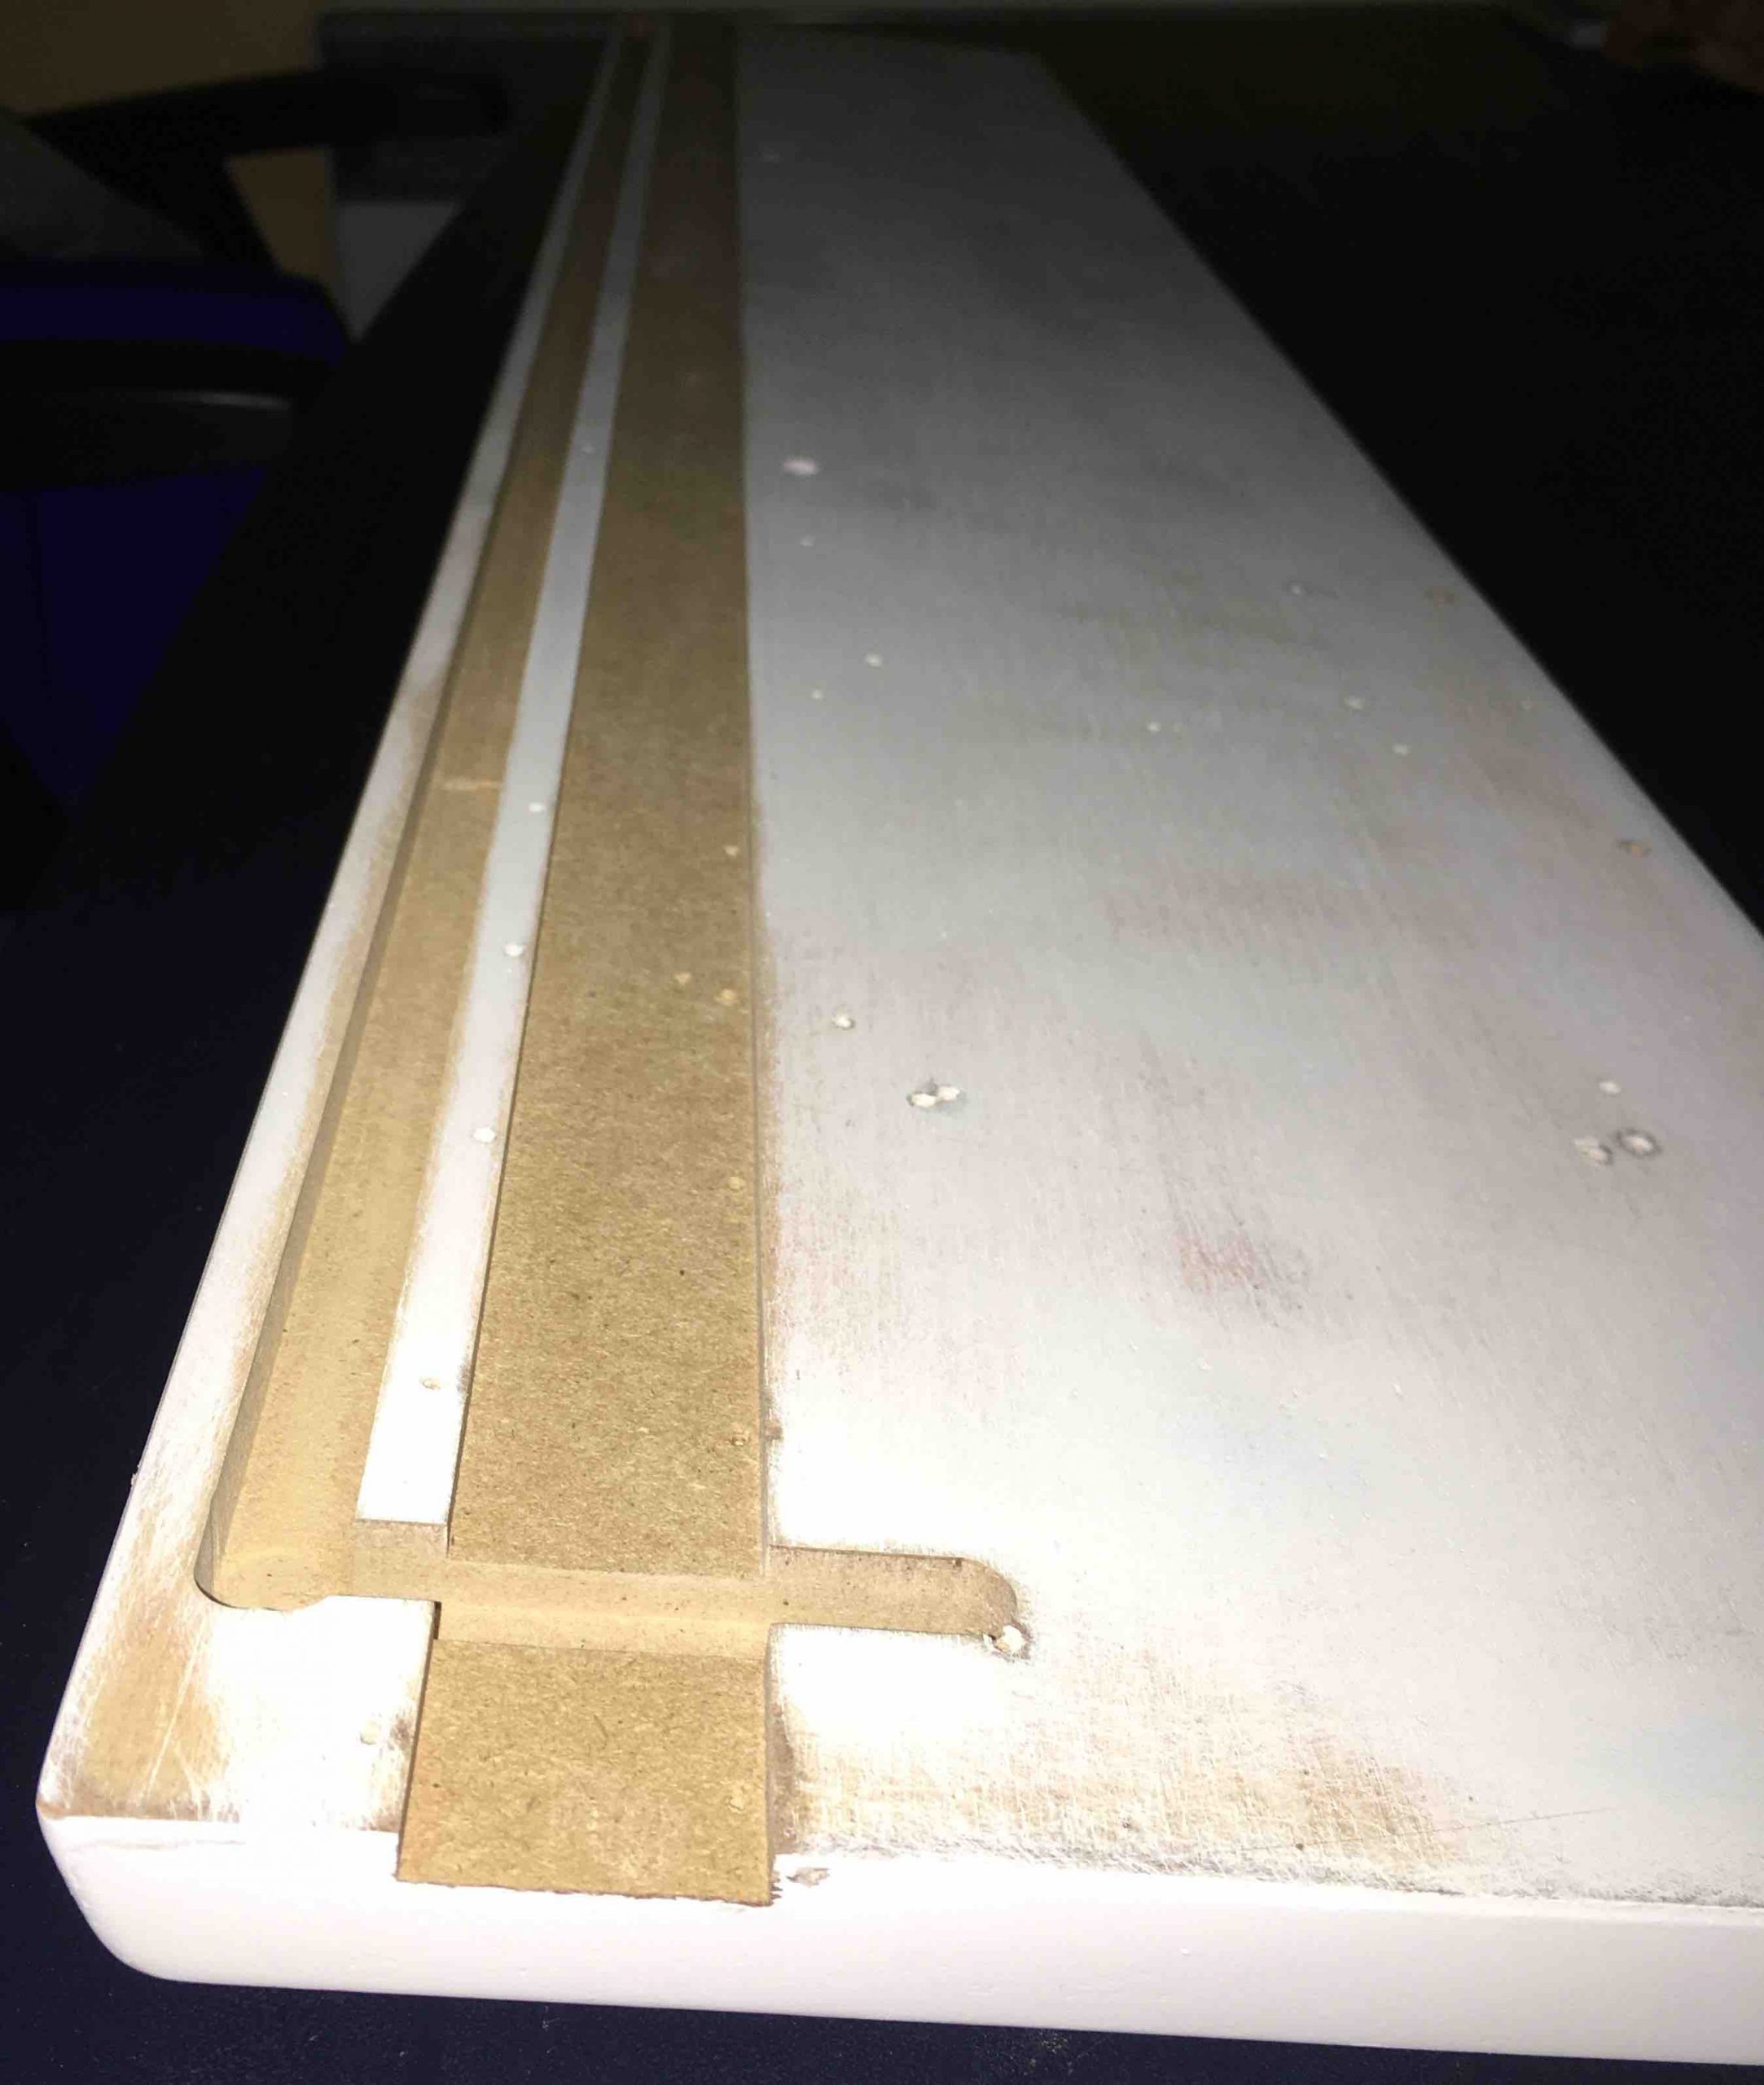
On photo 5 you can see the two ready trimmed boards for the lower parts of the console and the seating bench. The two holes in the front plate, are later used to fix the pillars on the seating bench. In the rear plate for the console lower part, three holes will be made. The third
hole is necessary for a cable which will later be used to connect the two swell pedals, the four foot pistons and the 25-keys pedal.
Photo 5
Photo 6
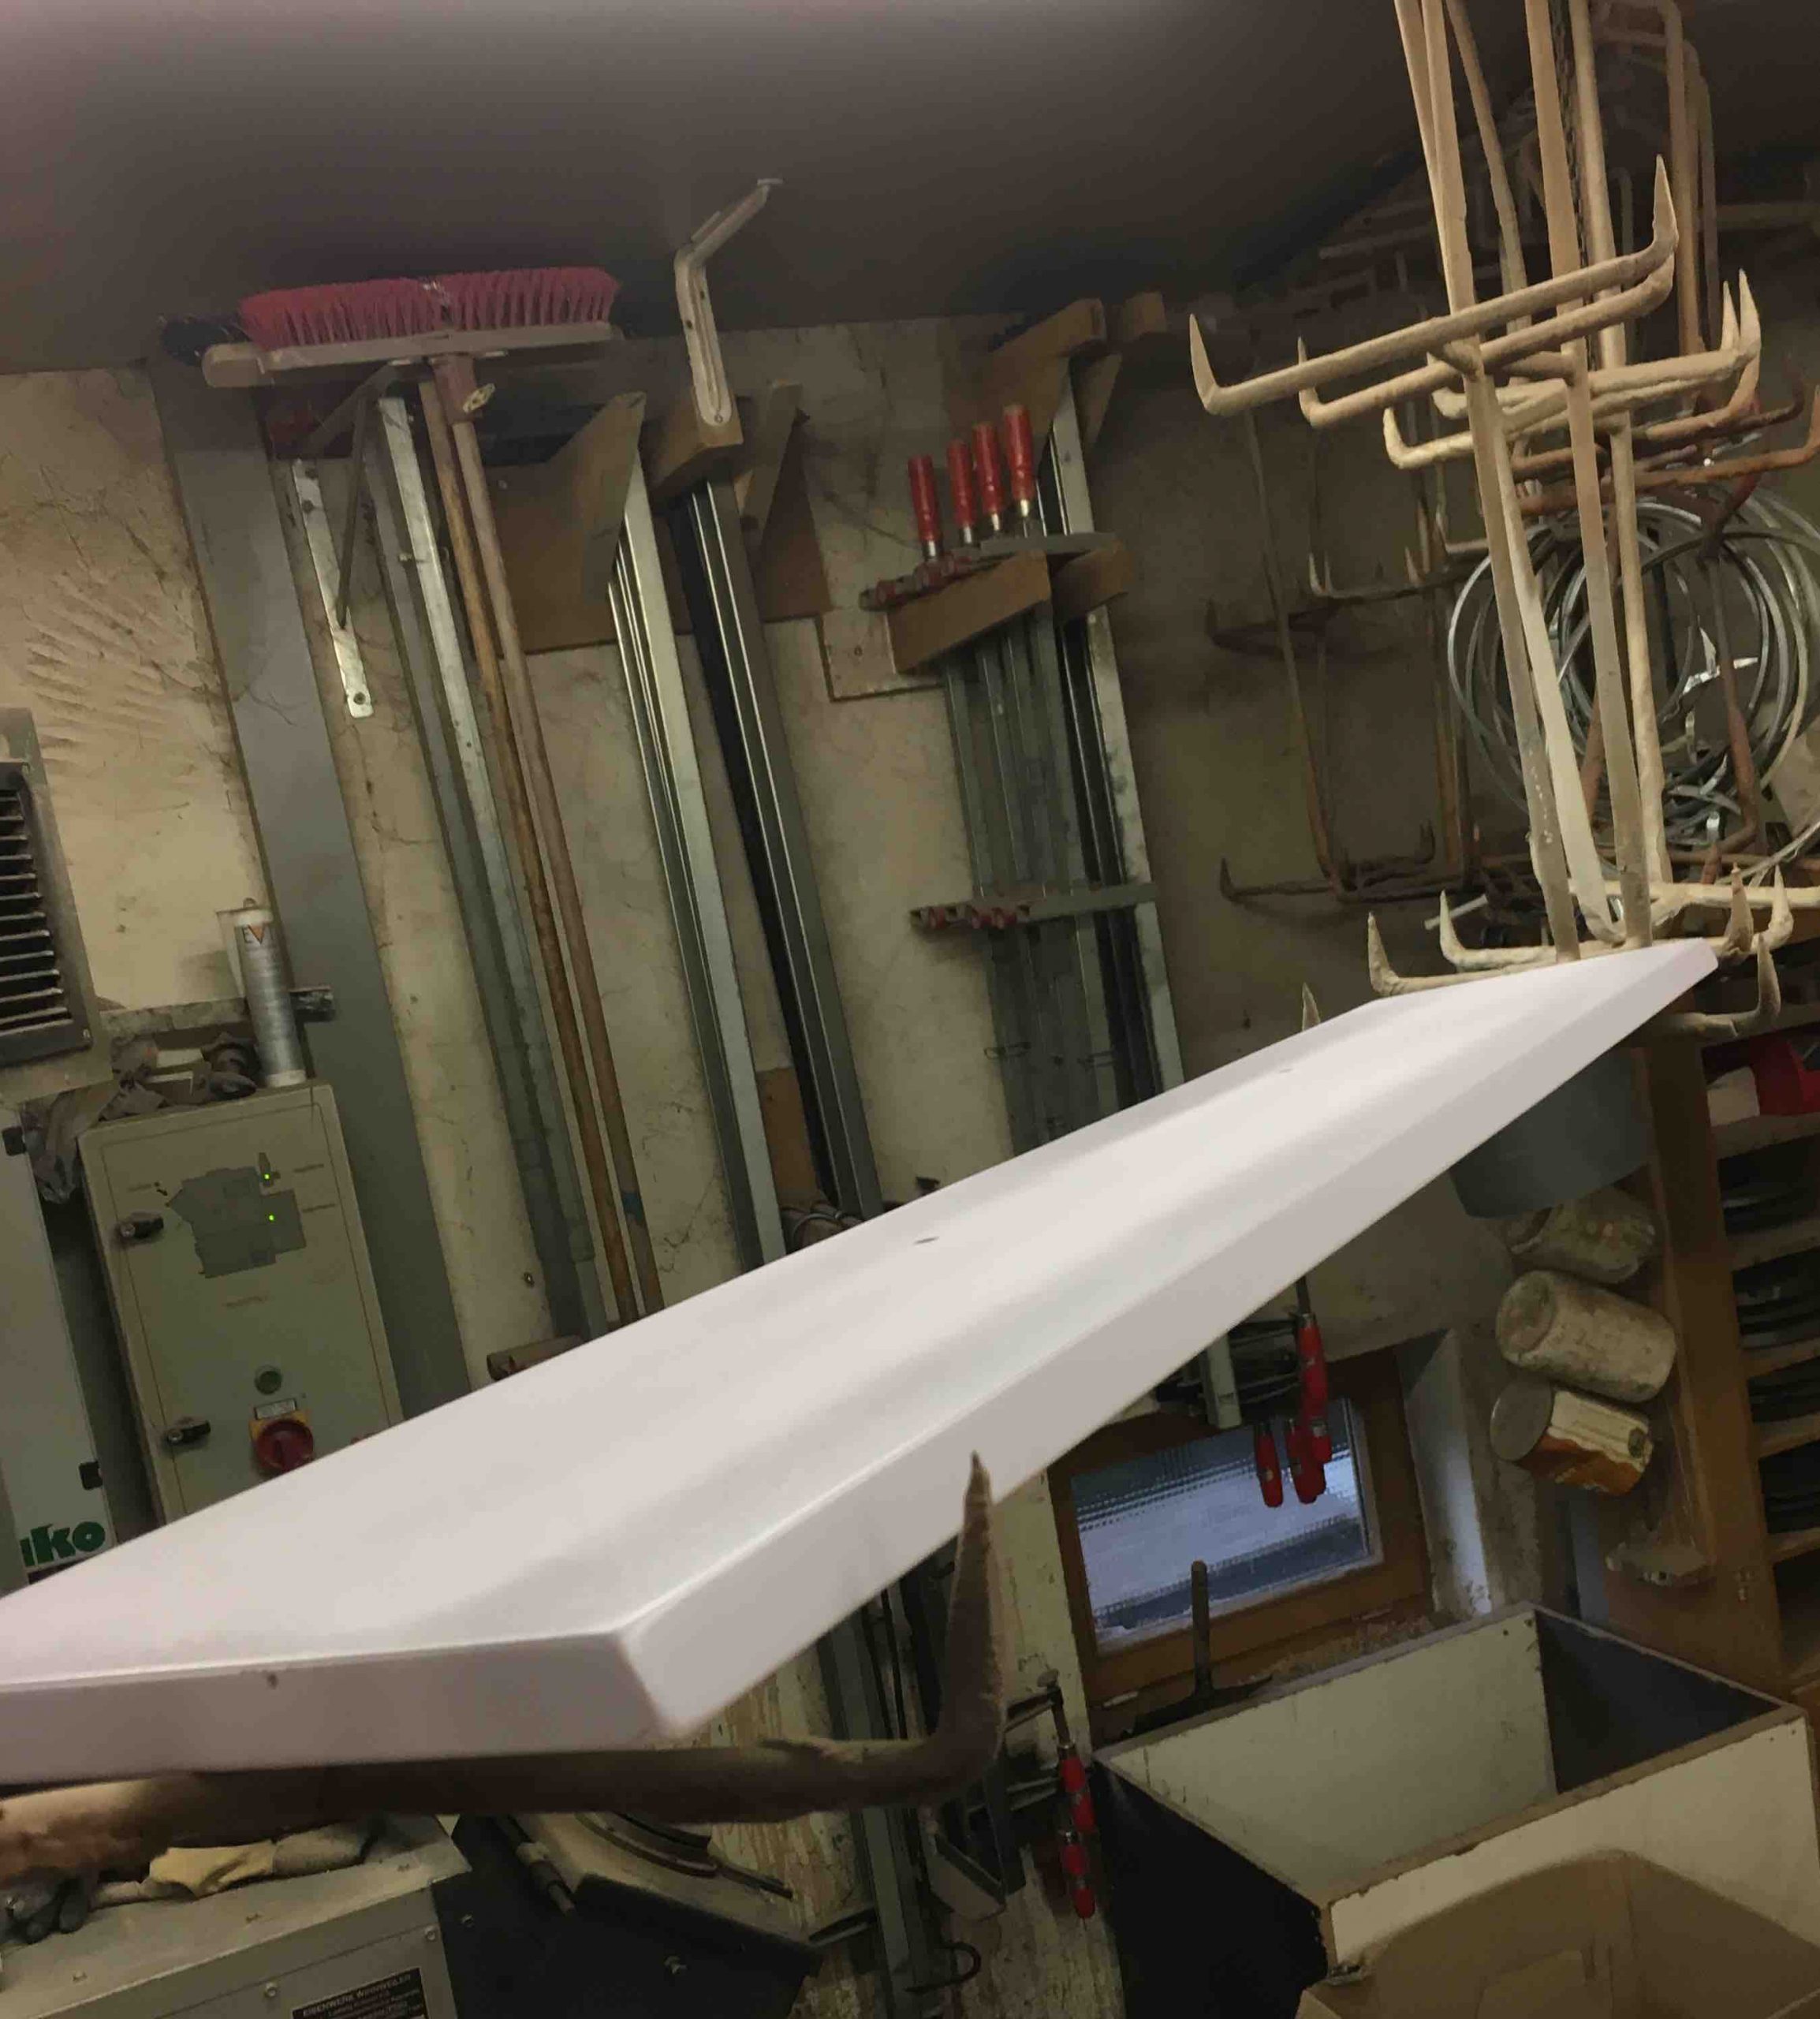
The top, which will be fixed to the rear wall of the console part, is hung up to dry after the first treatment with spray filler. If you enlarge photo 6, you will see one of the two holes for the music desk.
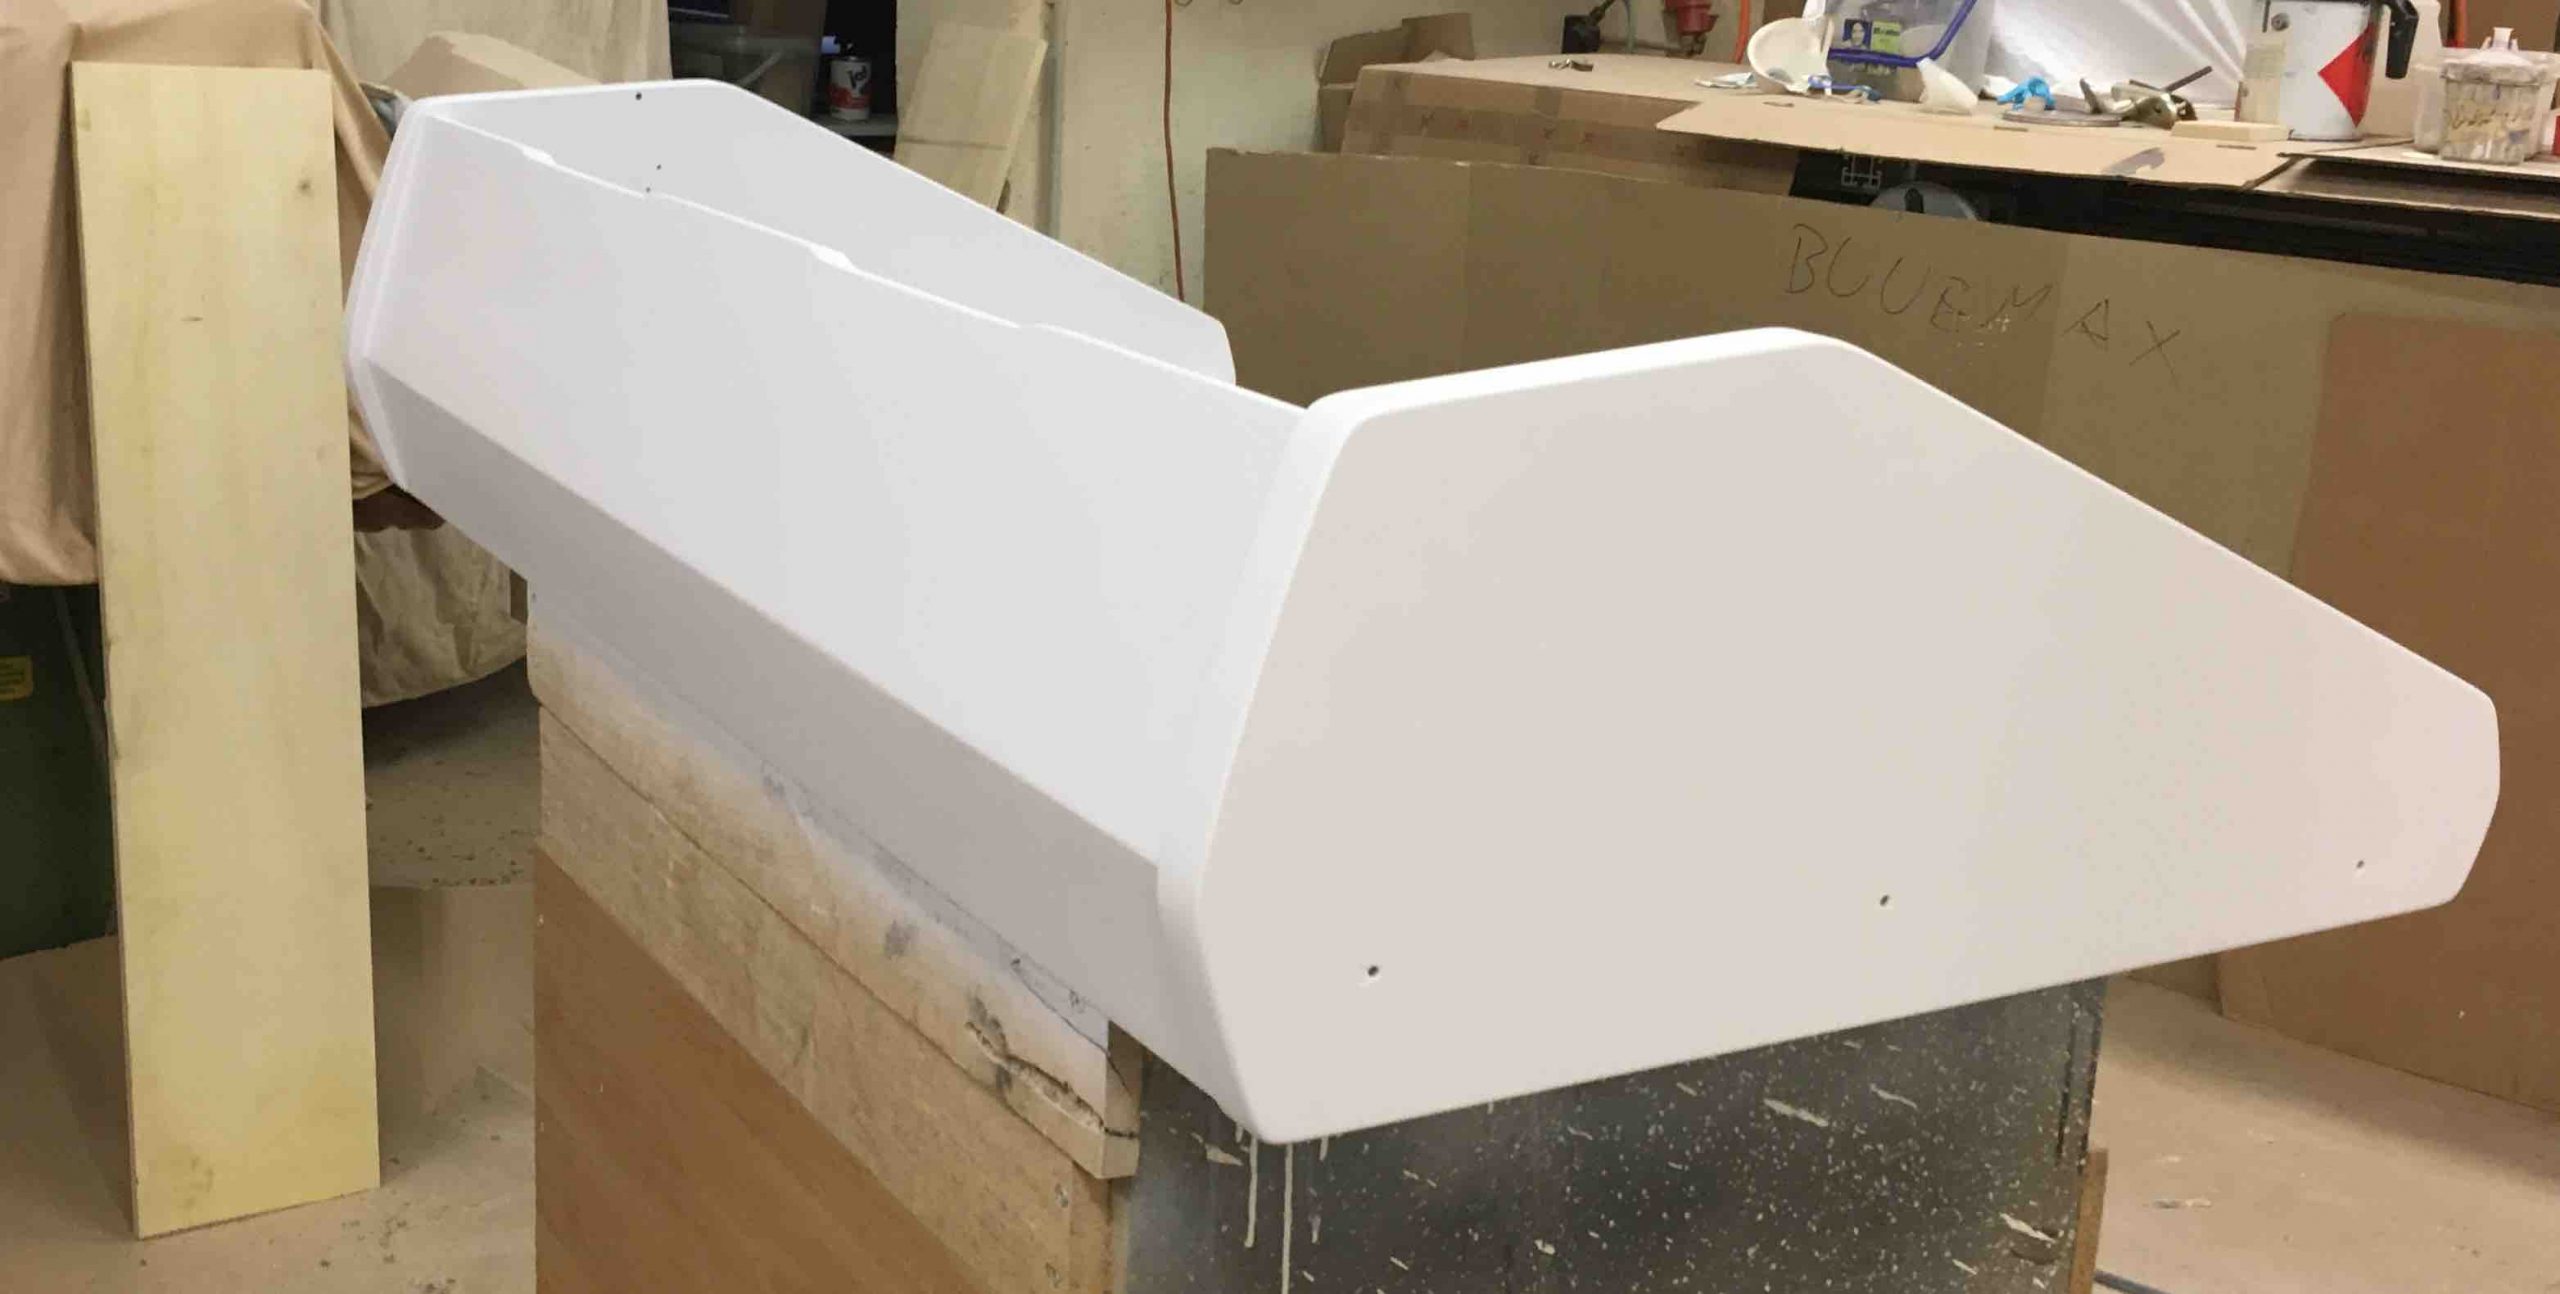
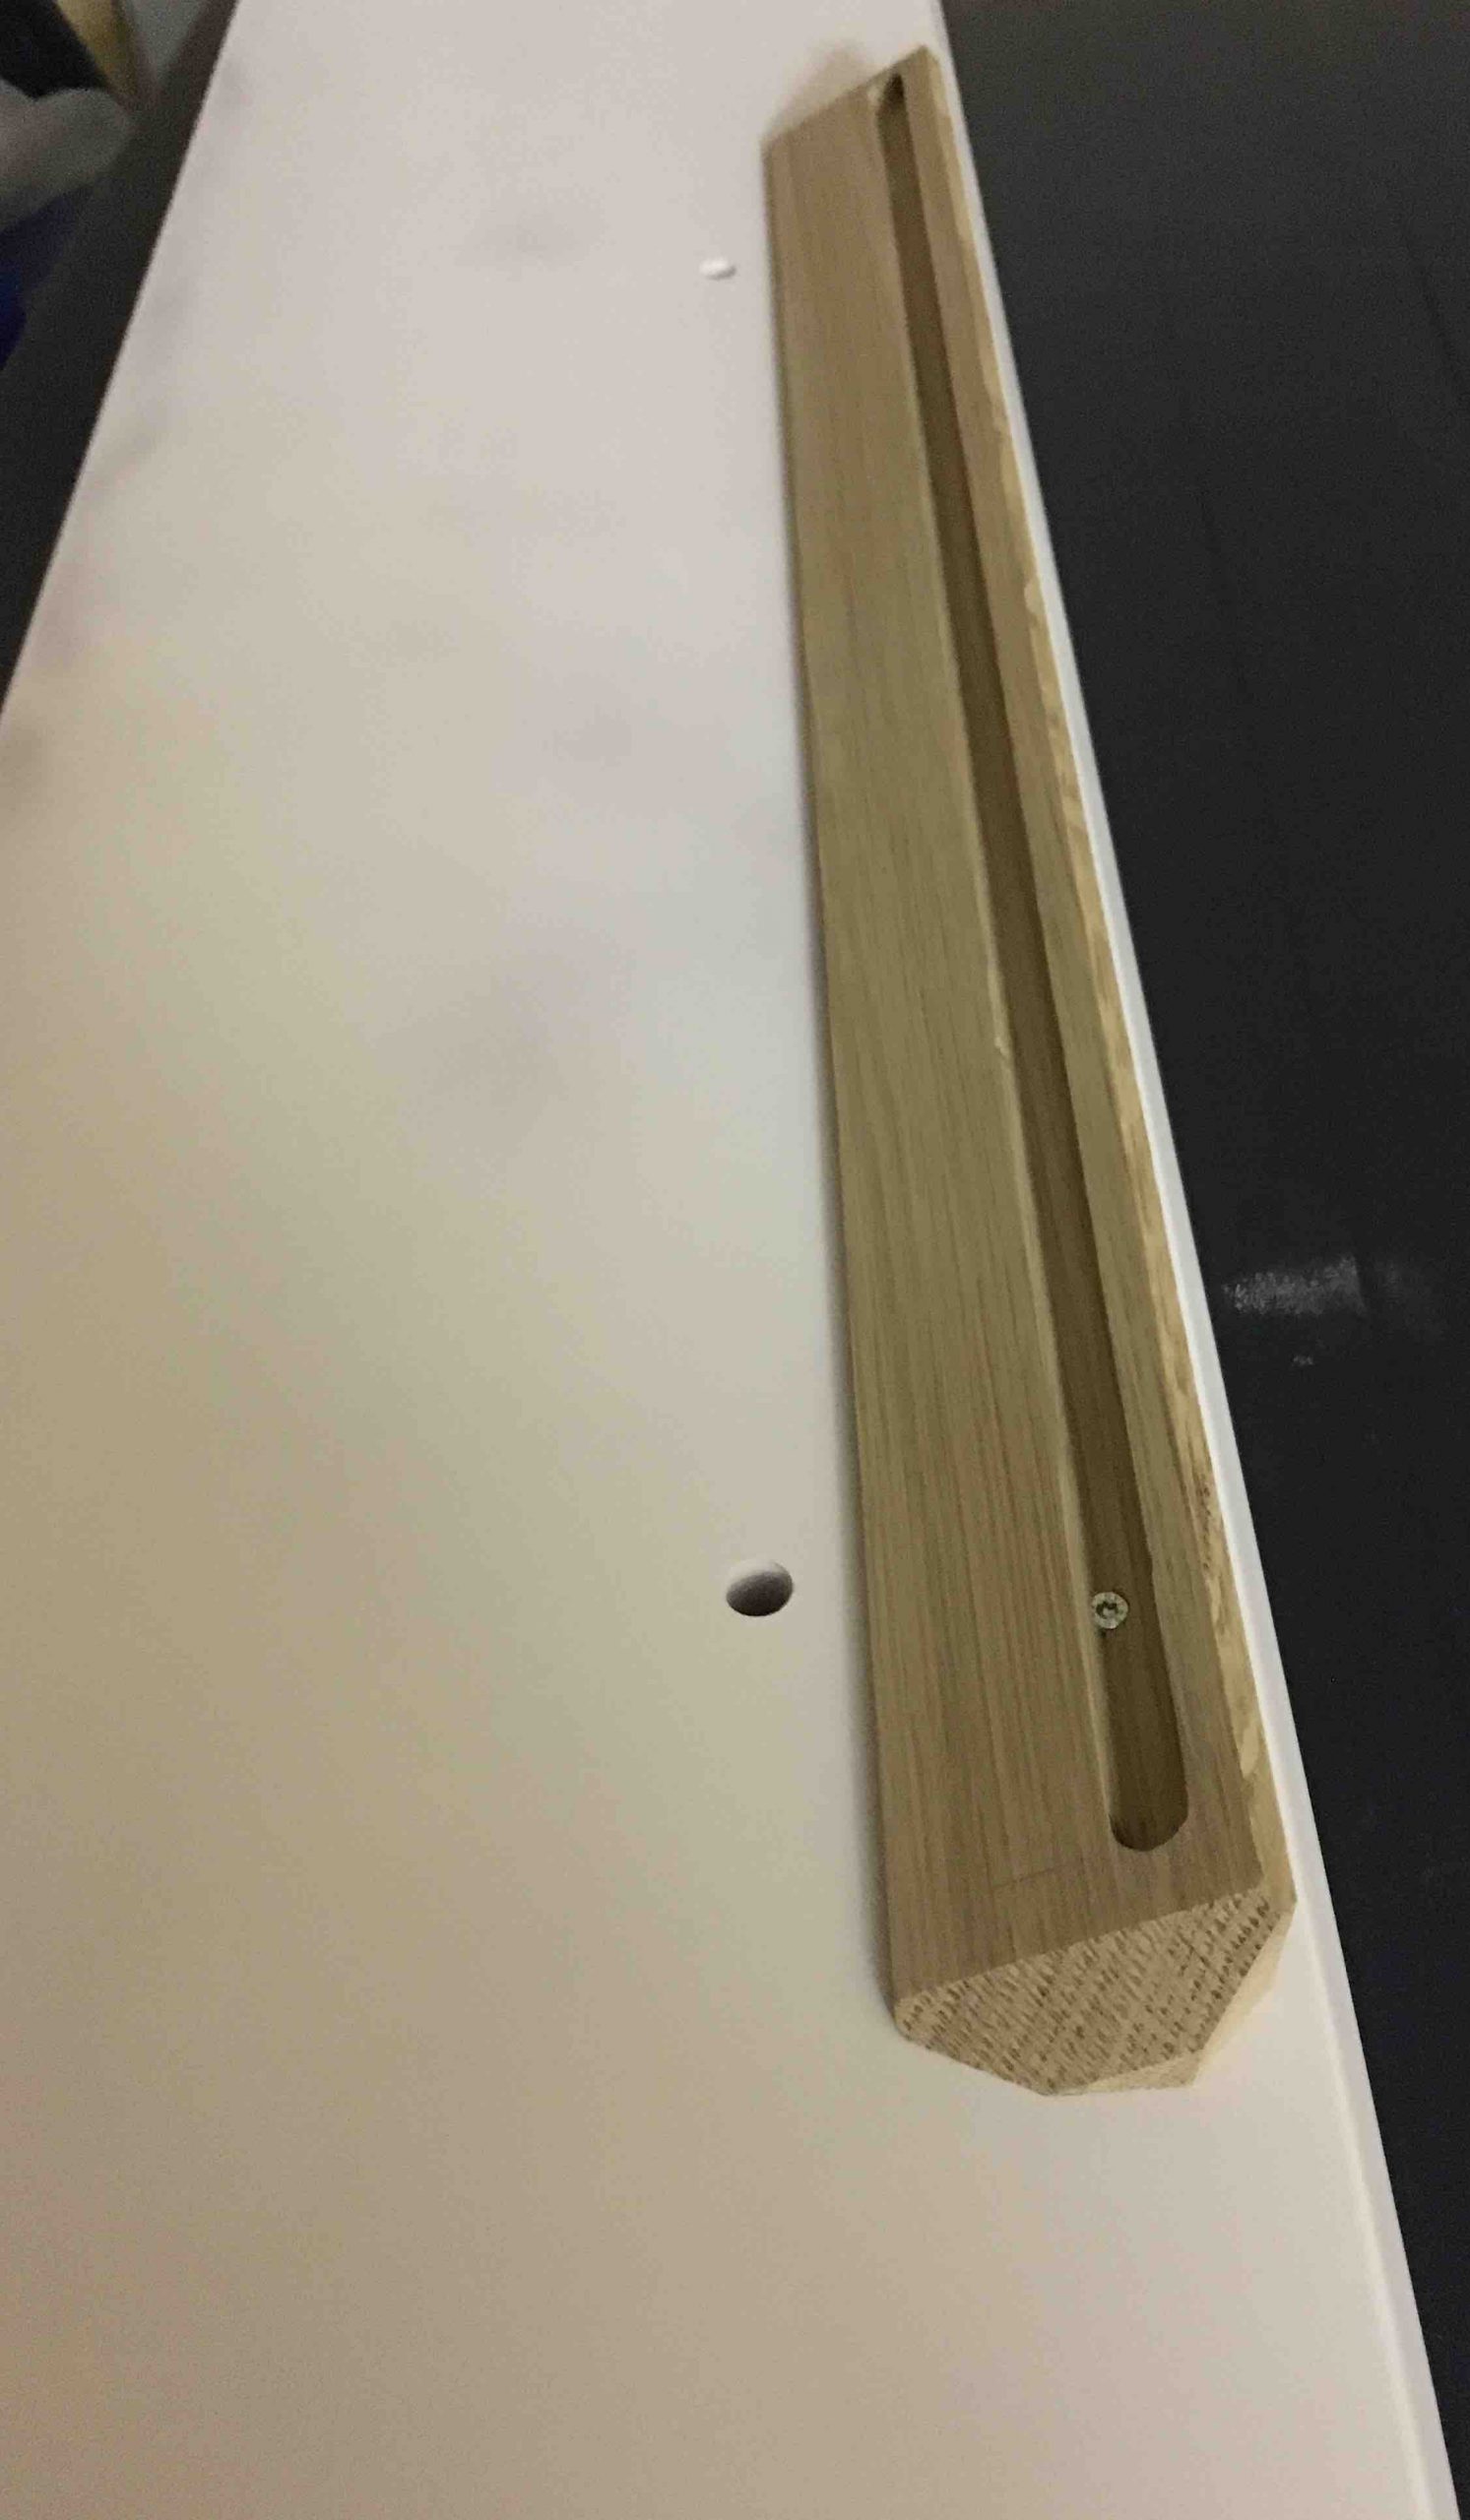
Photo 7 shows the chassis for the console after treatment with spray filler. On the right side you can see the three holes where the decorative strips (on photo 10 left) are fixed.
Photo 7
Photo 8
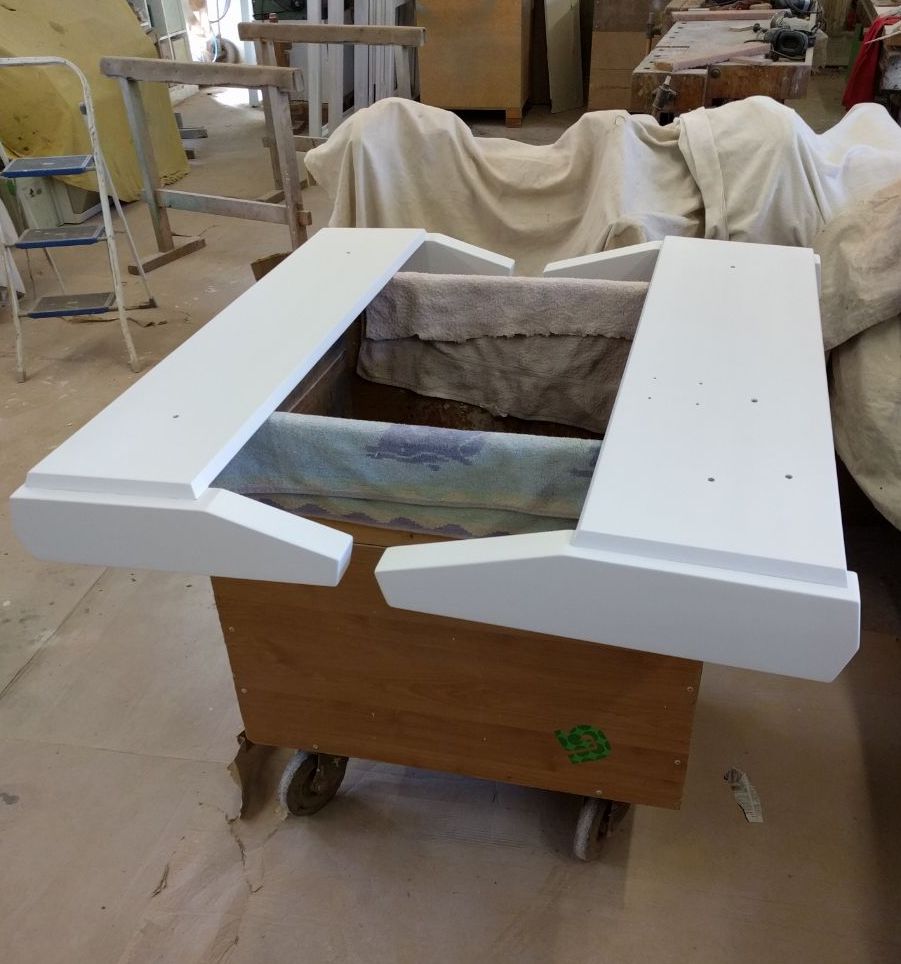
The "finished" lower parts (photo 8) for the console (right) and for the seating bench (left) after the treatment with spray filler while drying. Here you can see the holes for the pillars, the connecting cable and the left swell pedal.
Photo 9
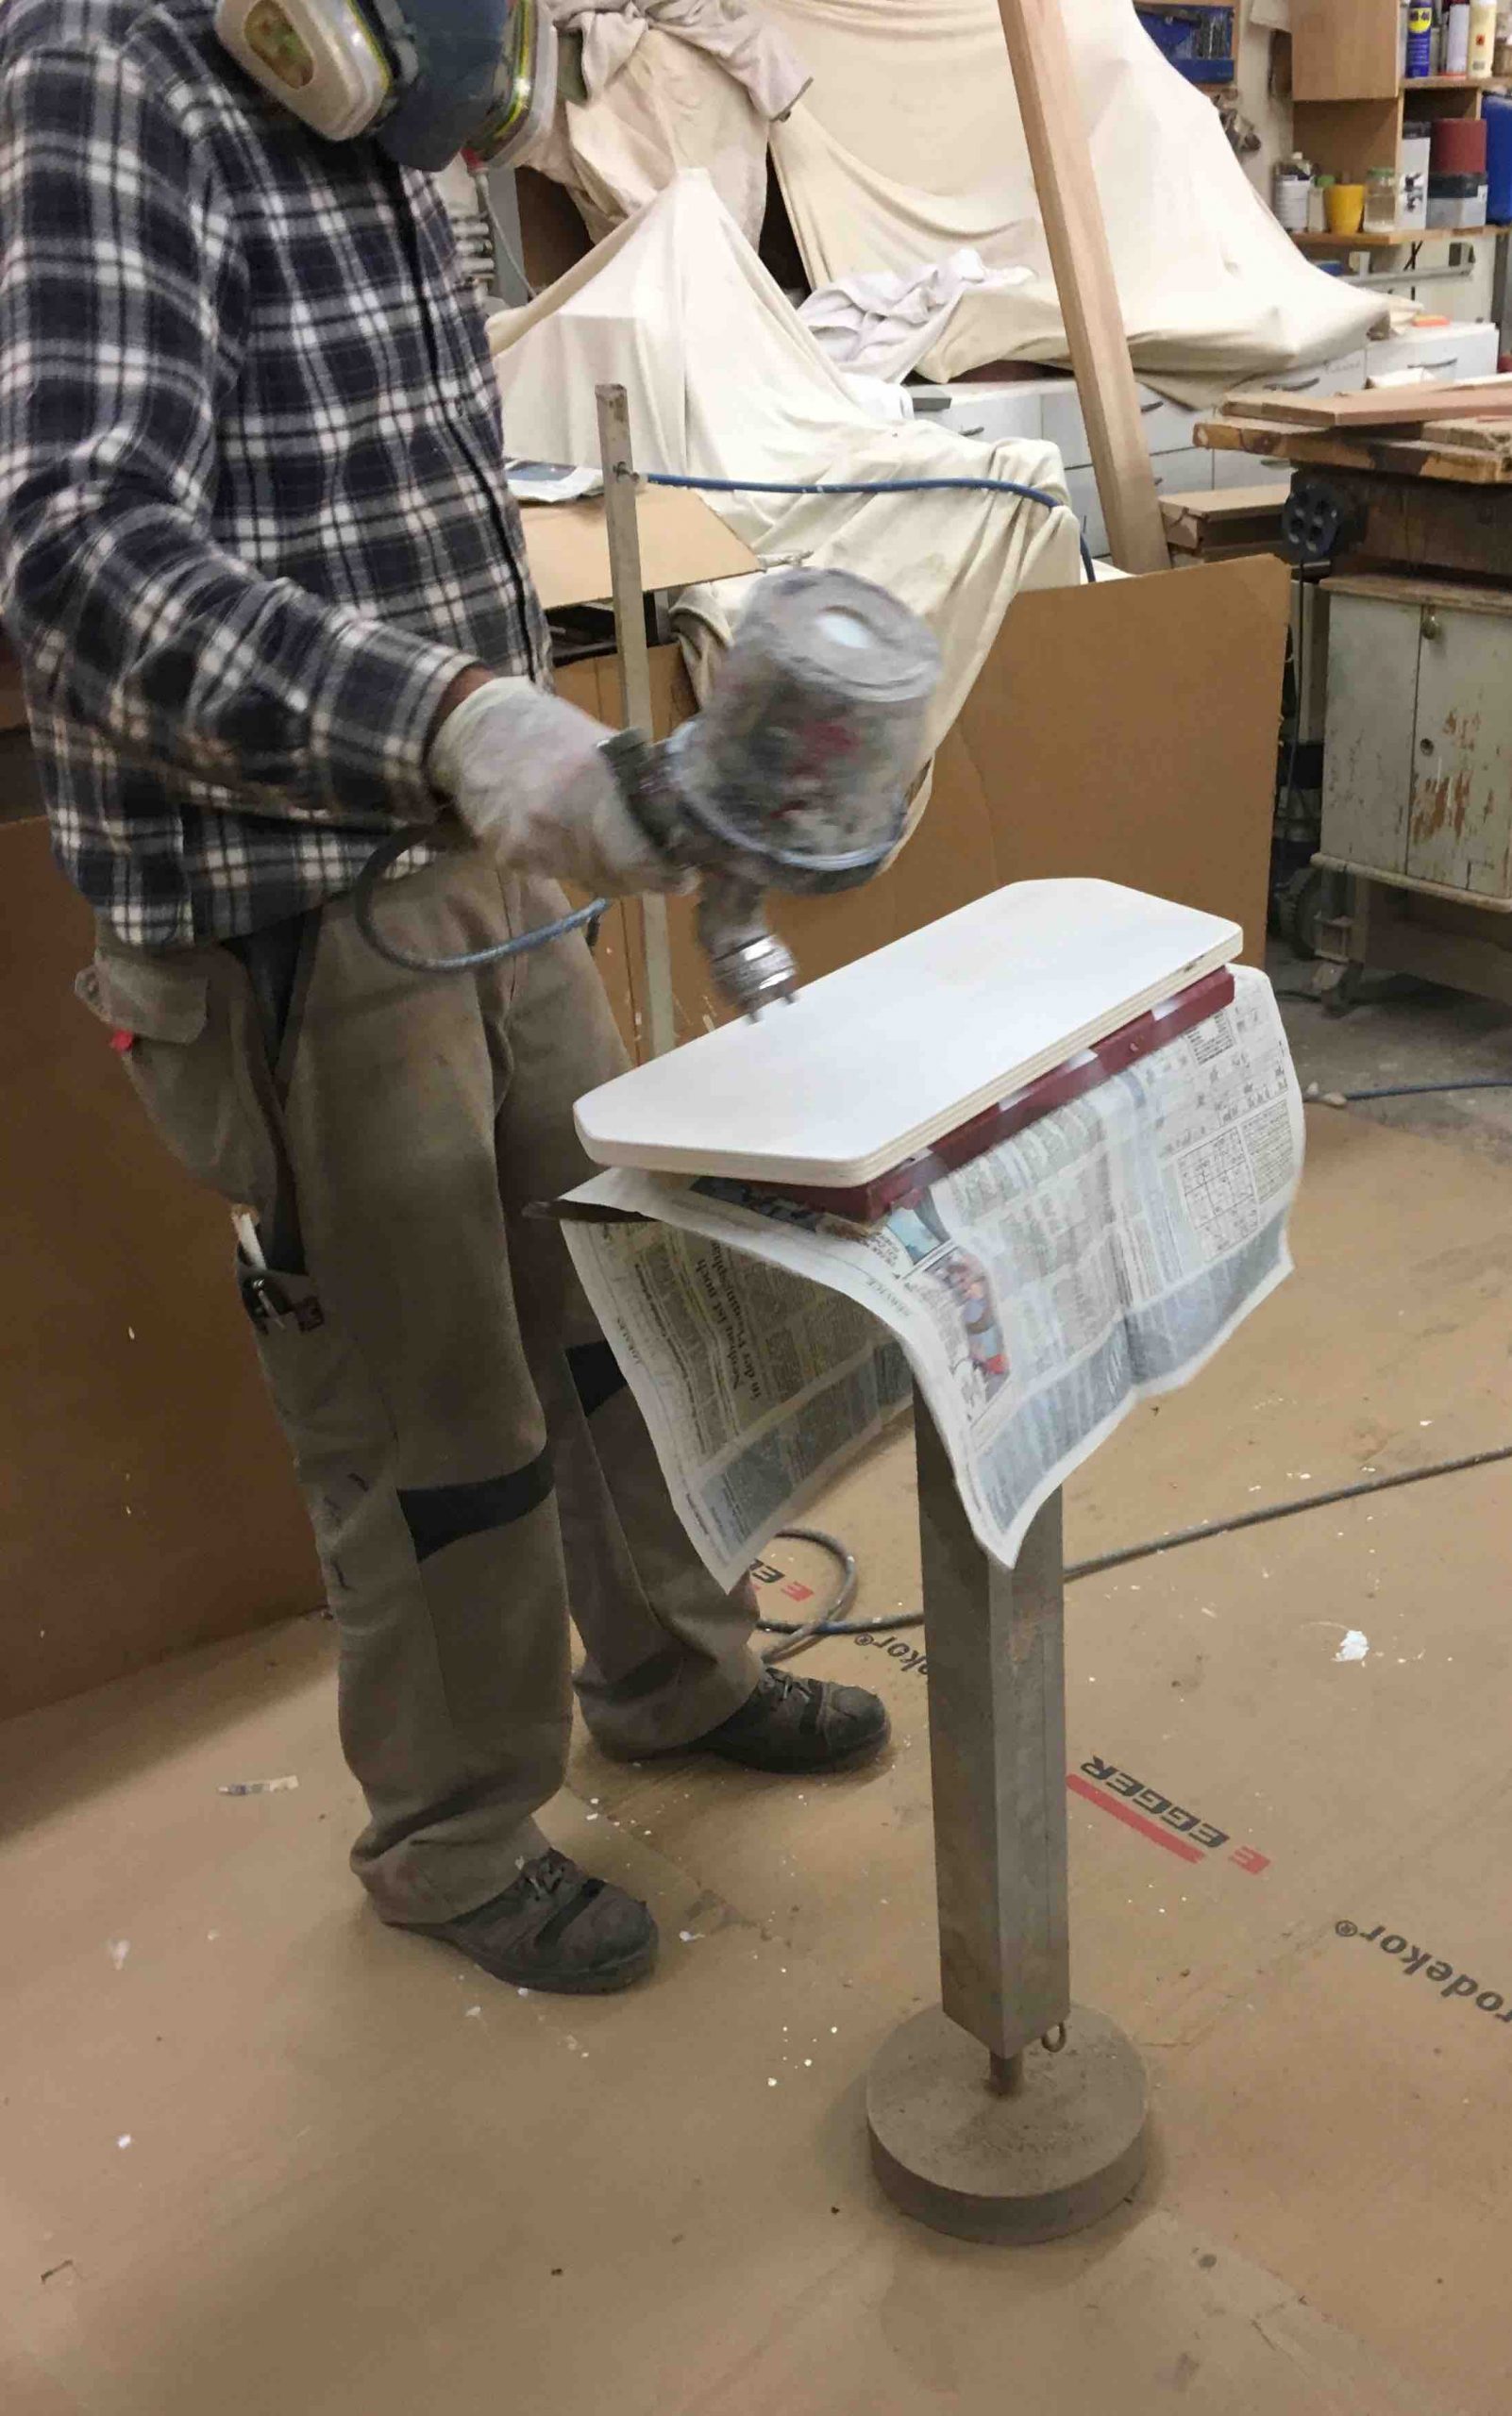
Photo 9: The music desk during the treatment with spray filler.
Photo 10: The dried console parts. On the left the two side decoration strips, on the right the console top and the music stand.
Photo 10
Photo 11
February 2018
Photo 11 shows the lower side of the console top. The wide nut is intended for mounting the upper control panel. In the left narrower nut there will be a LED strip.
This is the upper side of the console top (photo 12) with the music holder. There will be a LED strip installed in its nut as well. In the two holes in front of it the music desk will be fixed.
Photo 12
Photo 13
May 2018
On photo 13 you can see the music stand attached to the console cover, both varnished.
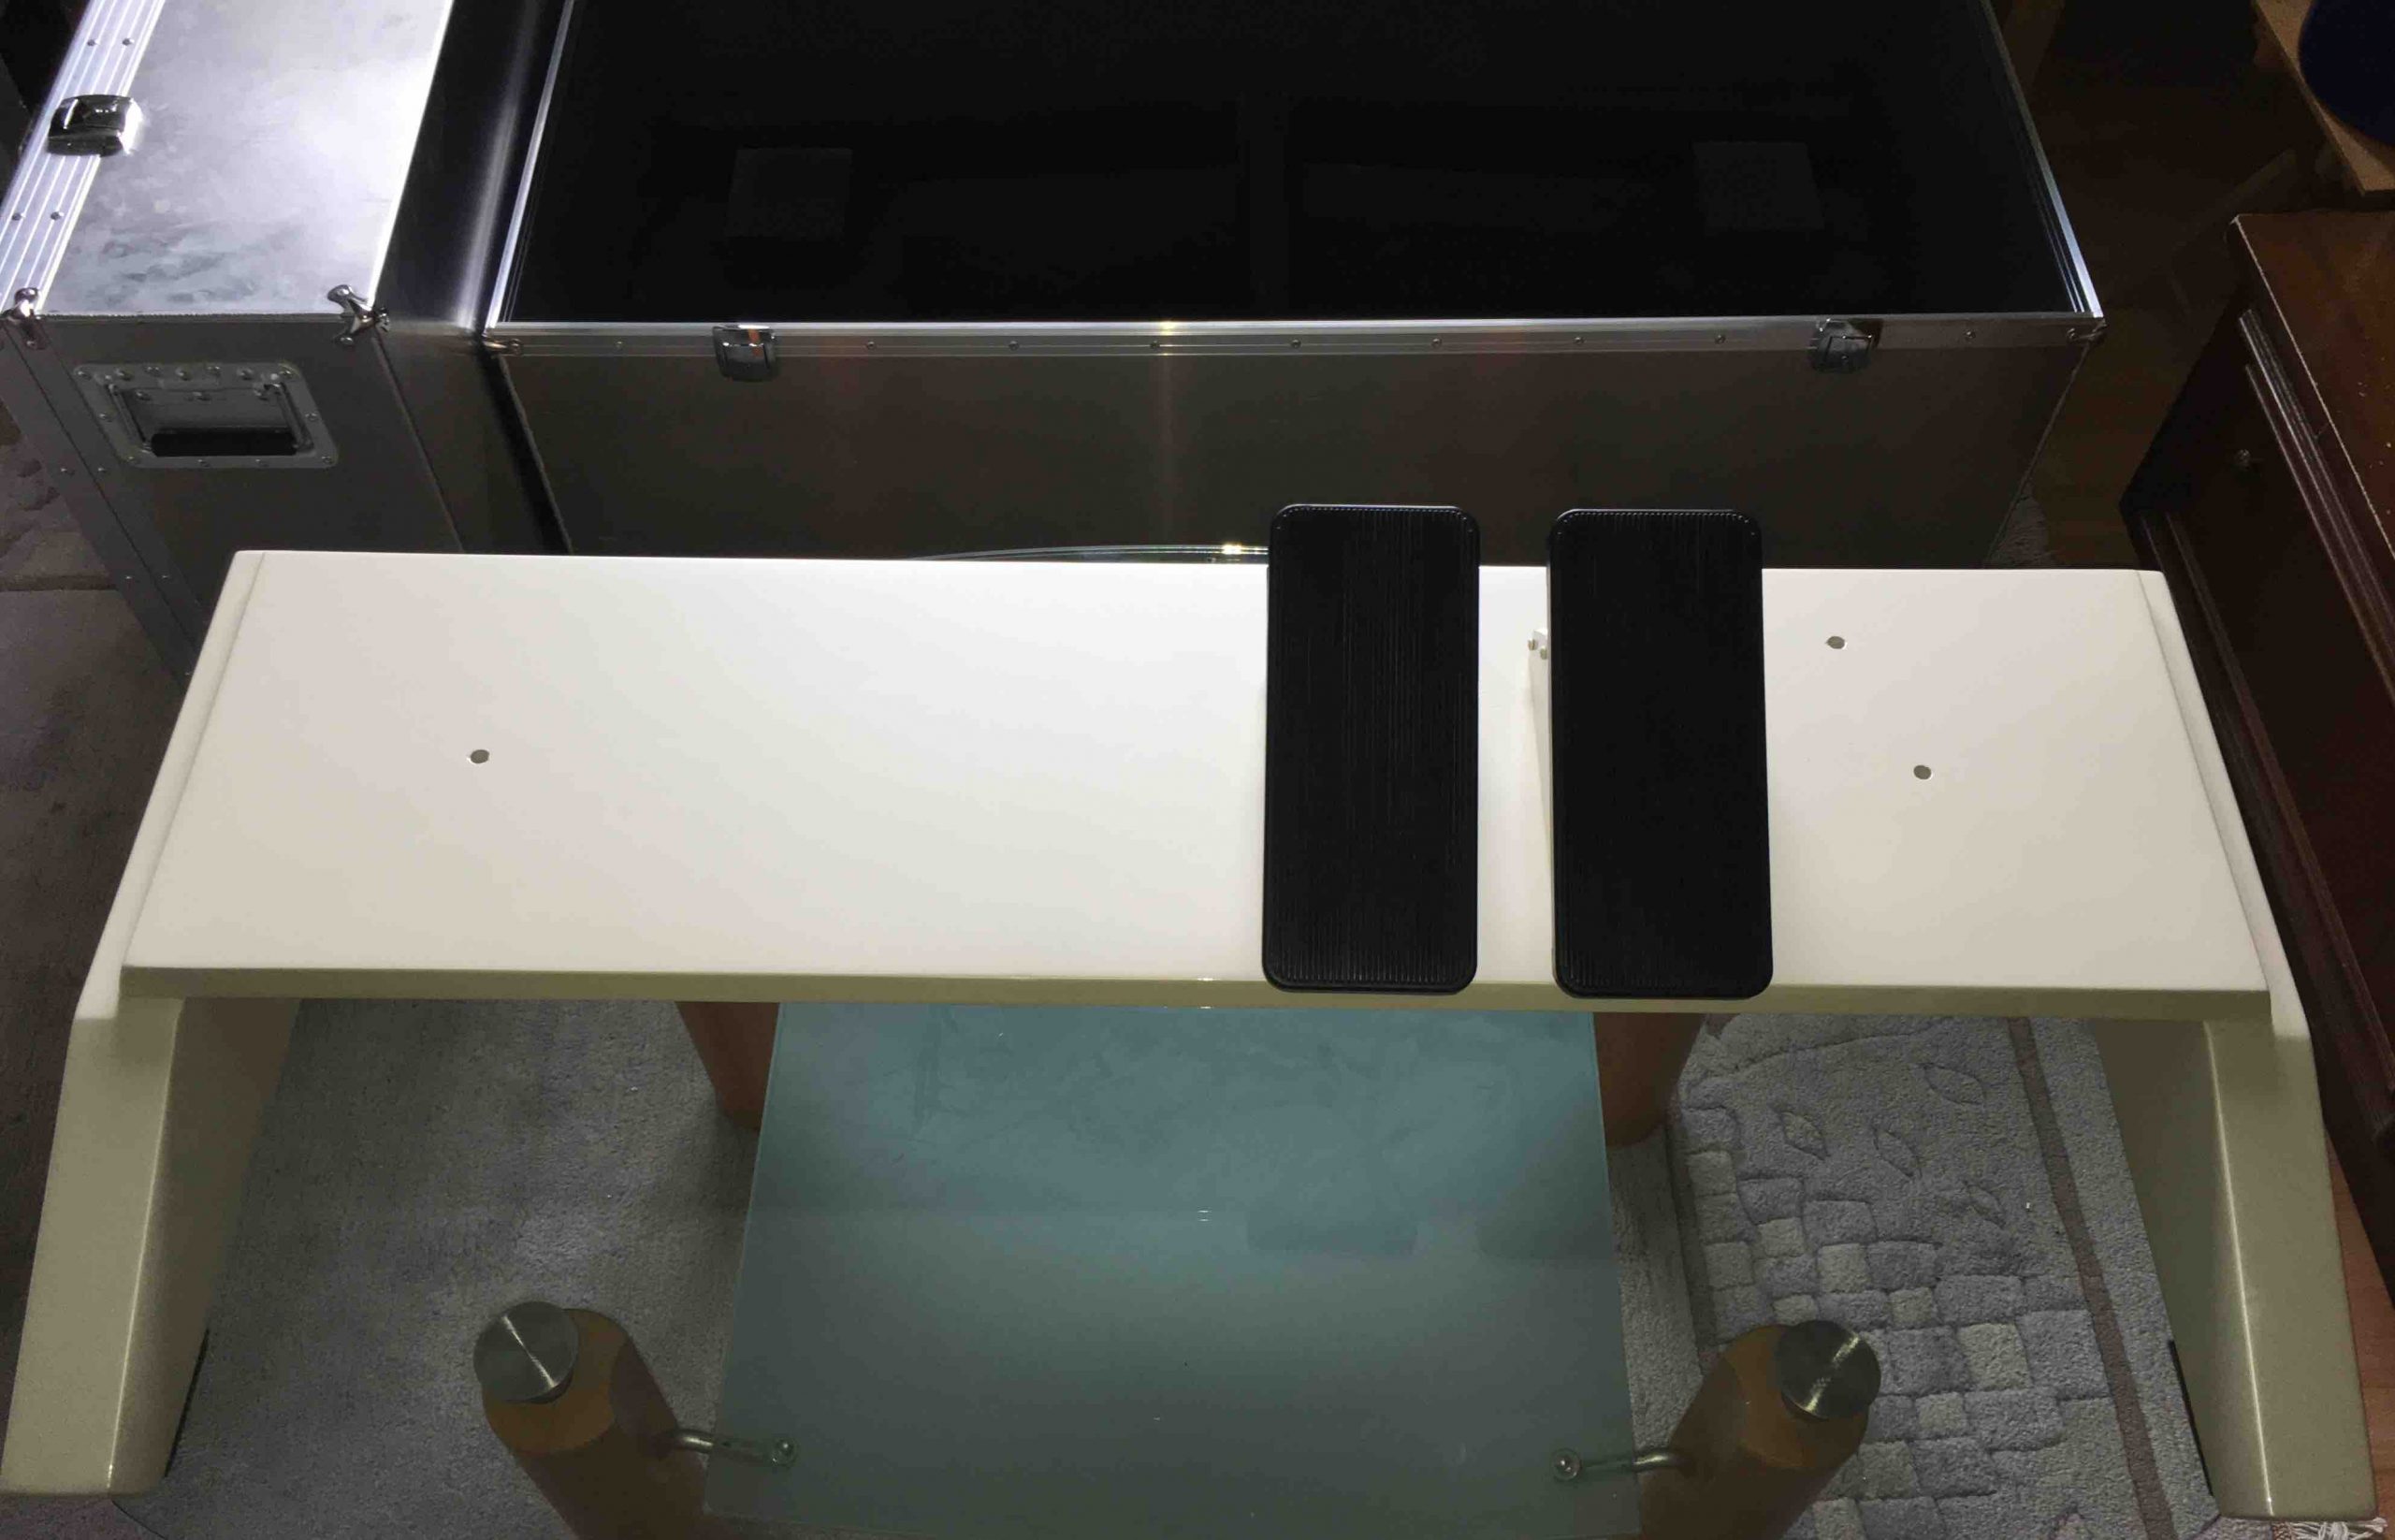
Ready varnished console lower part with both swell pedals (photo 14). Behind it are the two aluminium boxes, which are used to transport the lower part of the console and the seating bench.
Photo 14
Photo 15a
Photo 15b
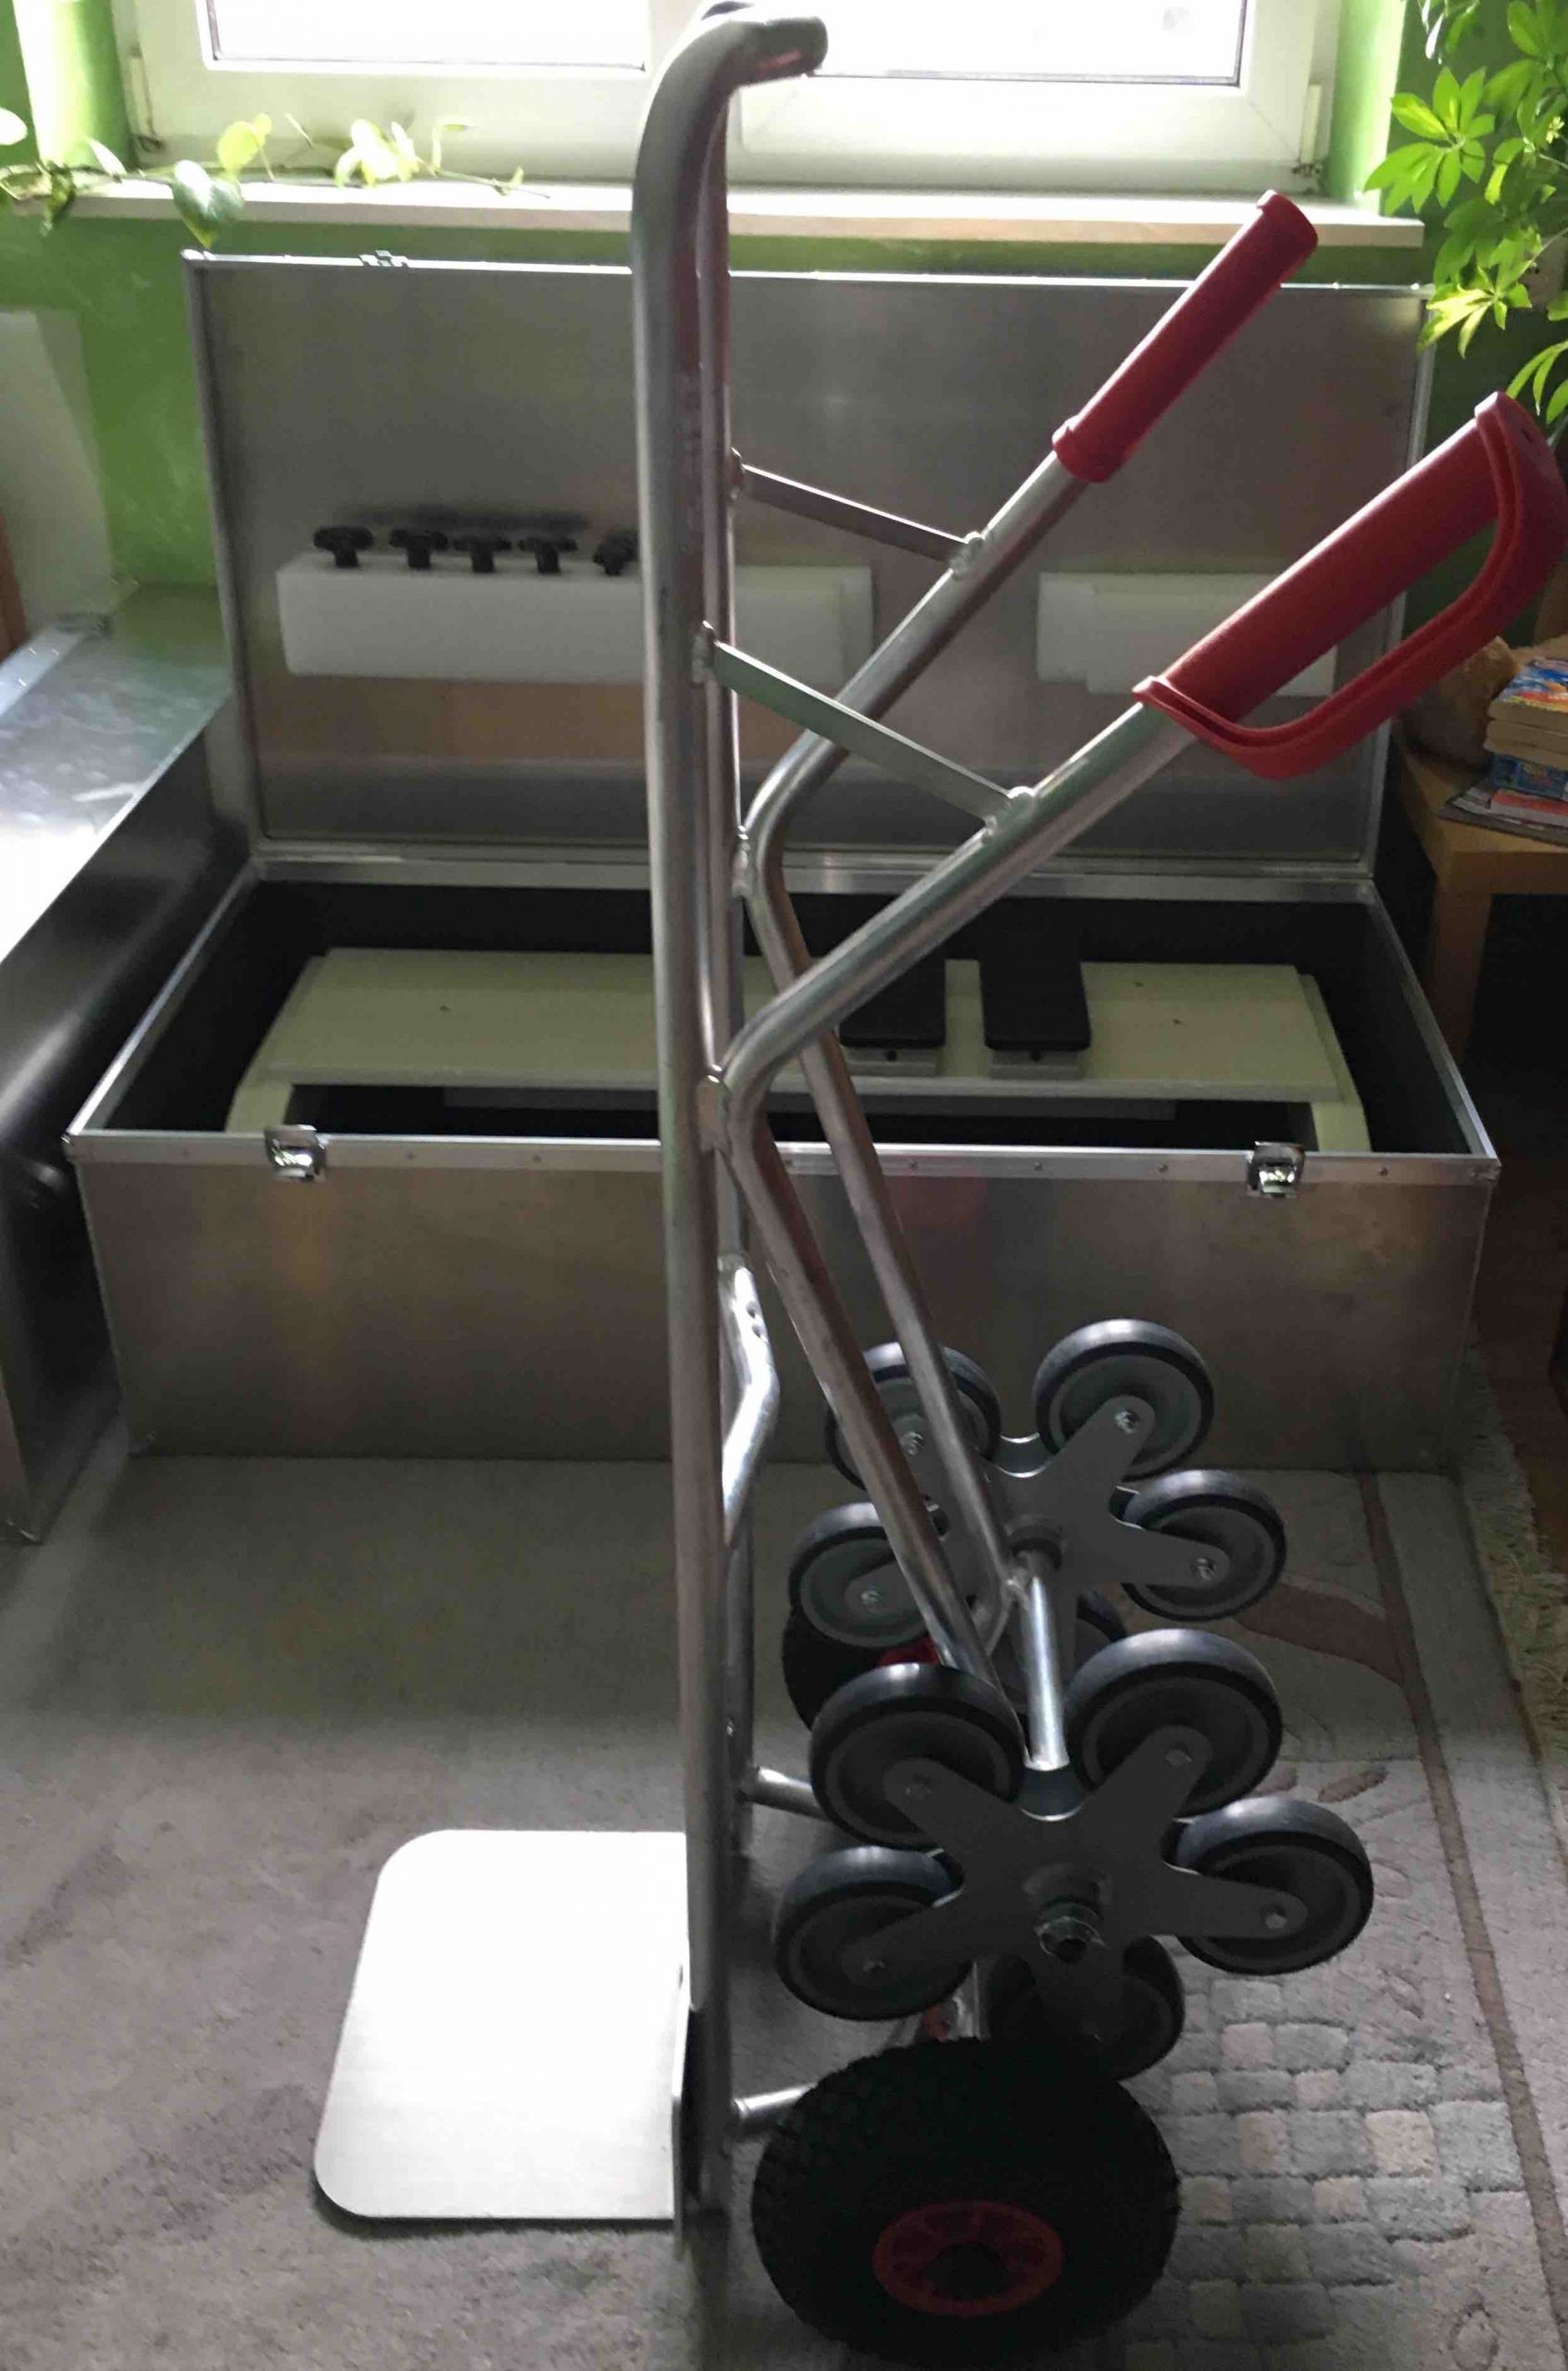
Photo 15a shows the stair climber witch I use to move the aluminium transport boxes. Behind it you can see the lower part of the console in the transport box made for it.
Photo 15b shows the transport box for the 25-keys pedal.
June 2018
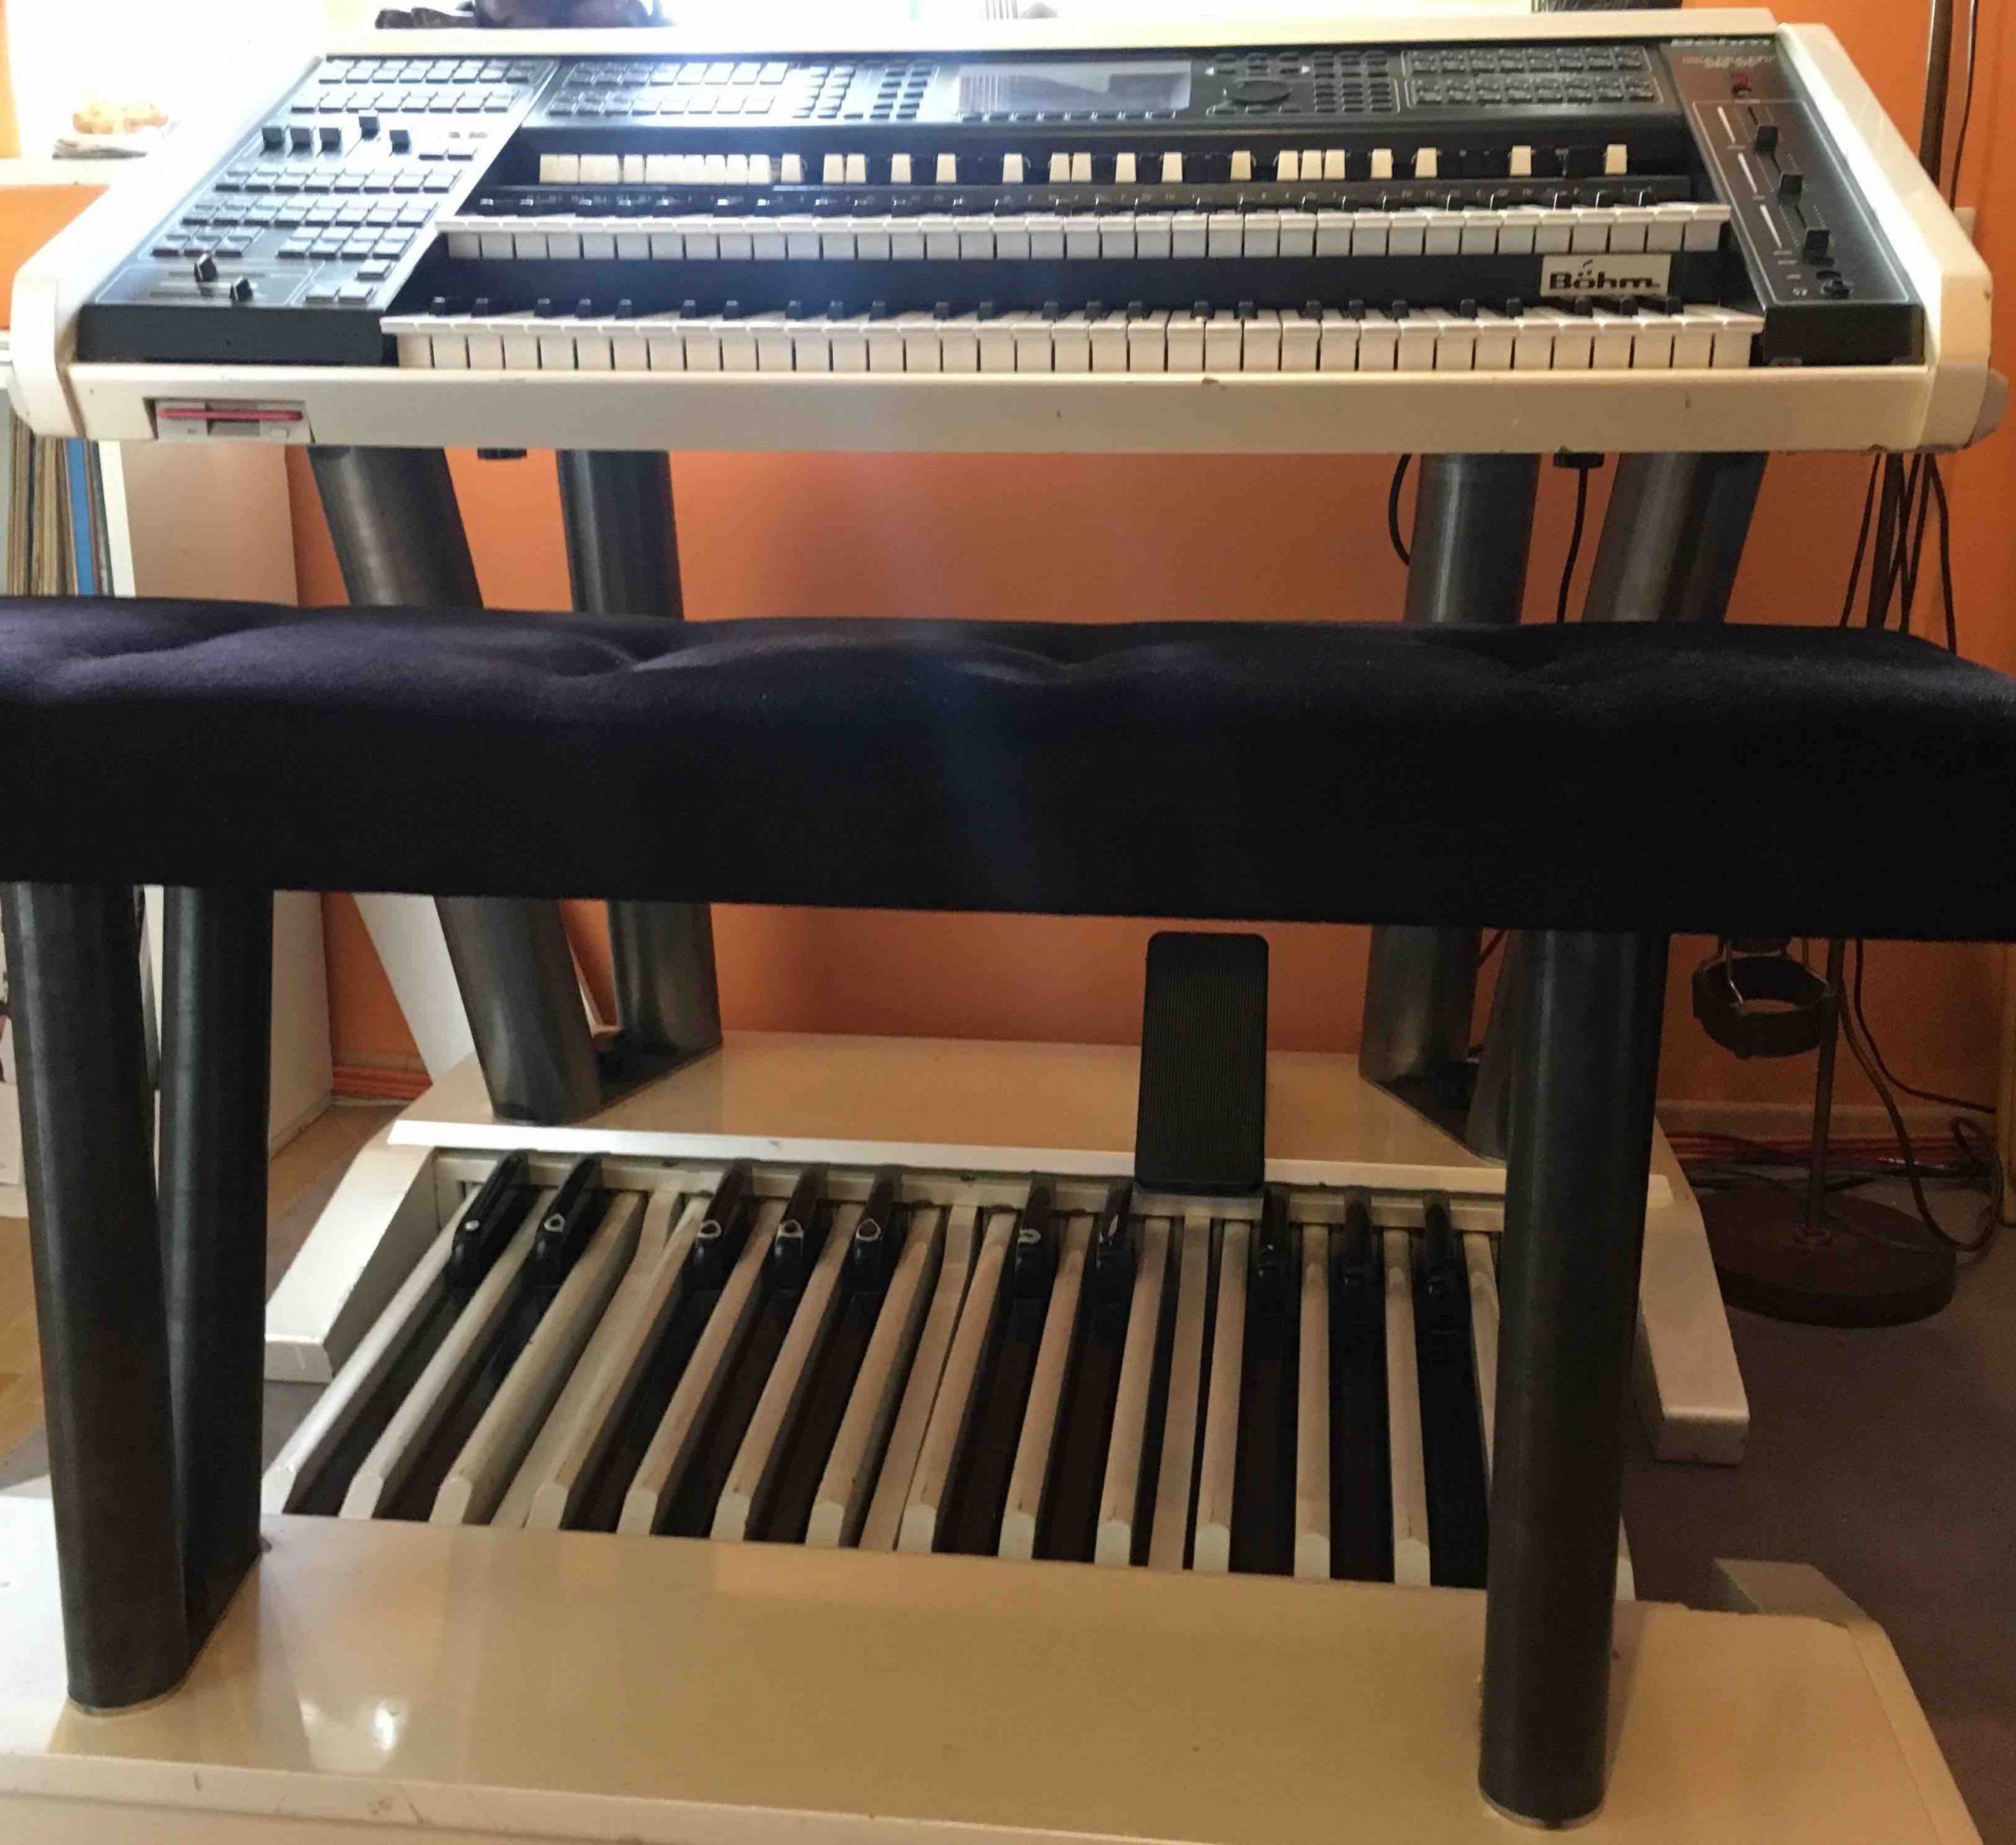
My Diamand 350 CT (the former show and concert instrument of the late Mark Shakespeare) is standing here on the still untreated steel pillars, which I had made by an art metalworker (Photo 16). The black colour results from the fact that the pillars have not yet been ground and polished.
Photo 16
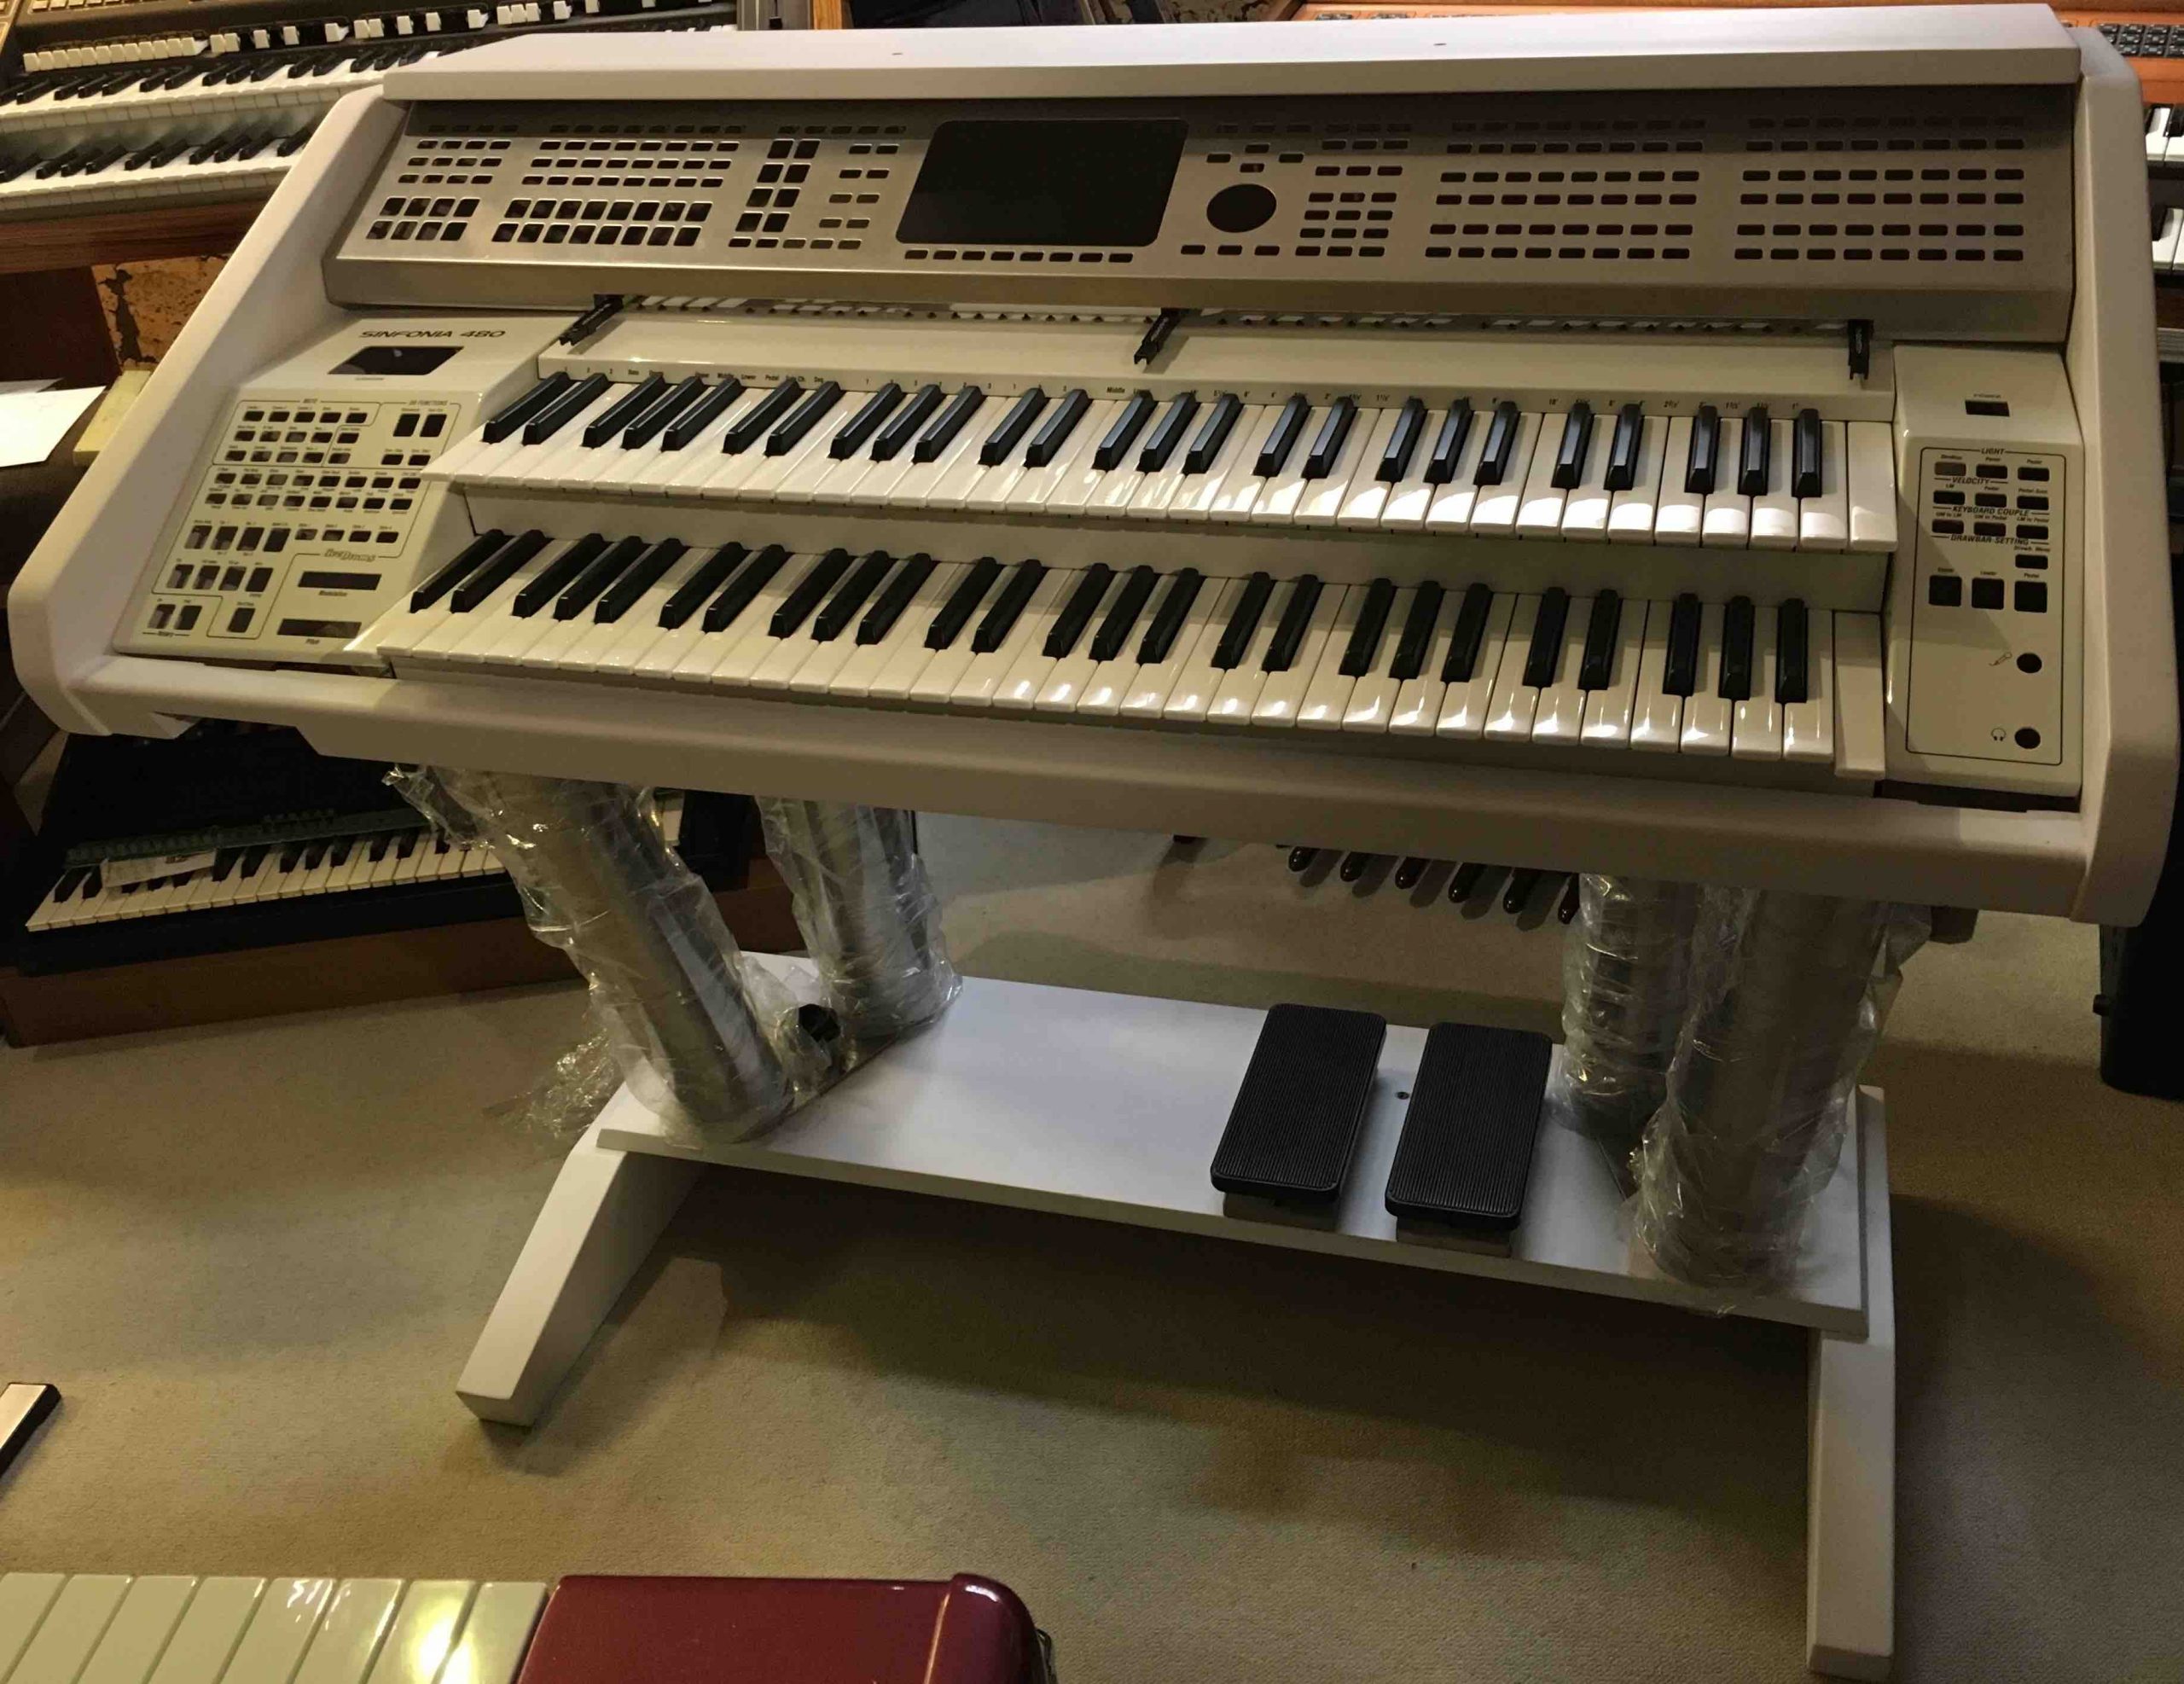
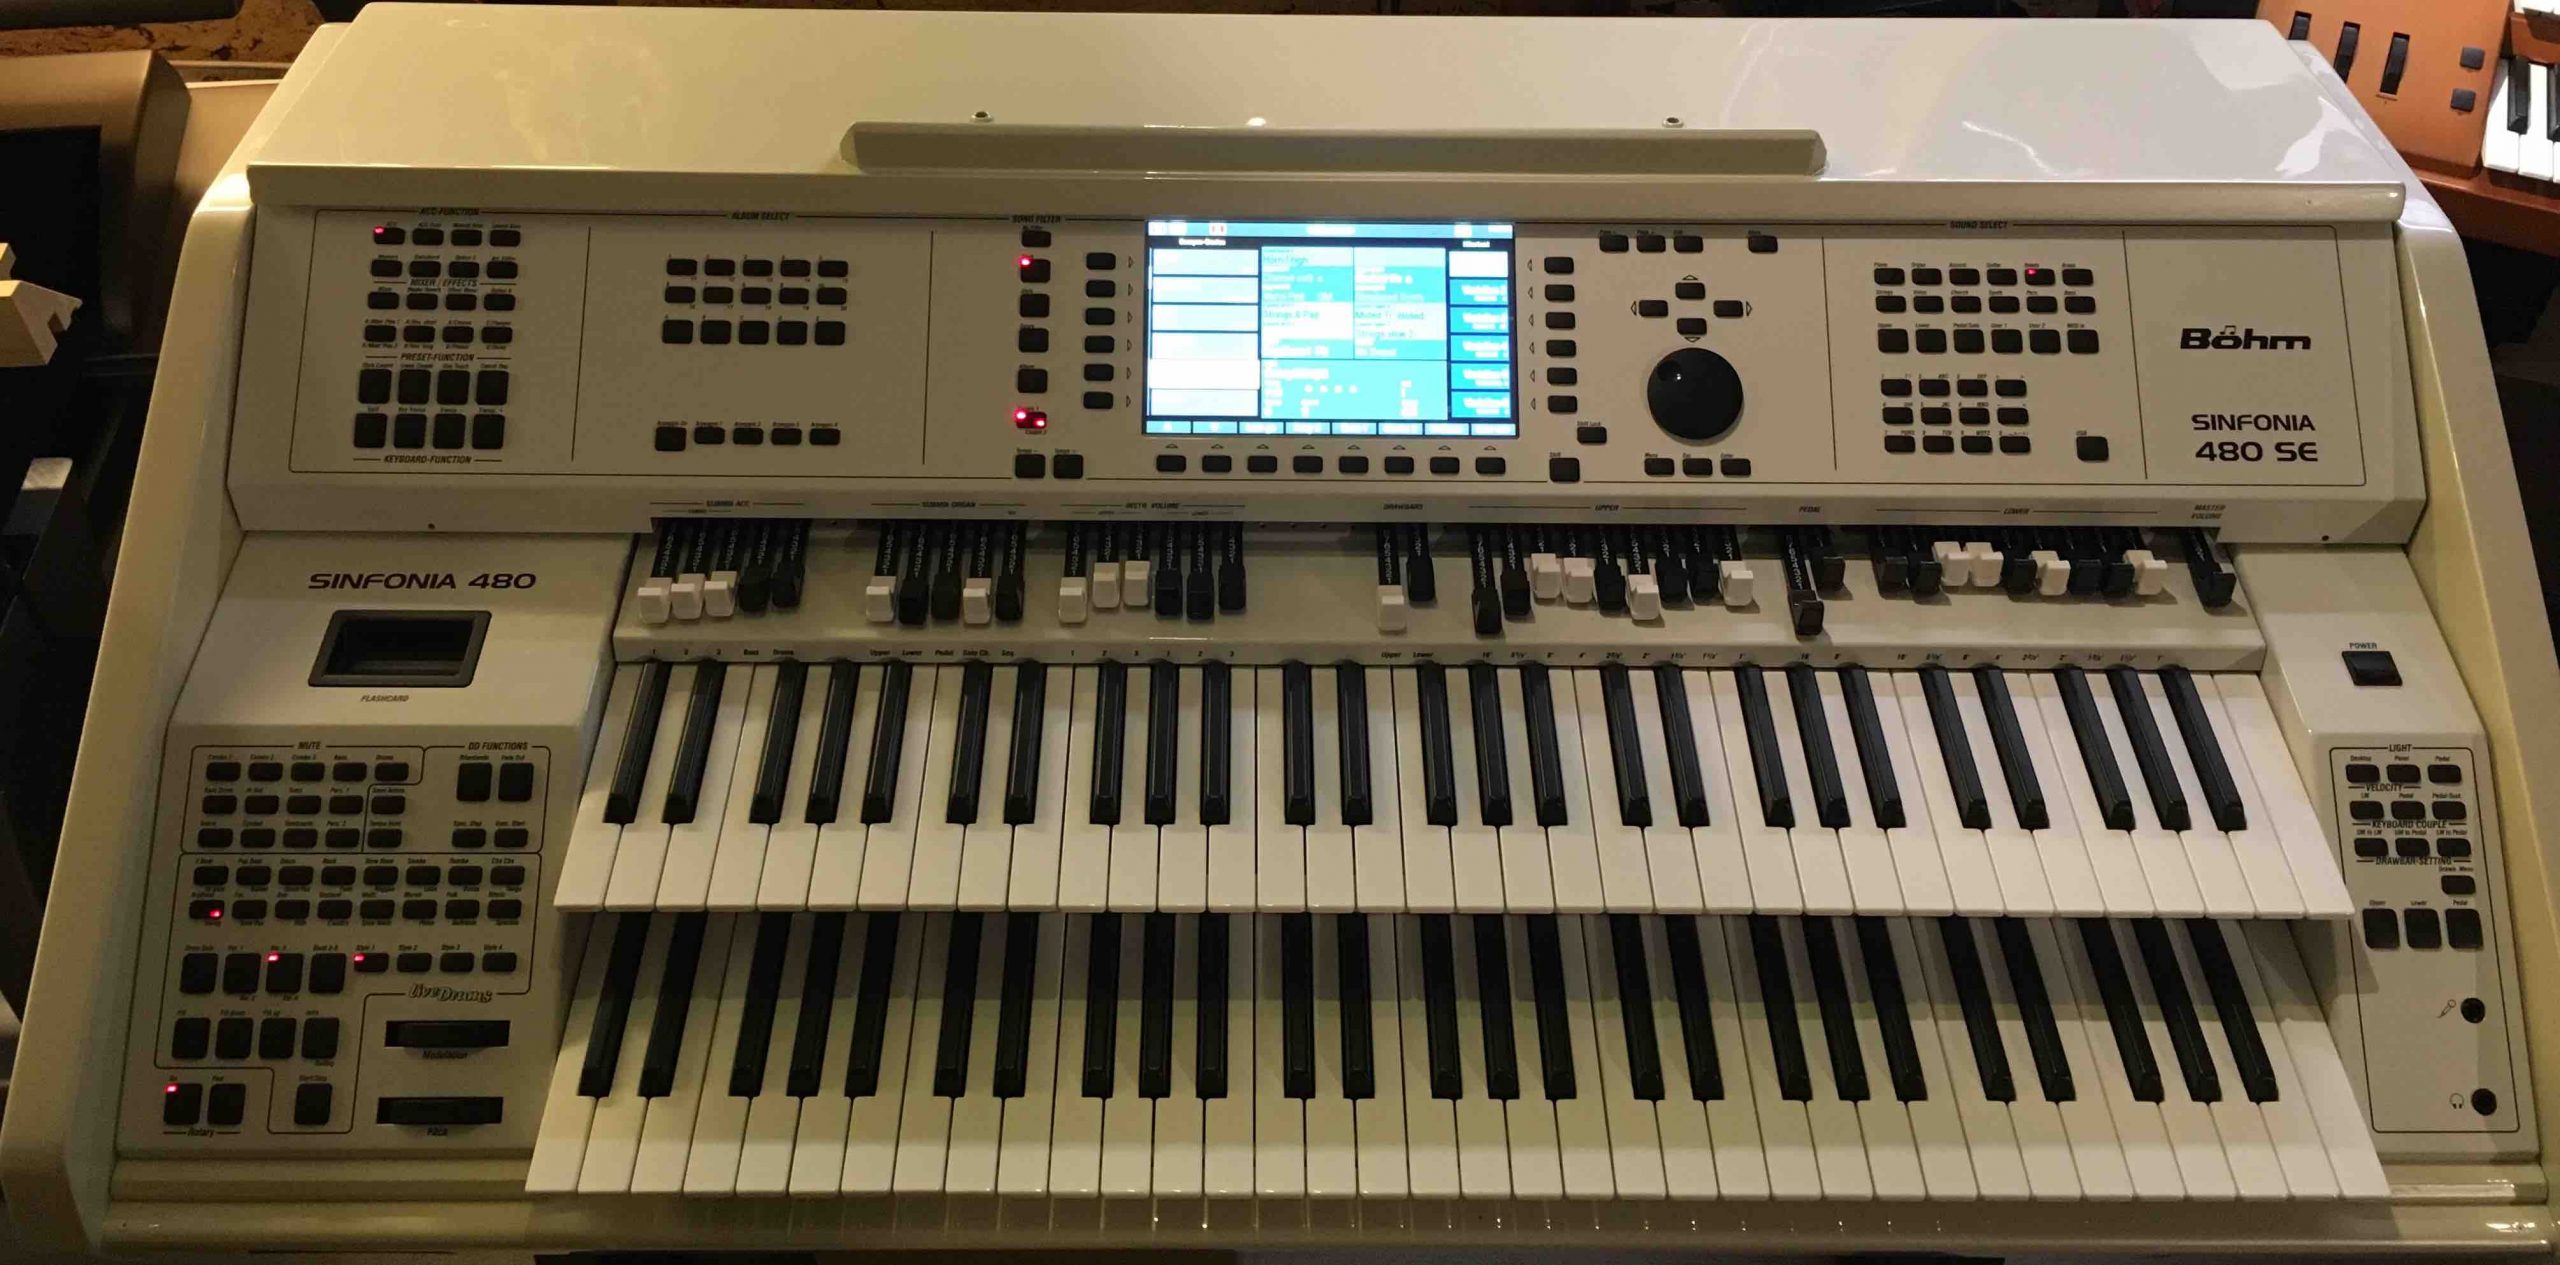
Photo 17
Photo 17 shows the console of my SINFONIA 480 SE with provisionally fixed keyboards and still empty control panels. The upper control panel is the one of a SINFONIA 480. It only serves as a "placeholder". The upper part of the case as well as the lower part do not have the final varnishing yet. The steel columns are packed in
plastic bags to protect them from damage. They are now ground and polished.
July 2018
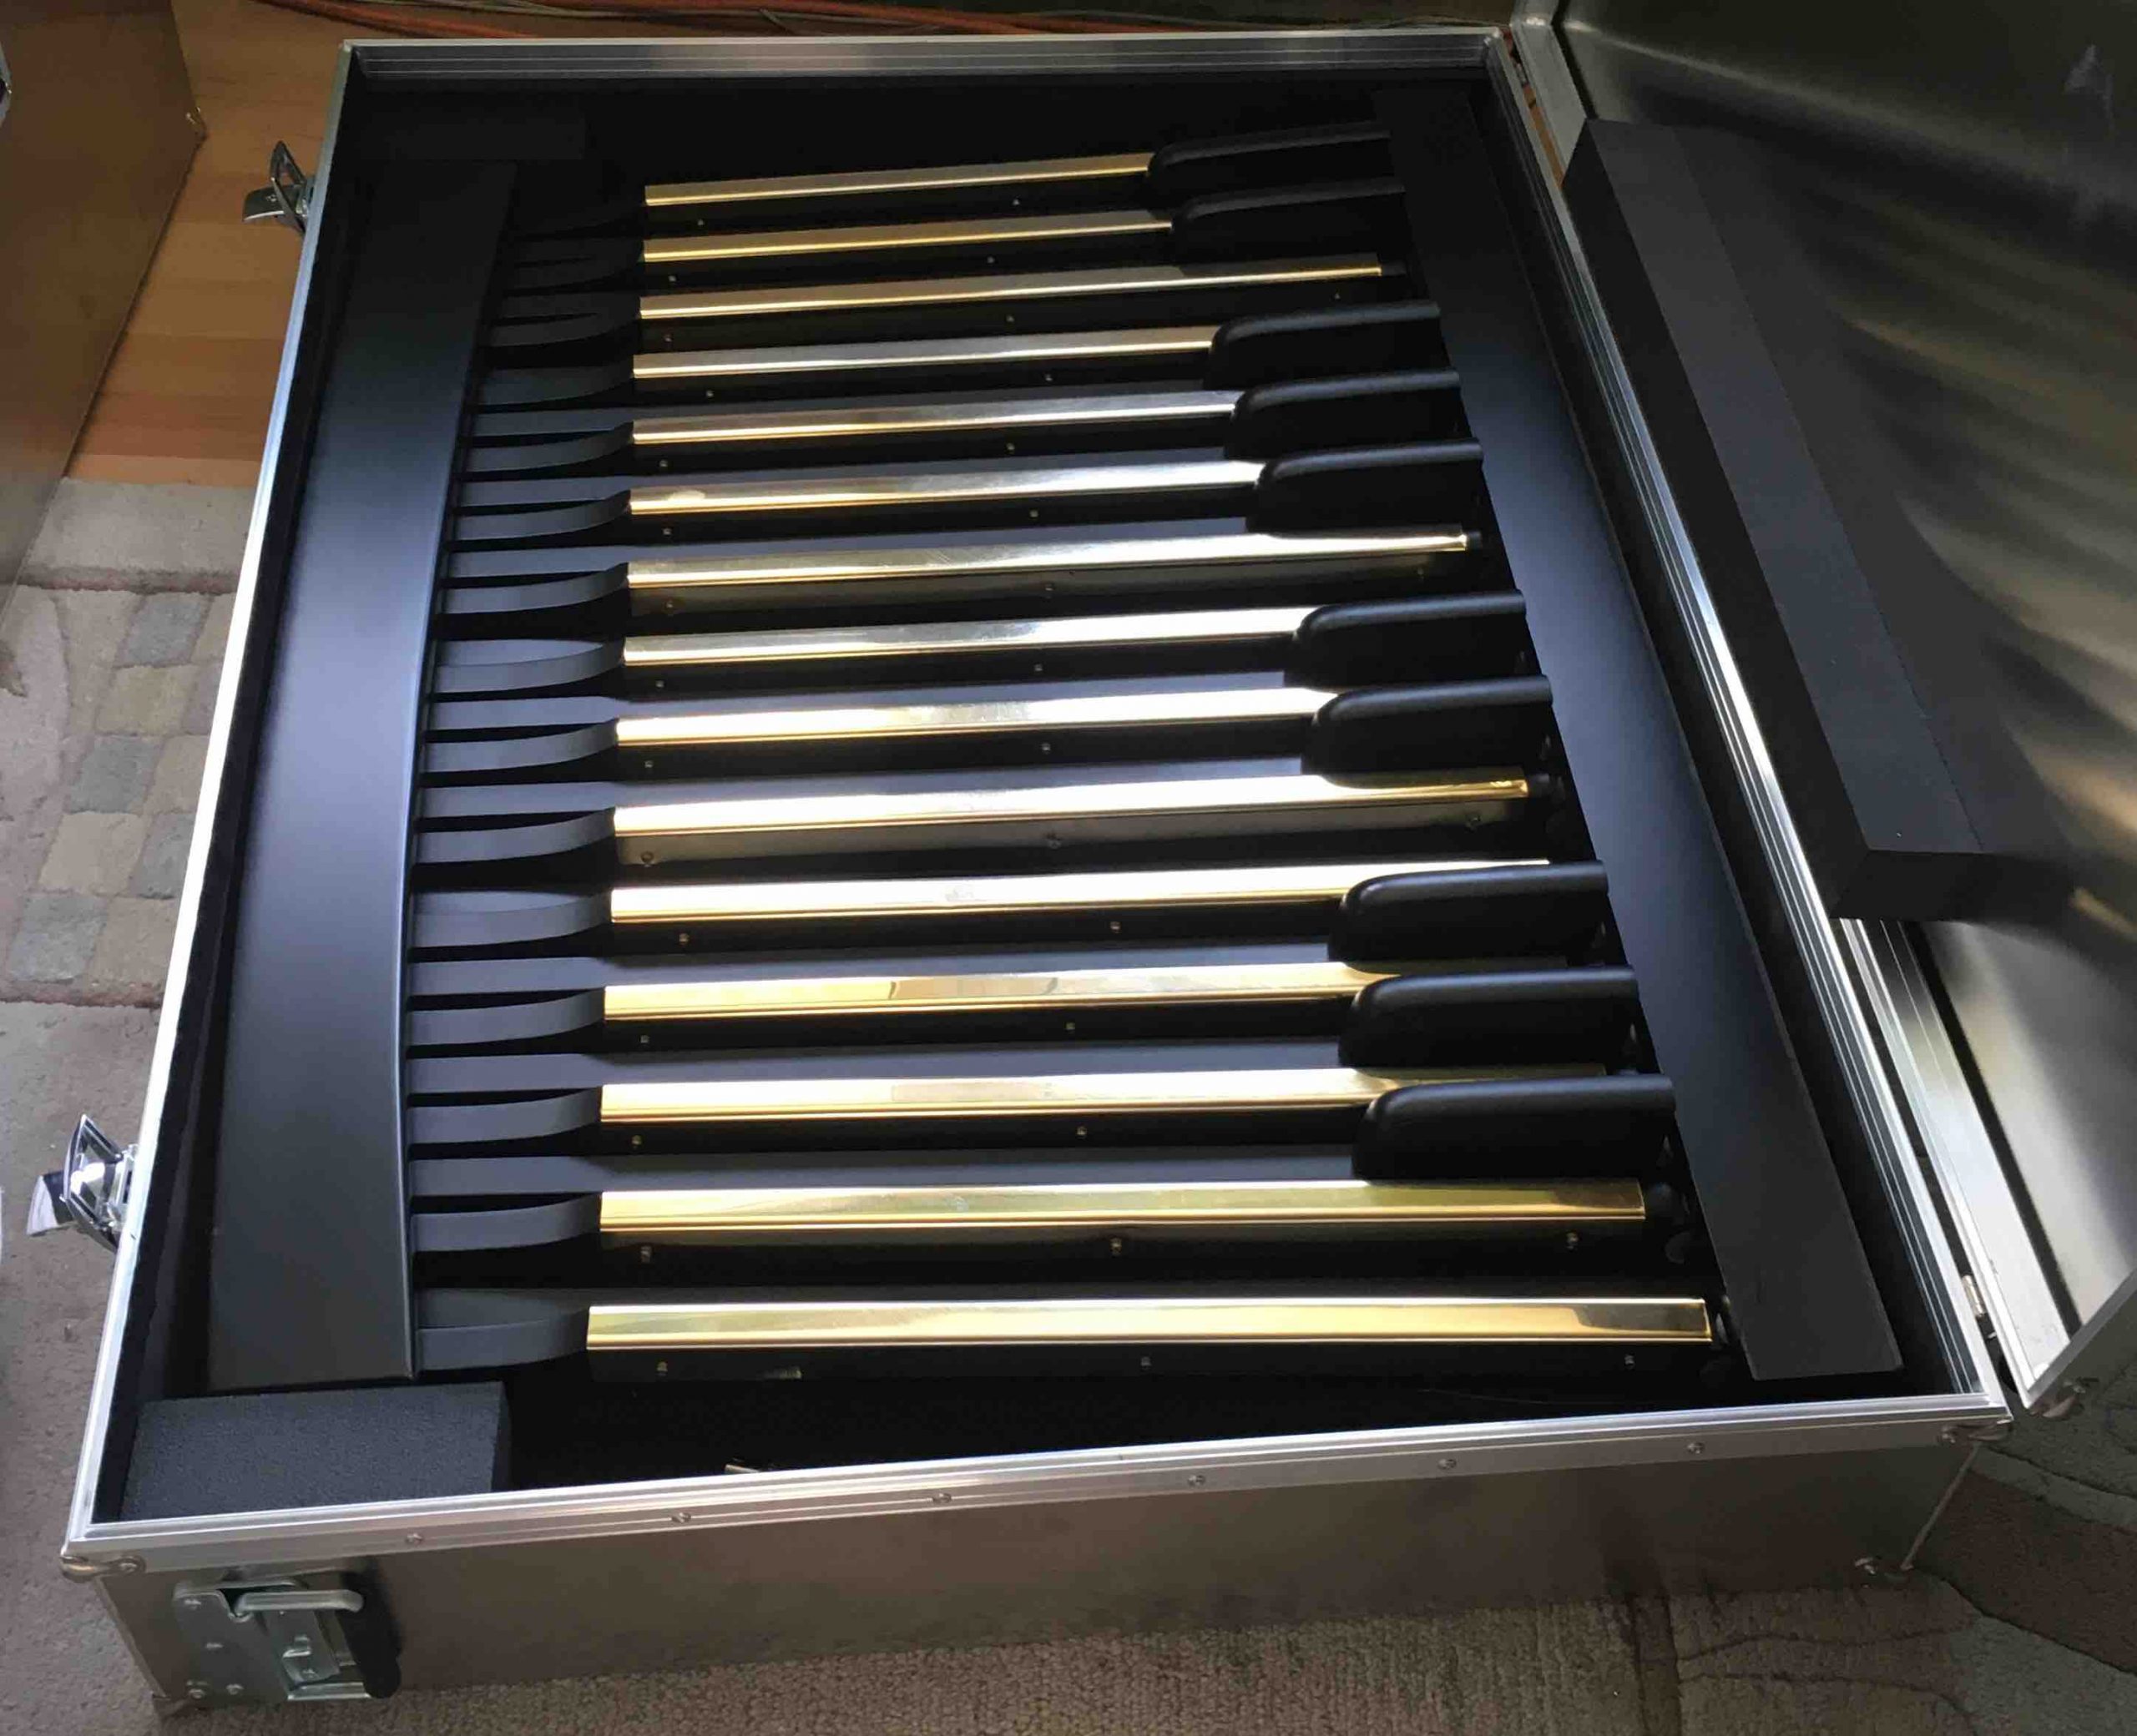
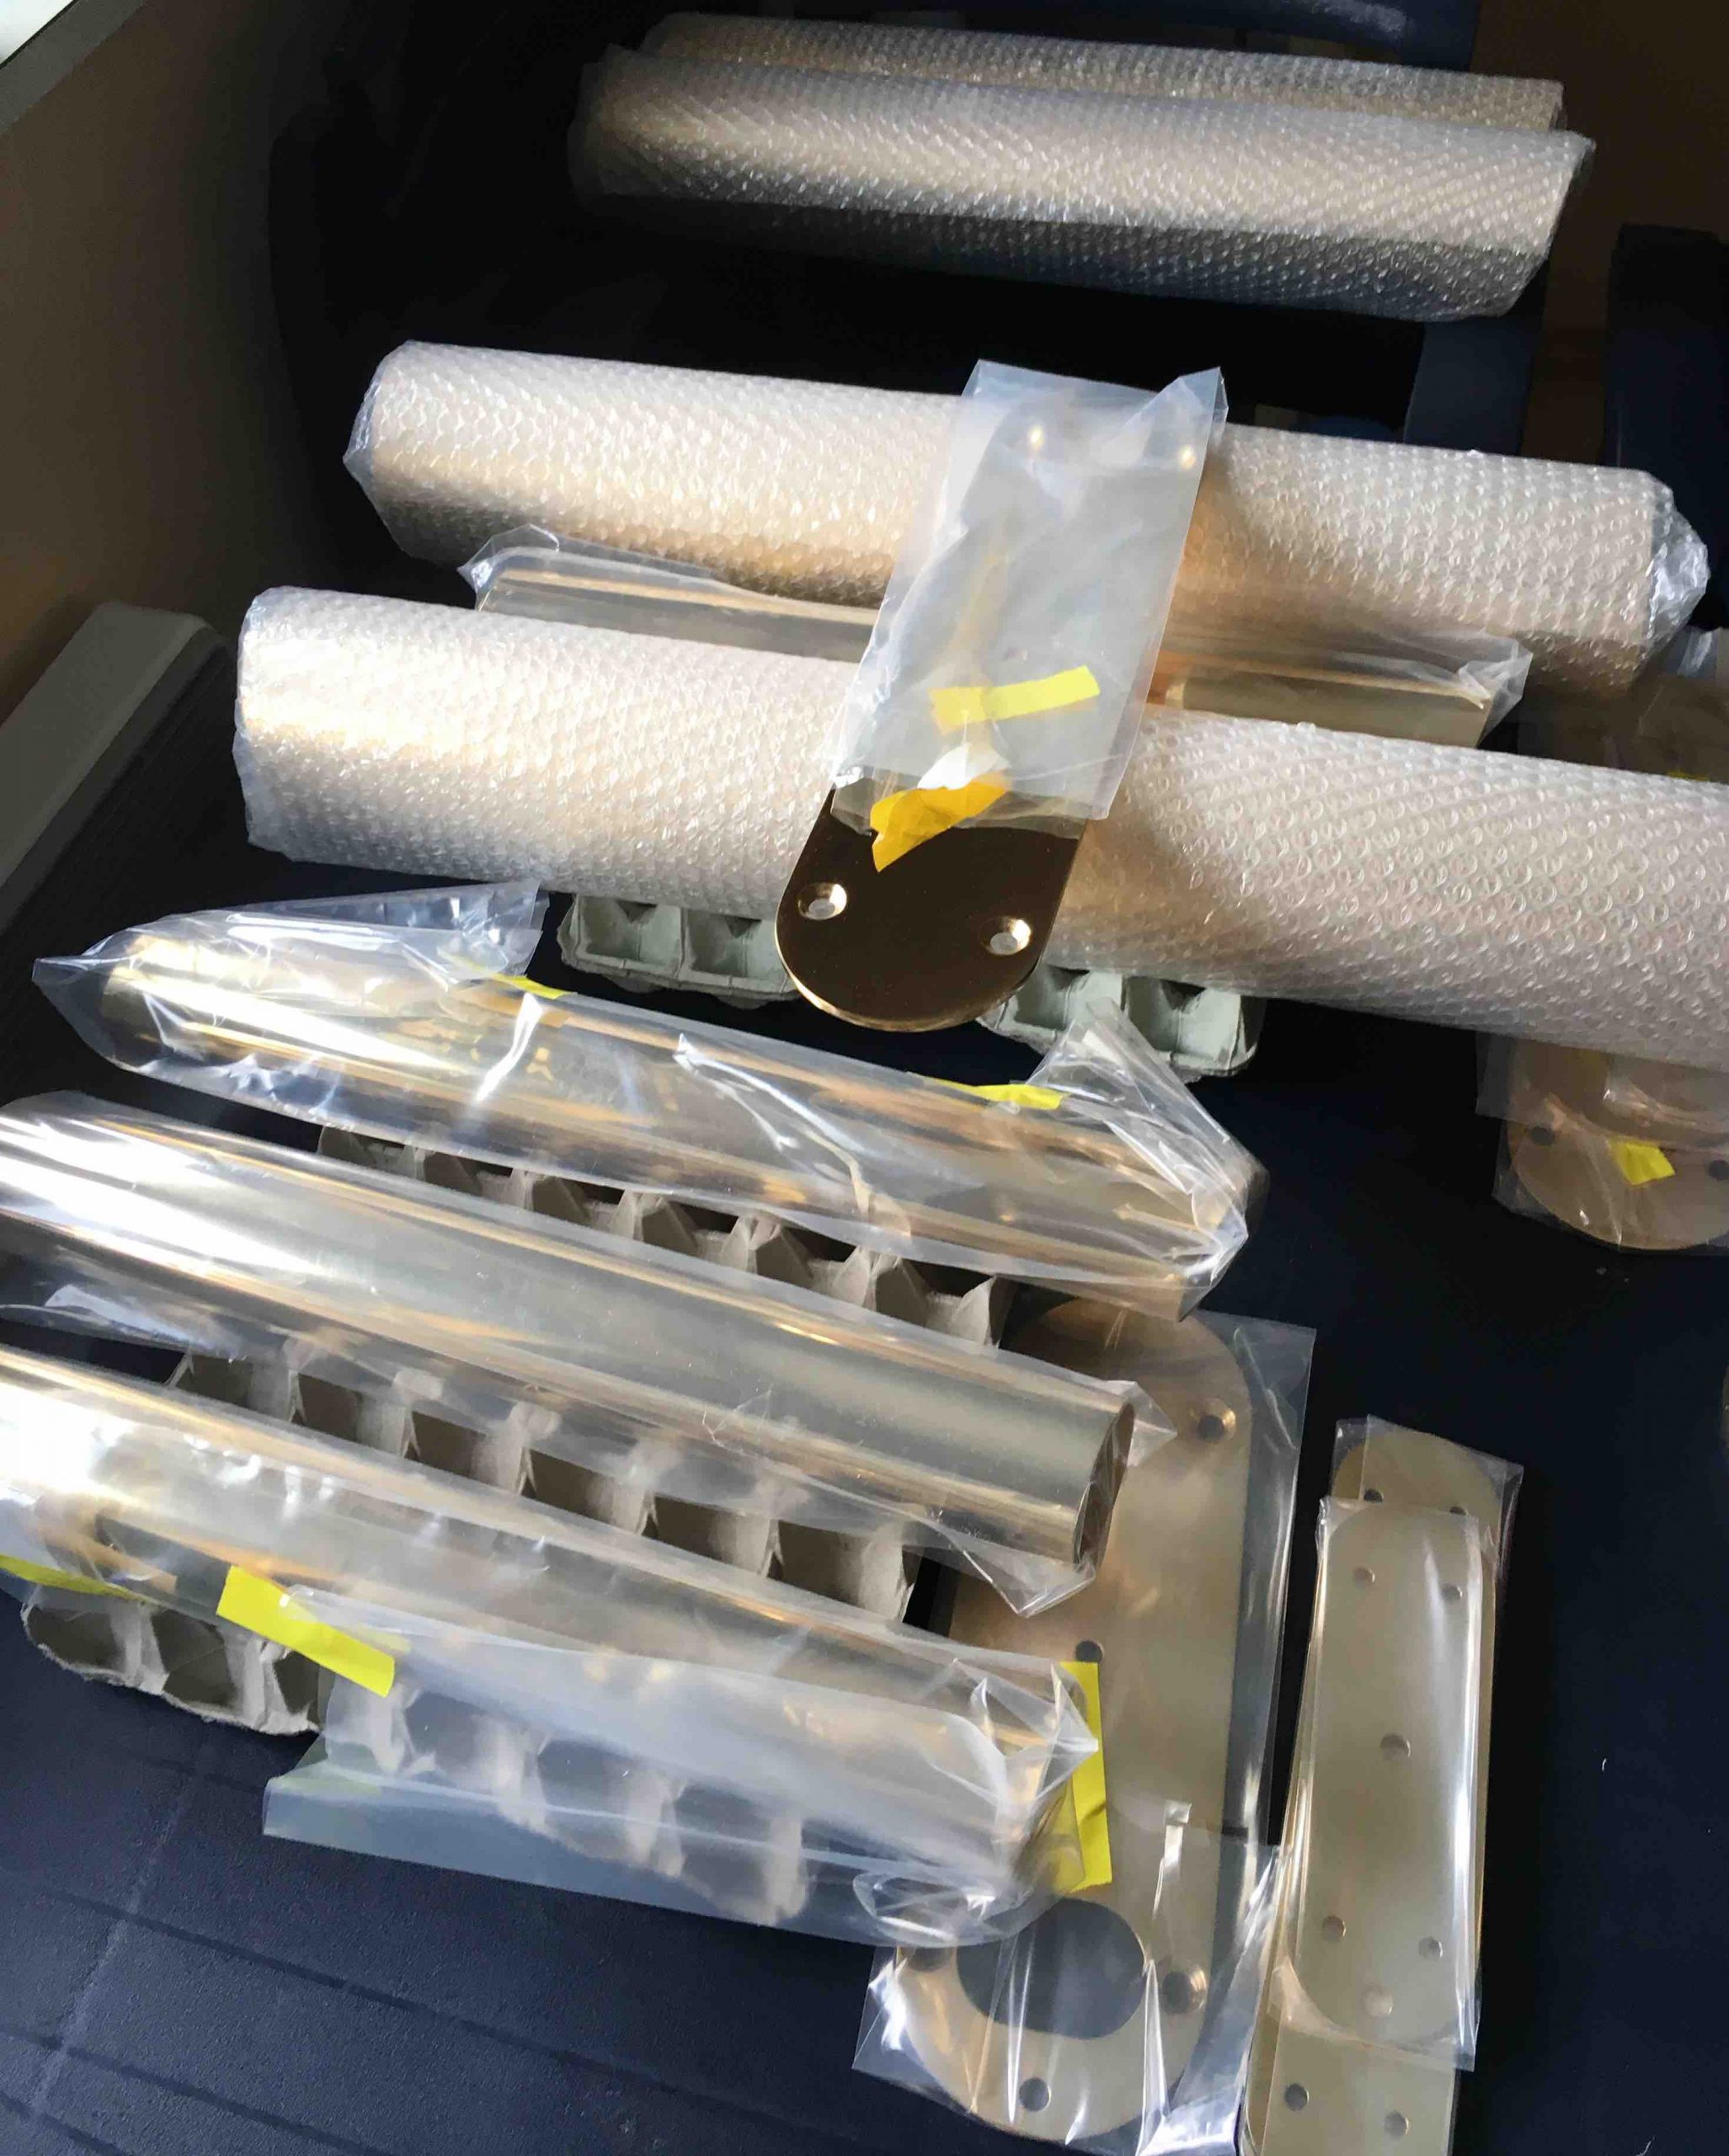
The individual parts of the pillars were during galvanizing. Everything was covered with 24 carat gold. Photo 18 shows all parts covered in padding foil or protective film.
Photo 18
Photo 19
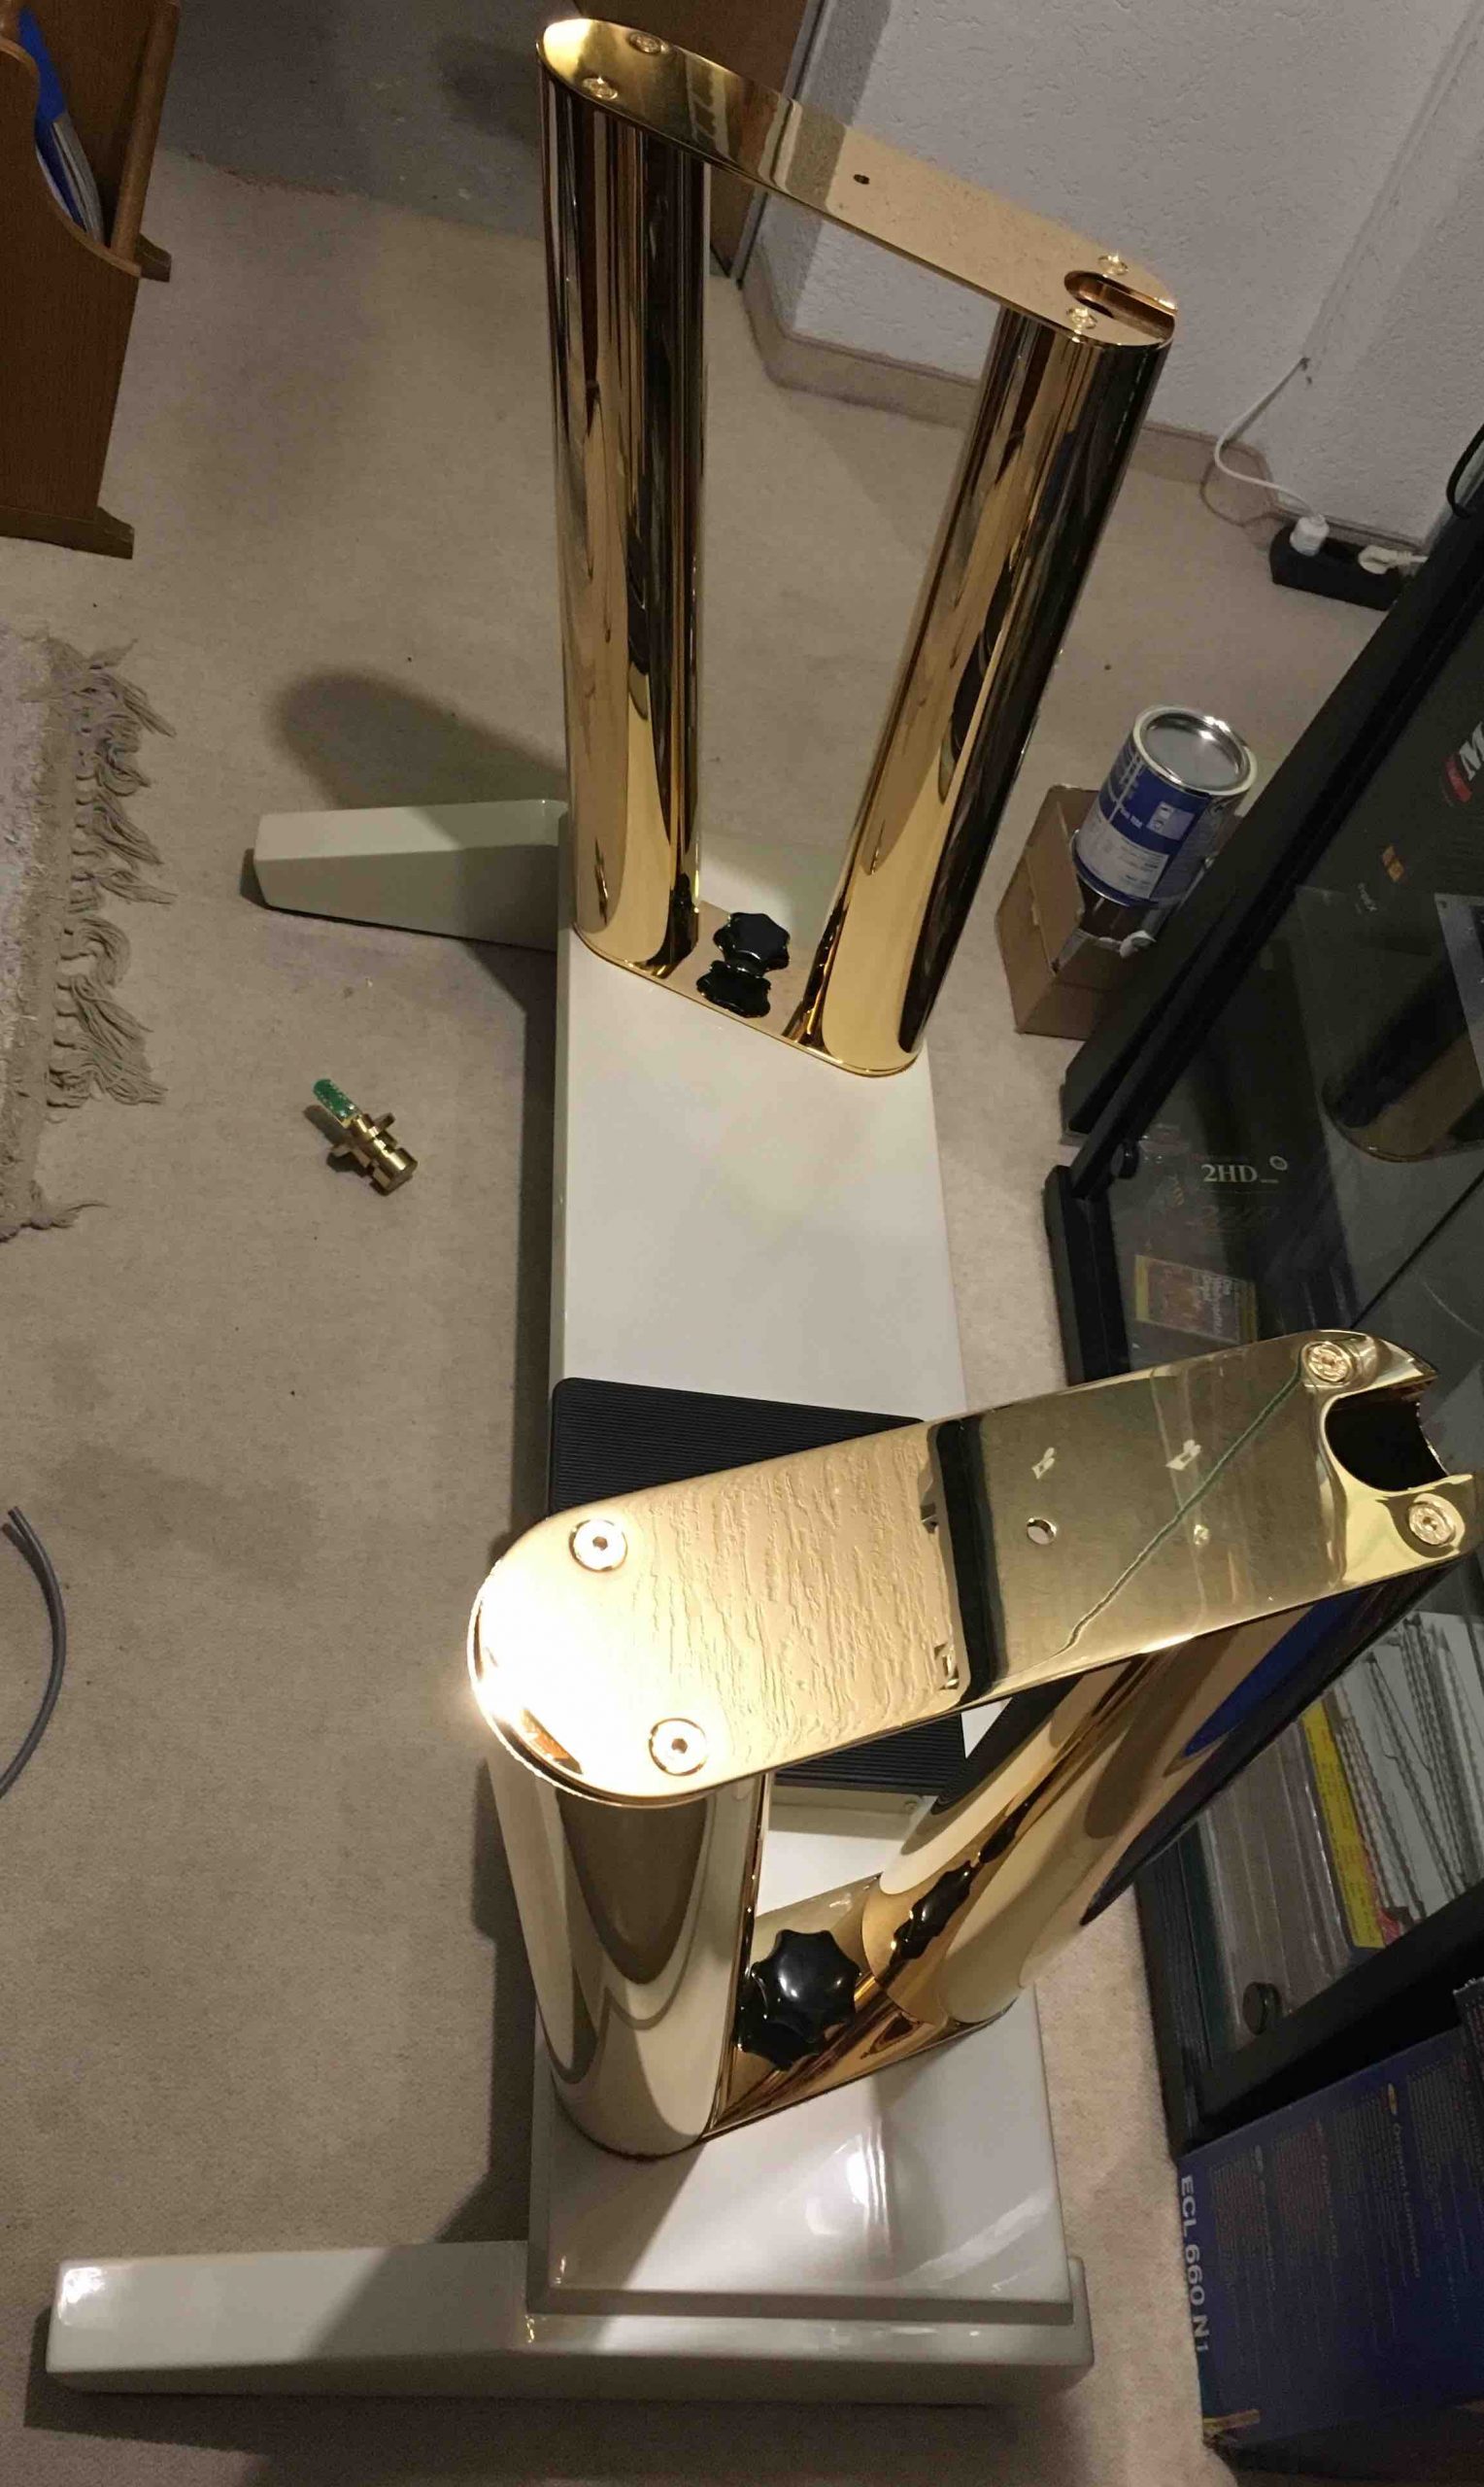
August 2018
Photo 19 shows the gold pillars mounted on the console stand lower part.
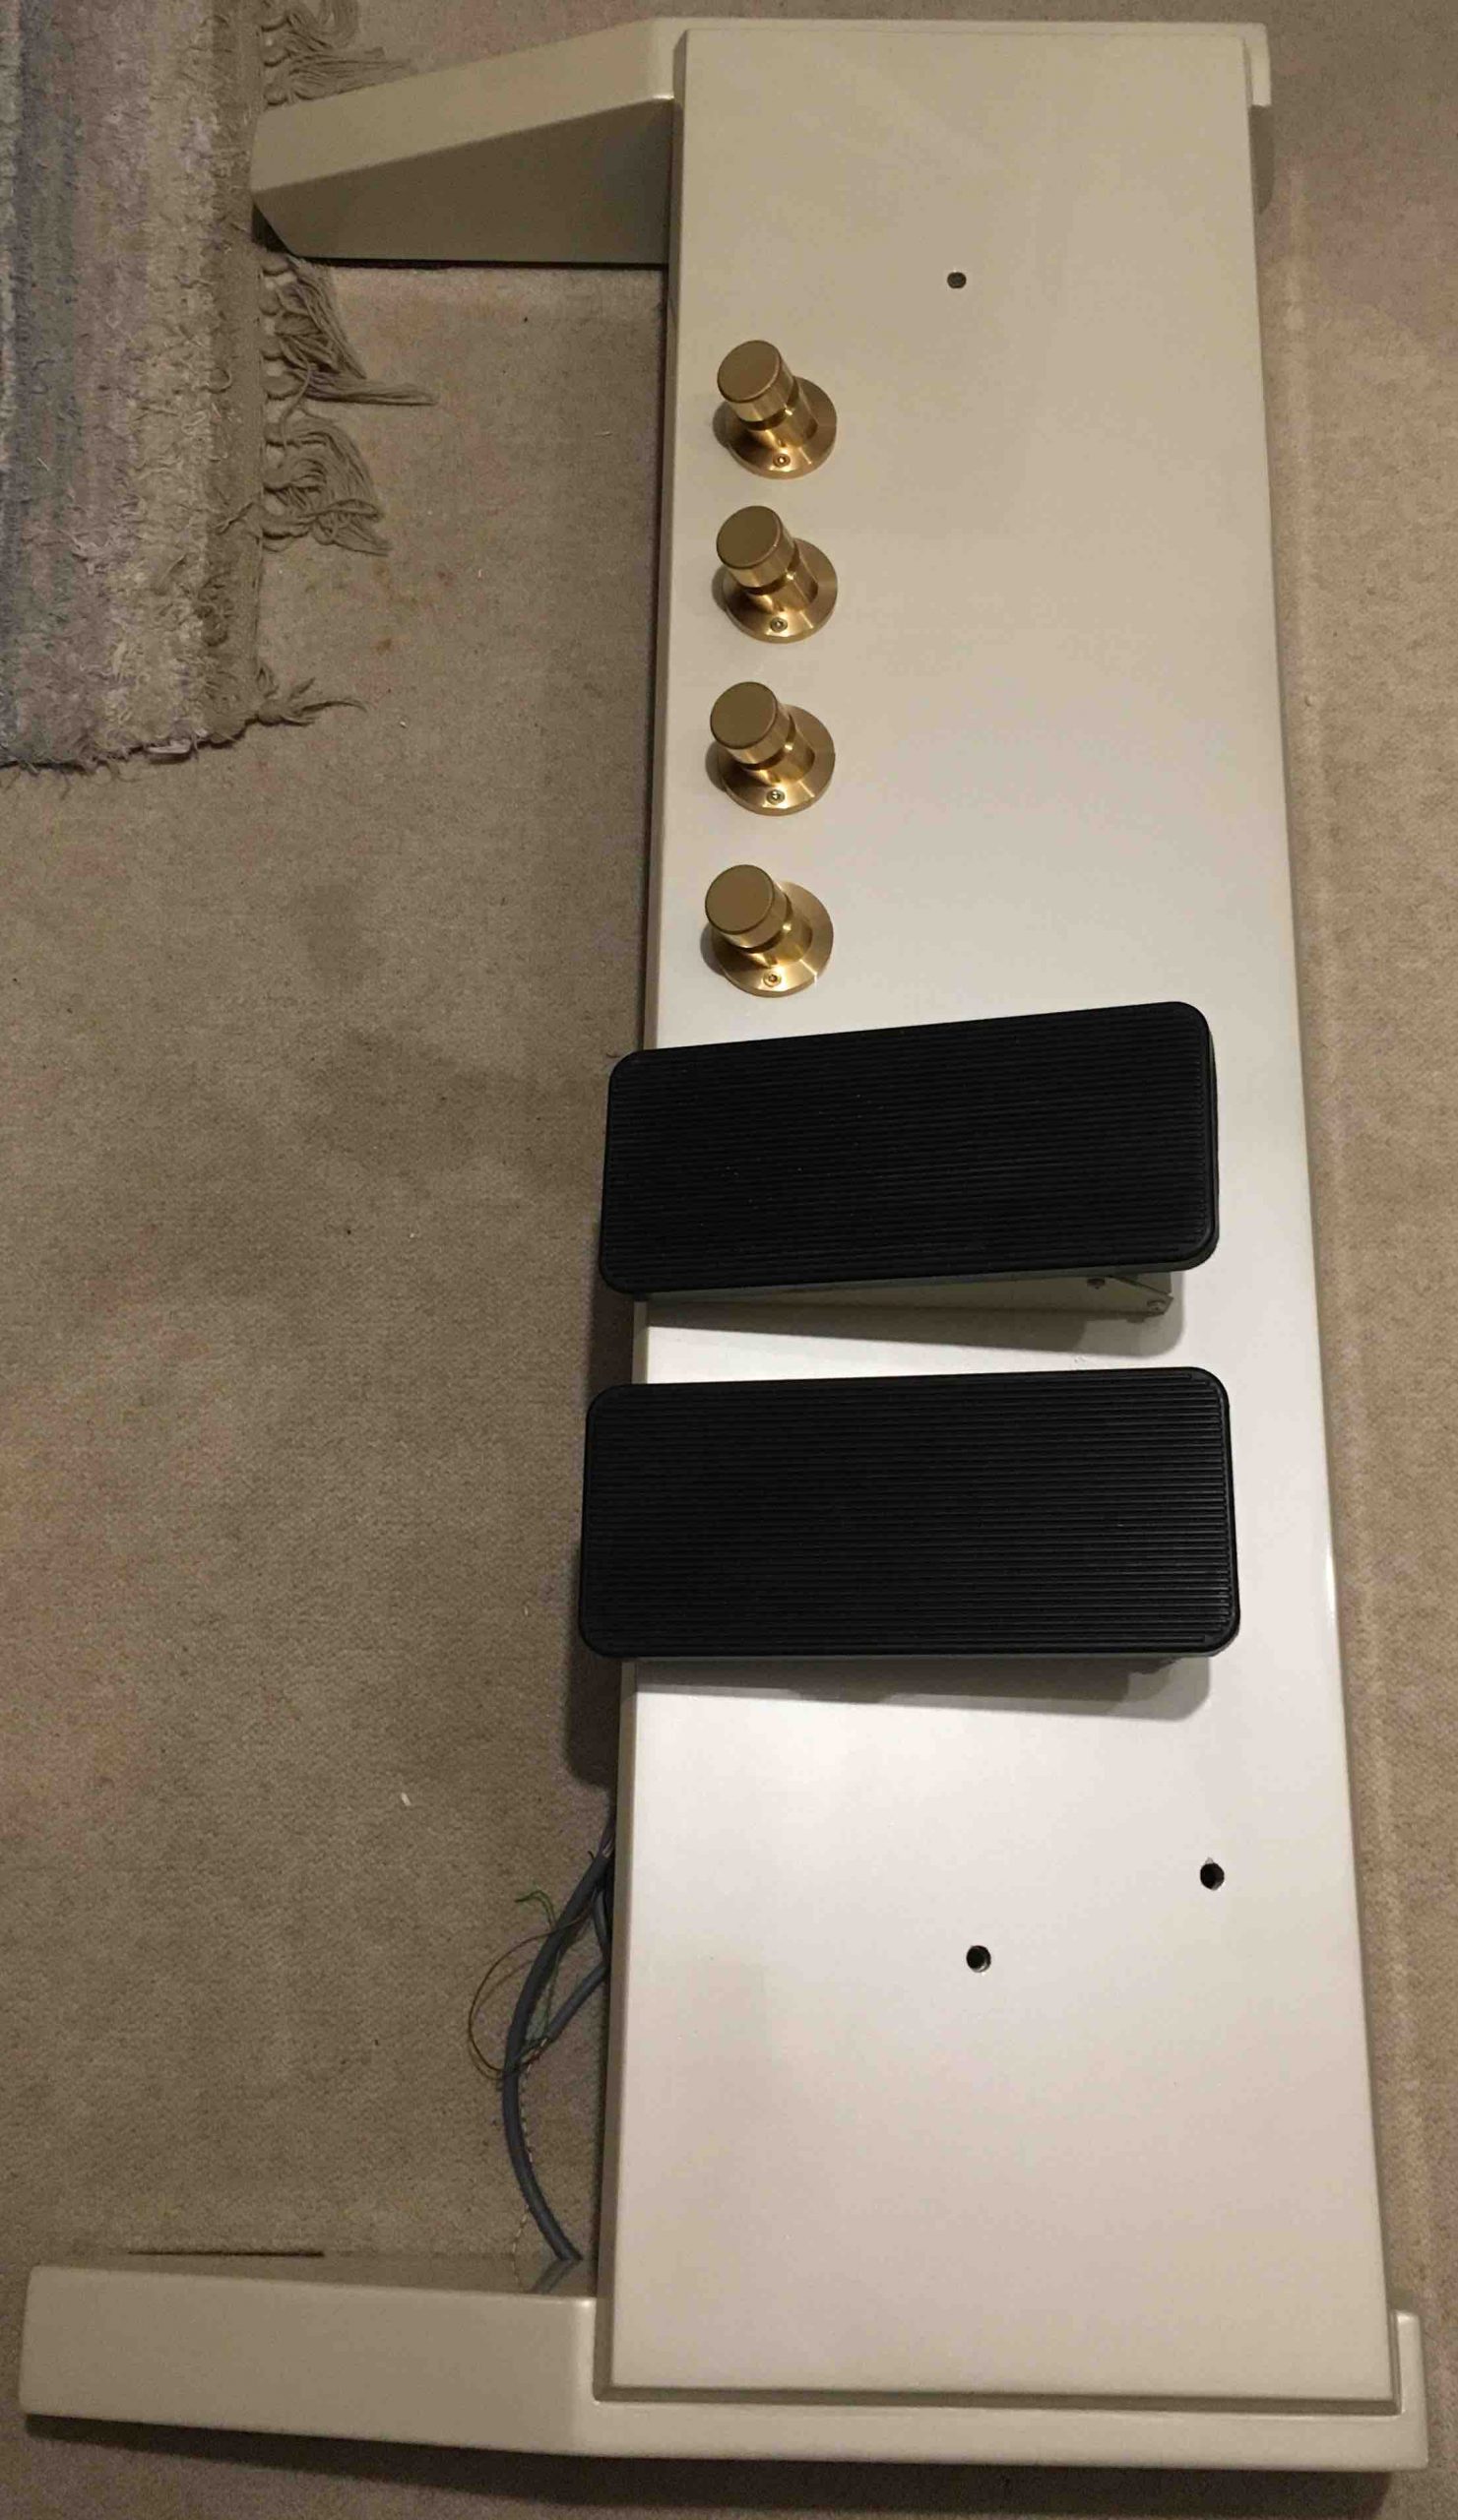
The positions for the drill holes of the four foot pistons into the lower part are now marked and placed. In front of the lower part you can see one of the pistons. The green area is the contact board for connecting the electronics.
The four foot pistons ready mounted in a row. (Photo 20).
Photo 20
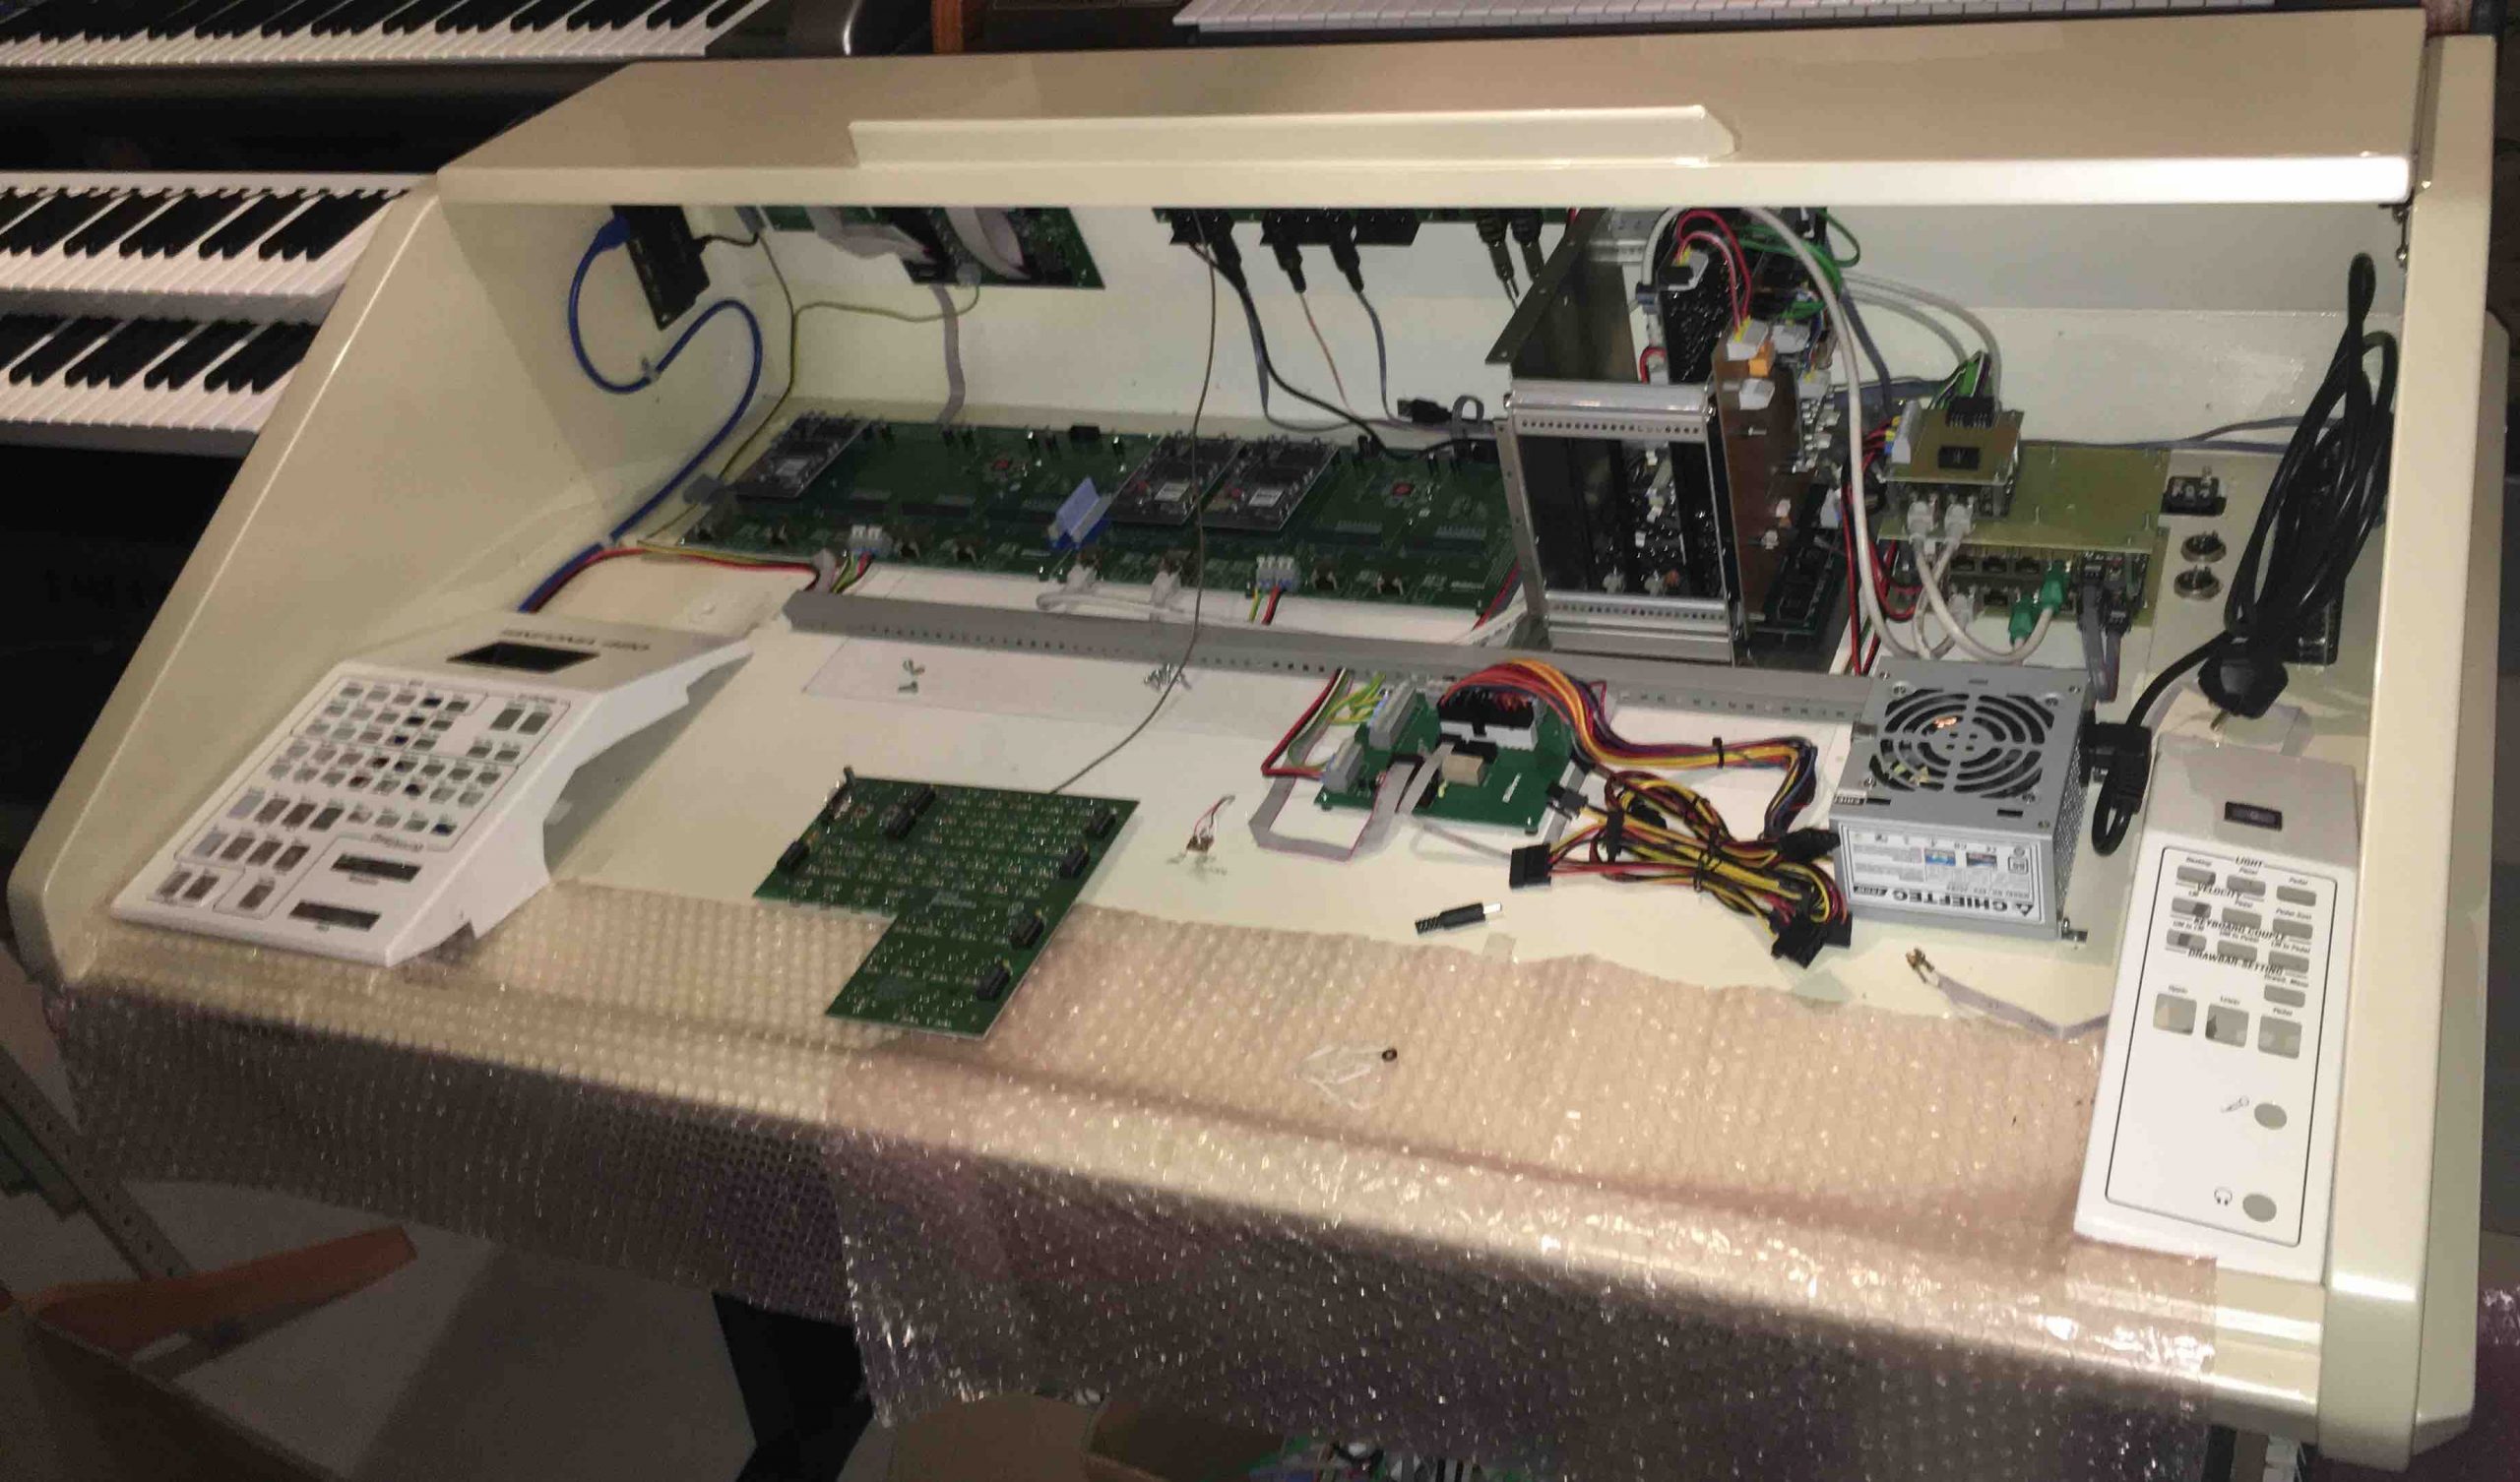
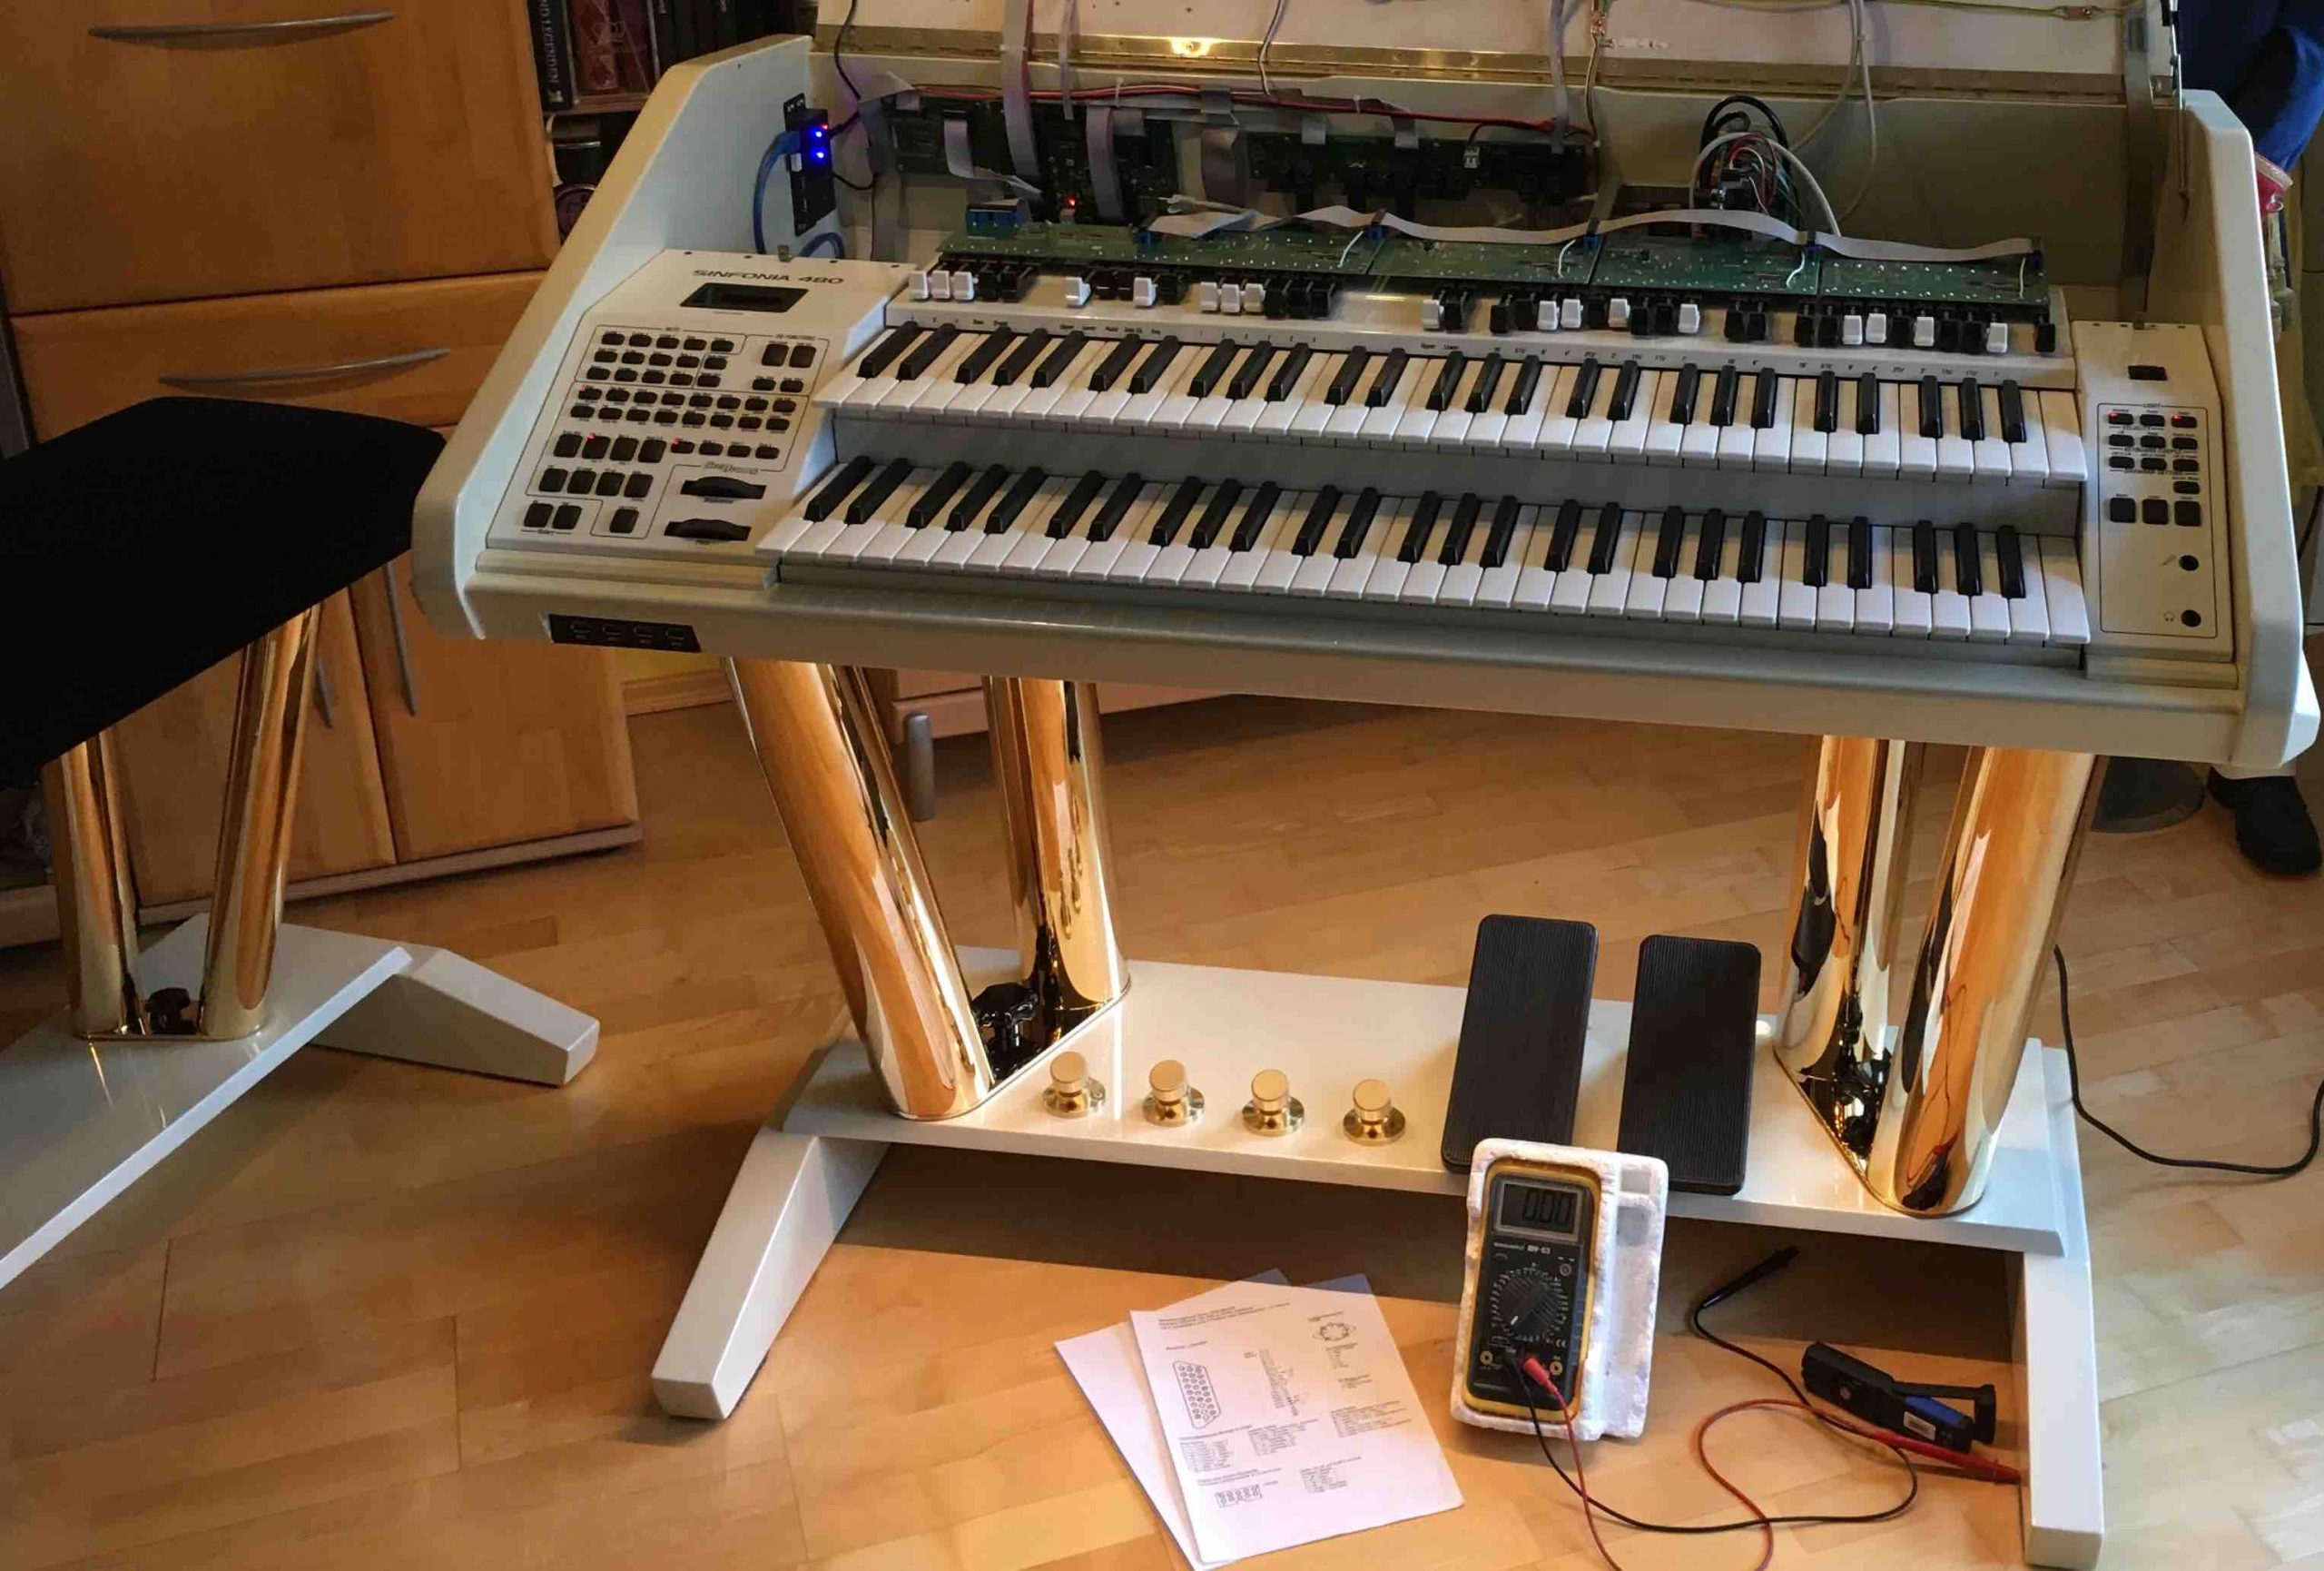
August 2018
The ready varnished cabinet is already equipped with the boards for the AMADEUS Sound Systems, the preamplifier (in the carrier system), the Crystal Mixer, as well as the power supply. All cables have been installed correctly by Martin Lutz, as it should be. The ZE board is mounted on the left side of the rear side. To the right you can
see the longish board with the audio ports. In the left corner of the case the USB hub is mounted. In the right rear corner XLR connectors for connecting two microphones are embedded in the bottom of the case (Photo 21).
Photo 21
Photo 22
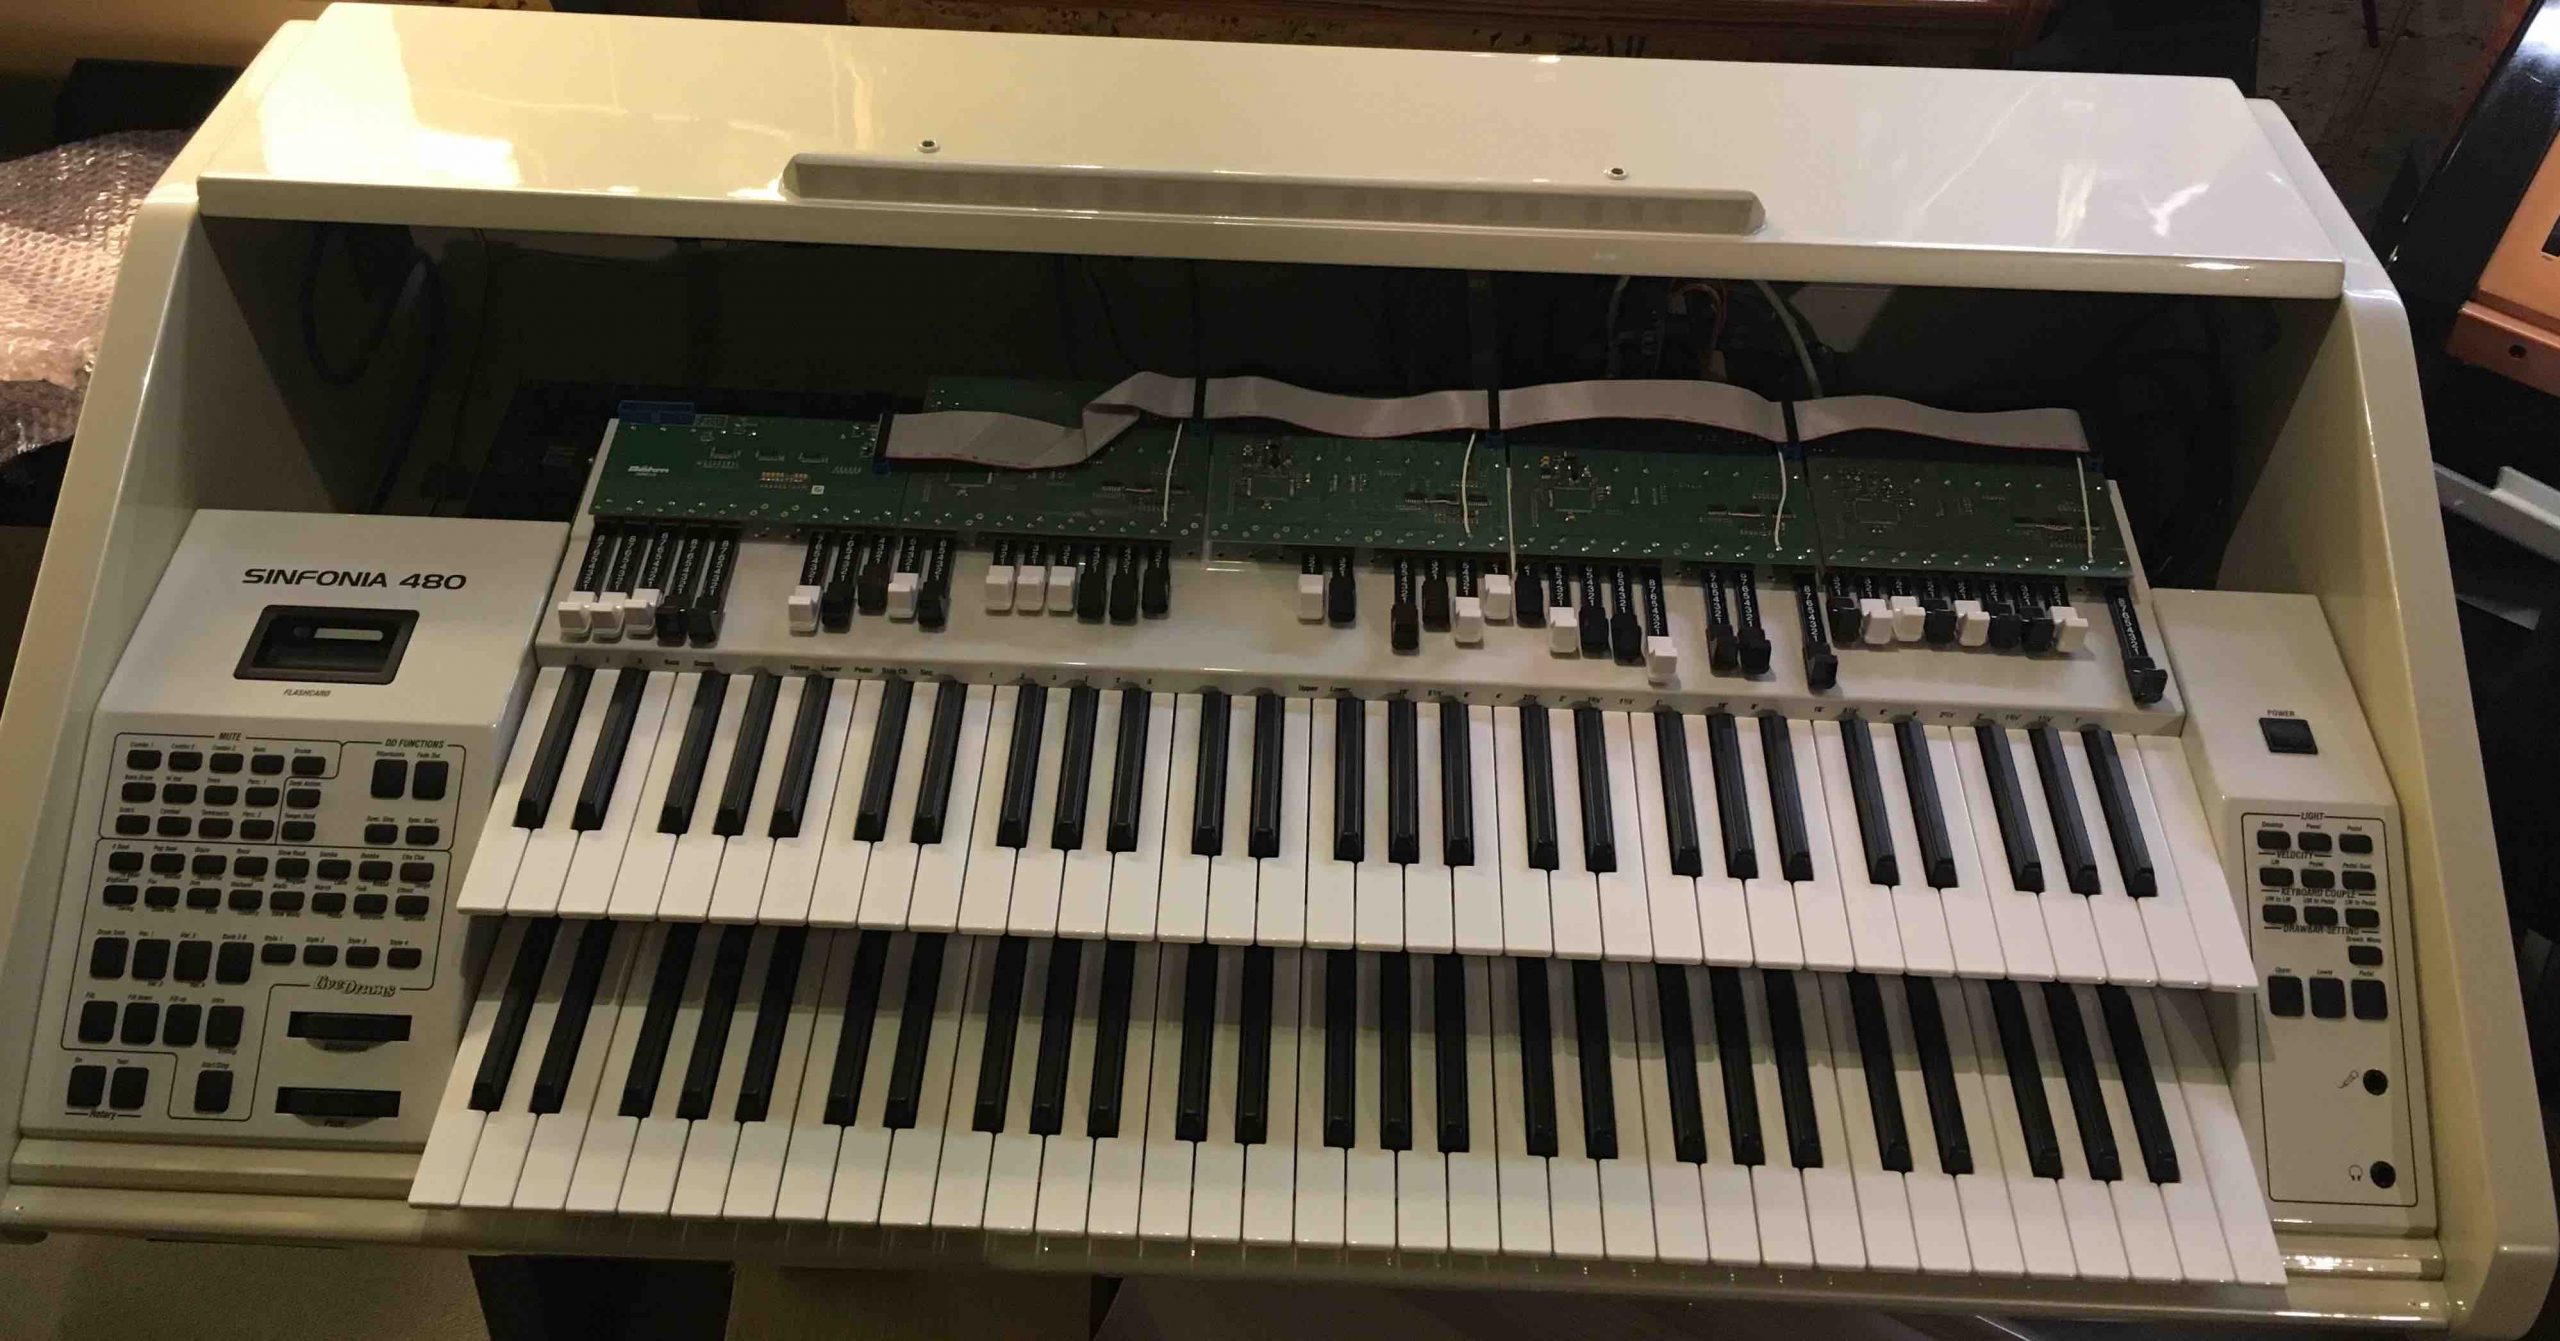
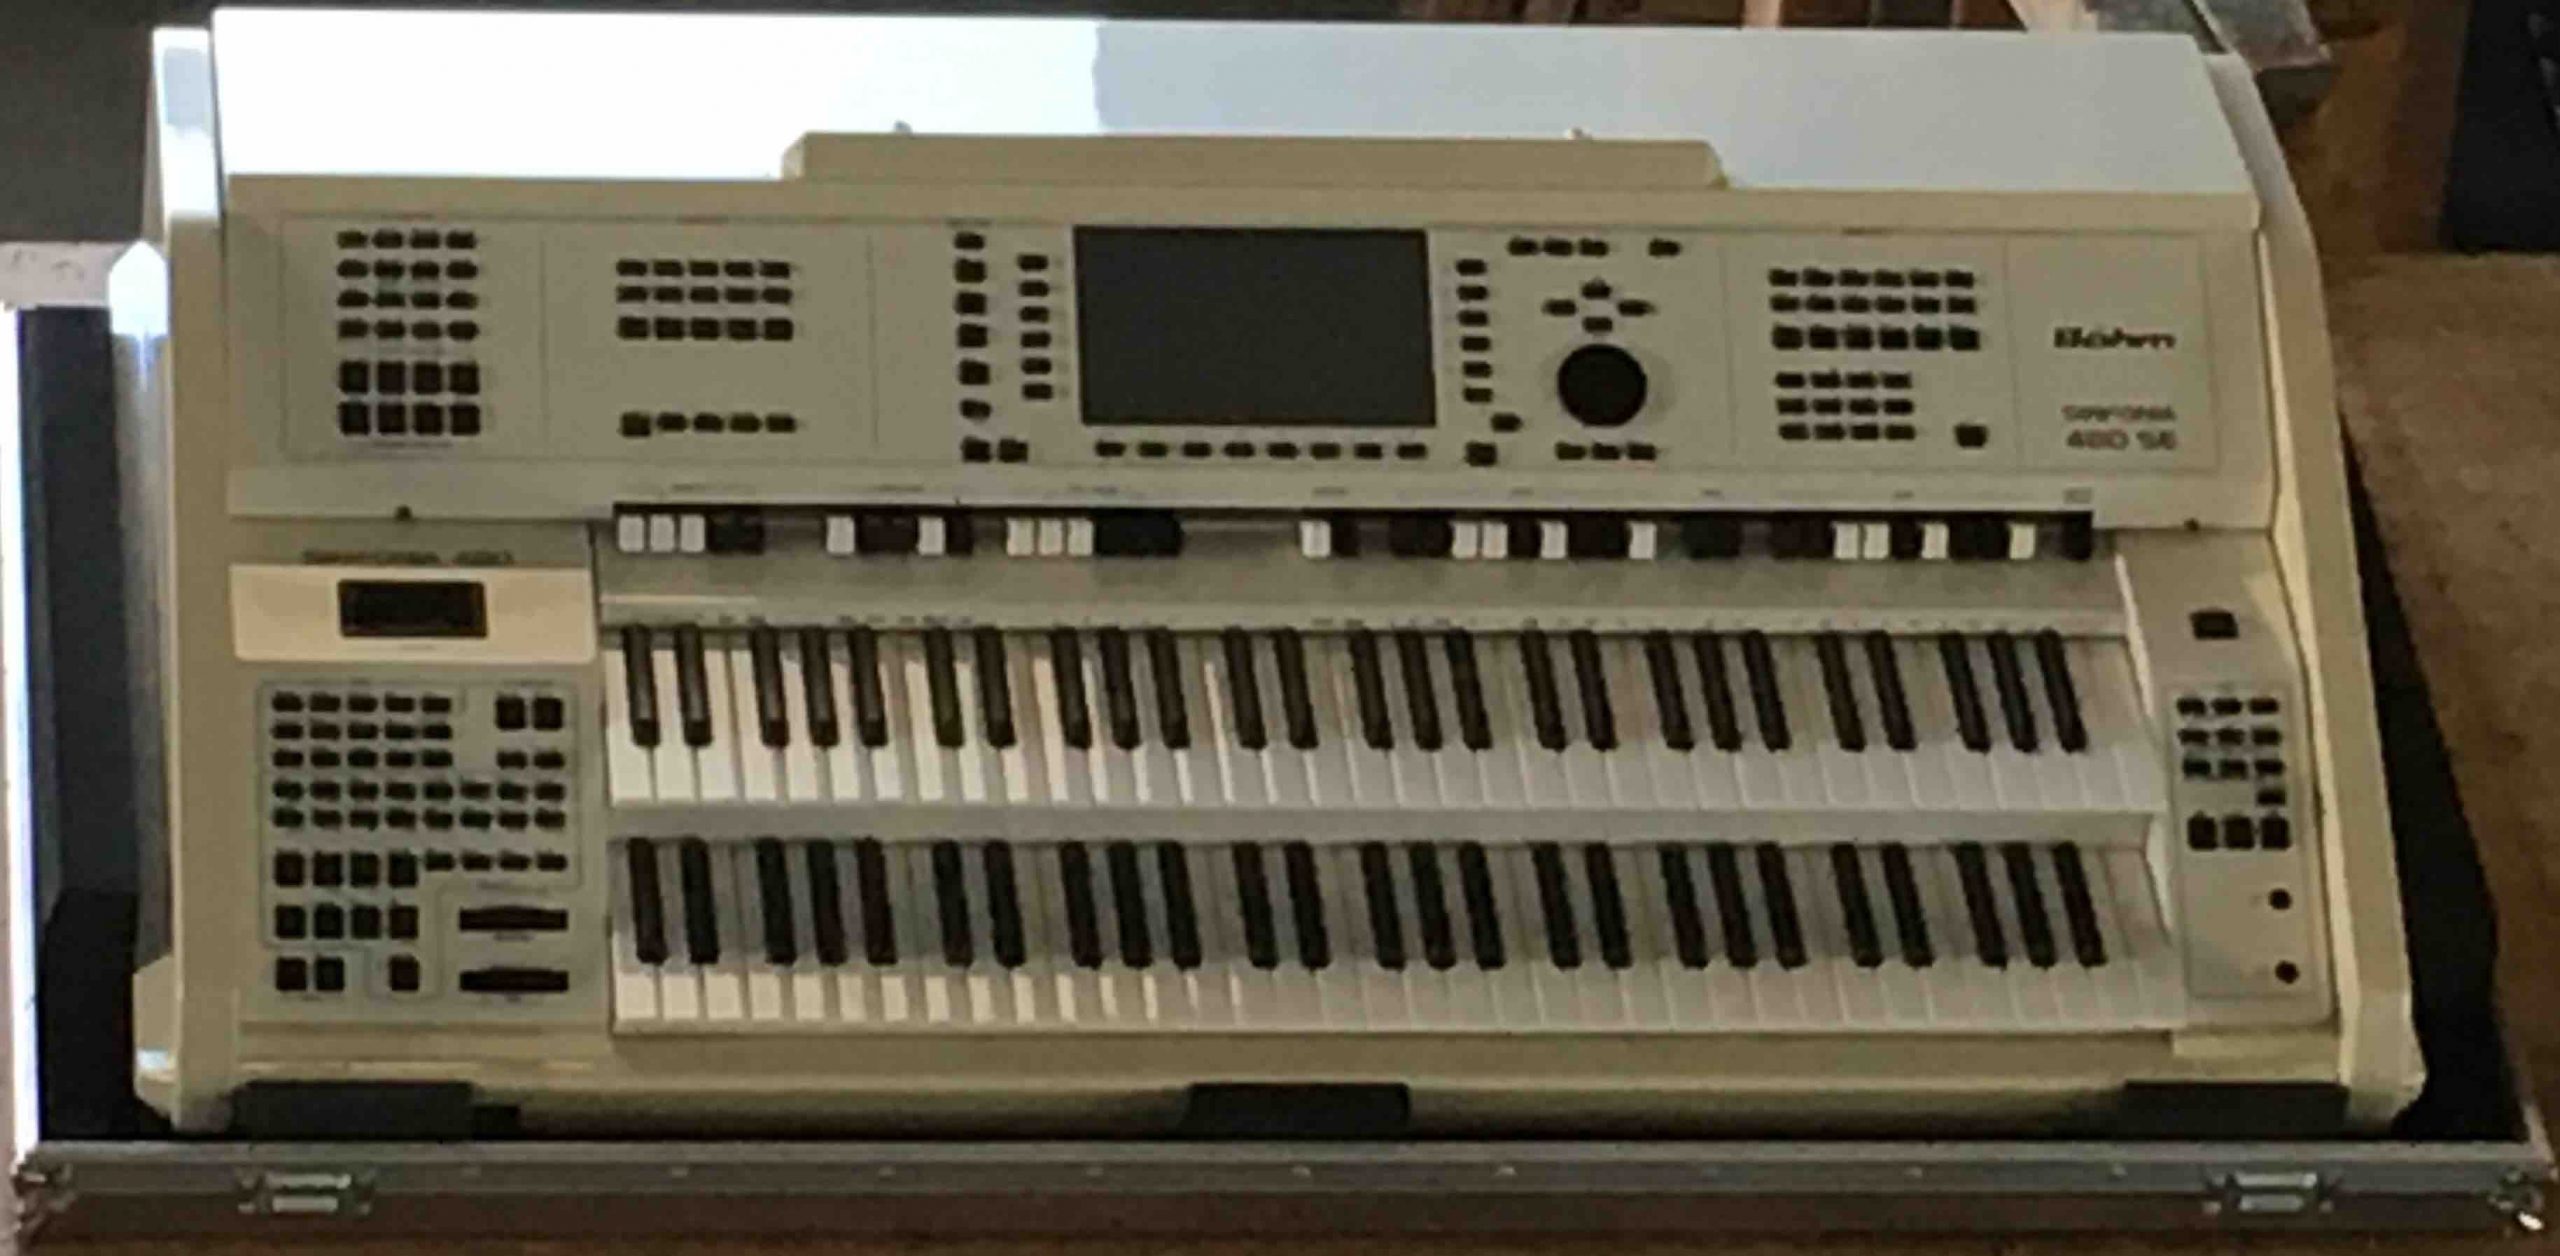
September 2018
Looks almost finished ... Photo 22 shows another stand with built-in keyboards and the Sinus drawbars including the boards. Also the two control panels (left and right) are already covered and fixed.
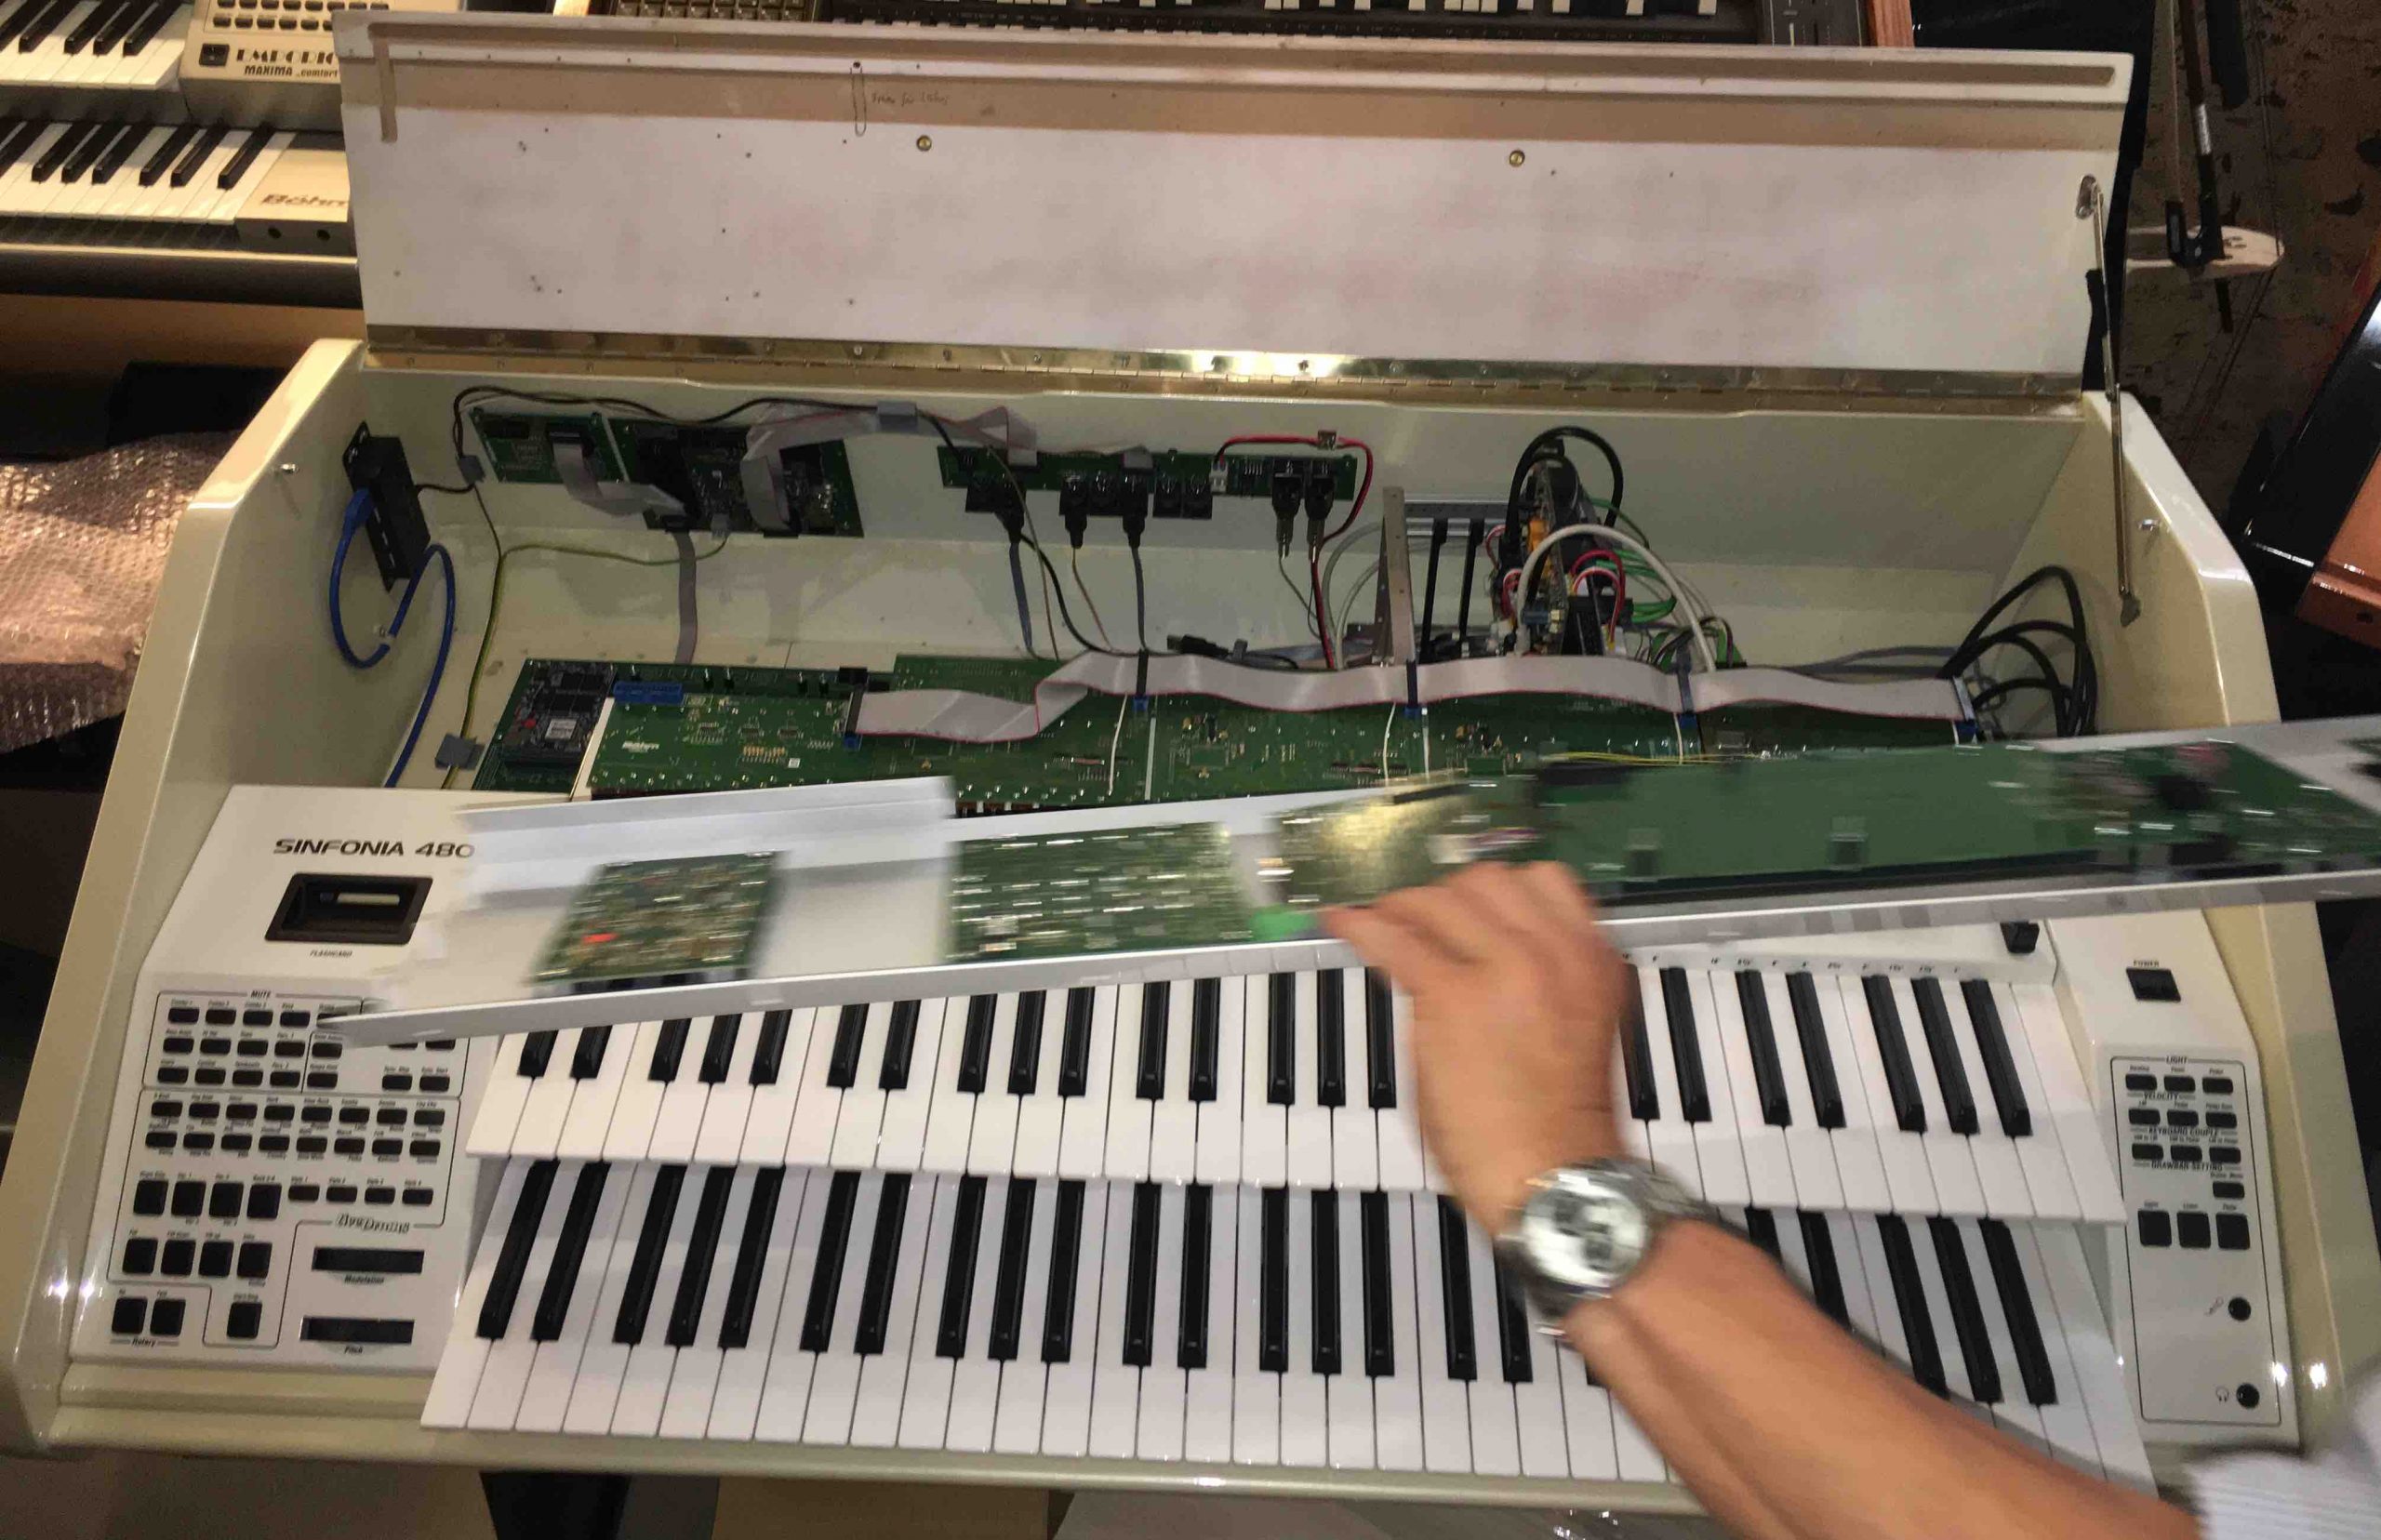
Photo 23a
Photo 23a: The completely assembled upper control panel is inserted.
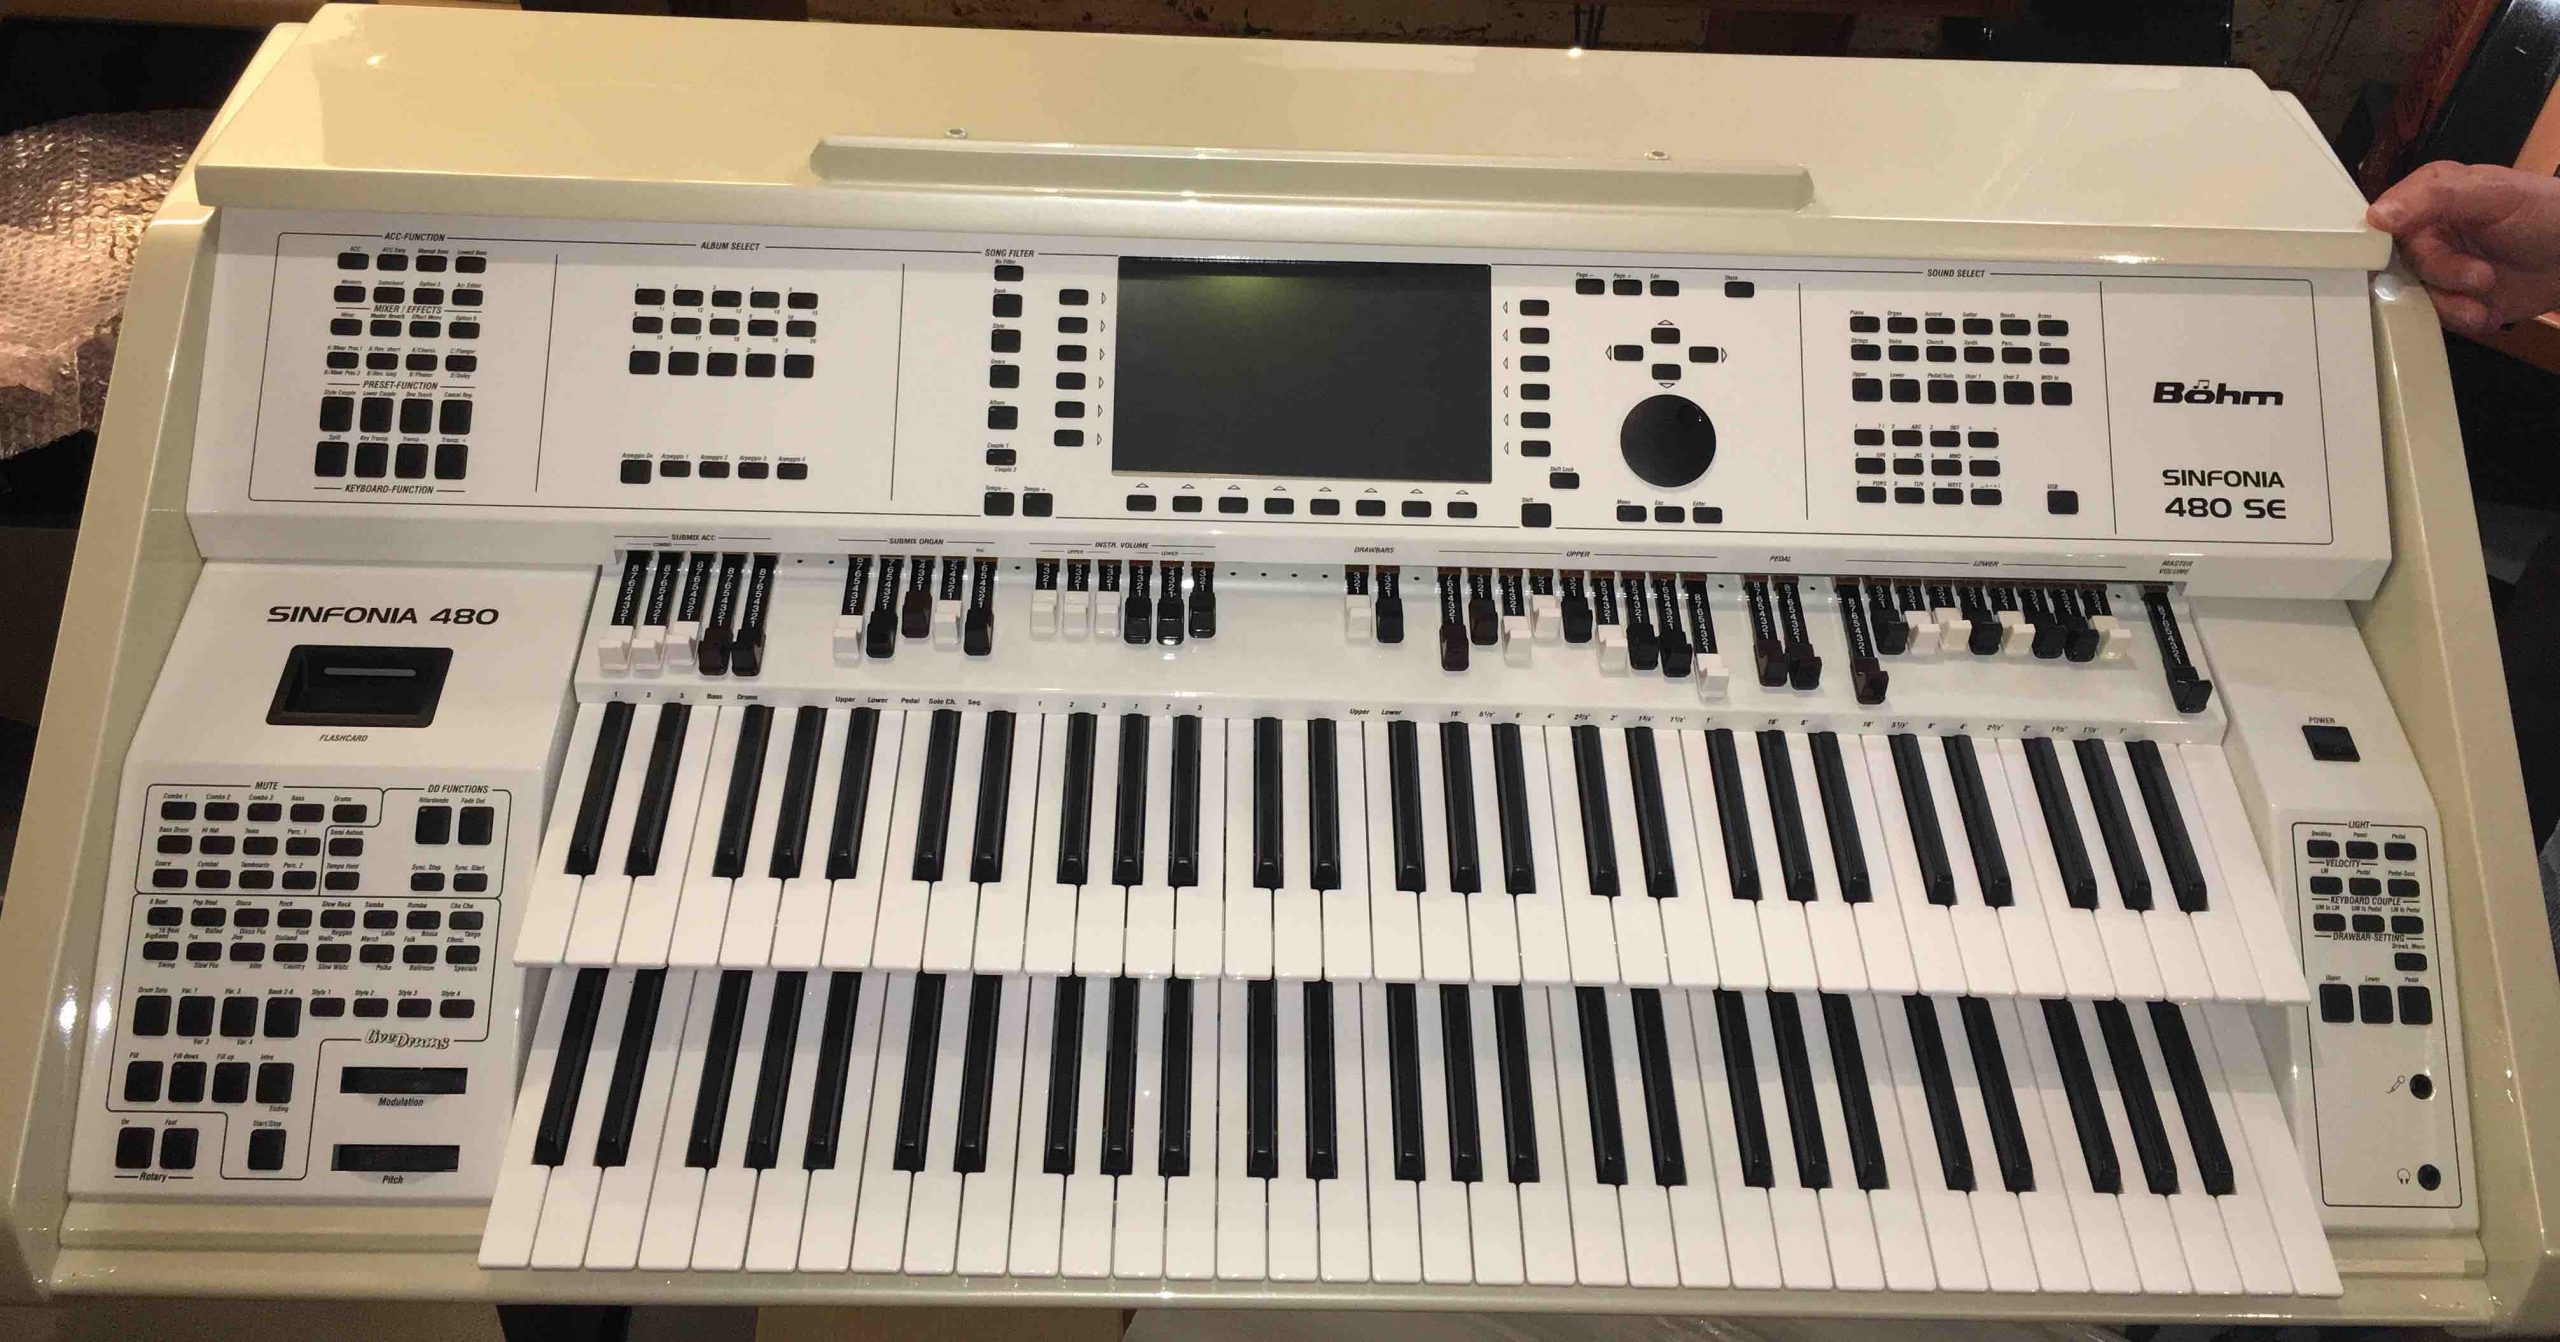
Photo 23b: „Boarding completed“ … alles sitzt, paßt, wackelt und hat Luft 🙂
Photo 23b
26th of September 2018
480 SE – Engine started What a sound for the first time power circulates through all systems
Photo 24
My SINFONIA 480 SE in the lower part of the aluminium transport box made for it
Photo 25
4th of October 2018
After we connected the 25-keys pedal for the first time, there was no sound from it. With a voltmeter the cause was quickly found. A contact problem on a board of the pedal electronics. (Photo 26).
Photo 26
Photo 27
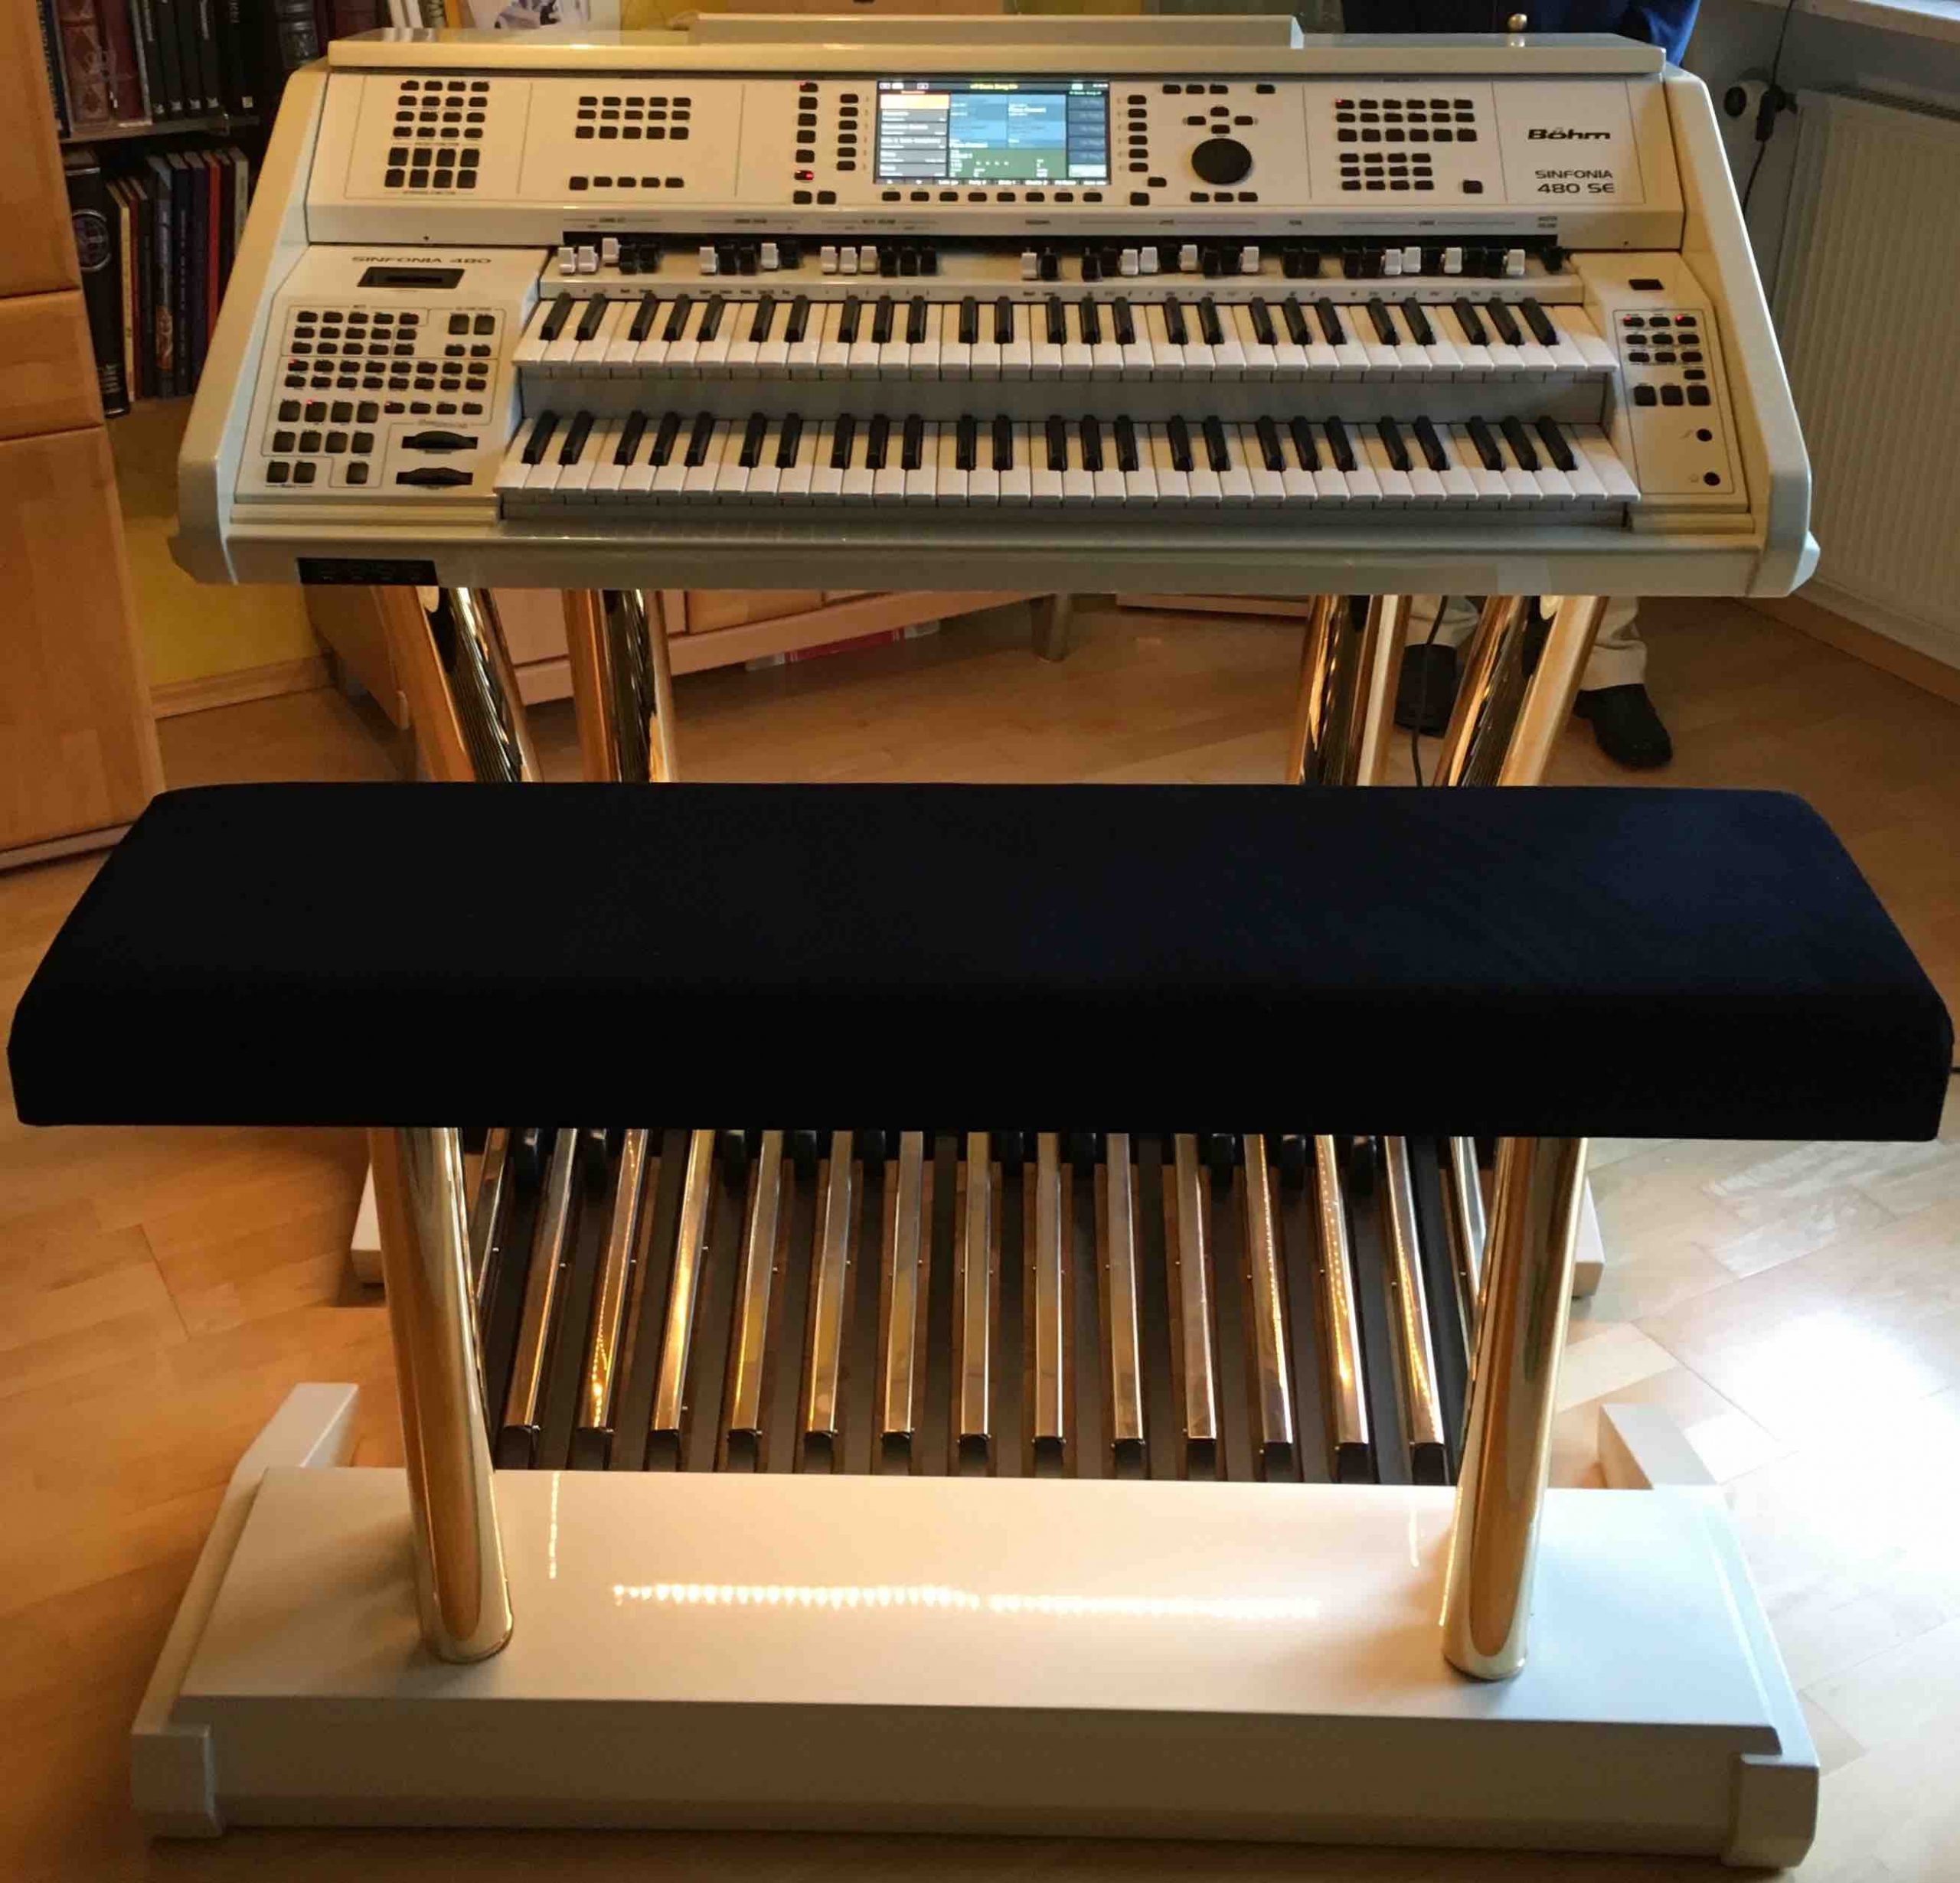
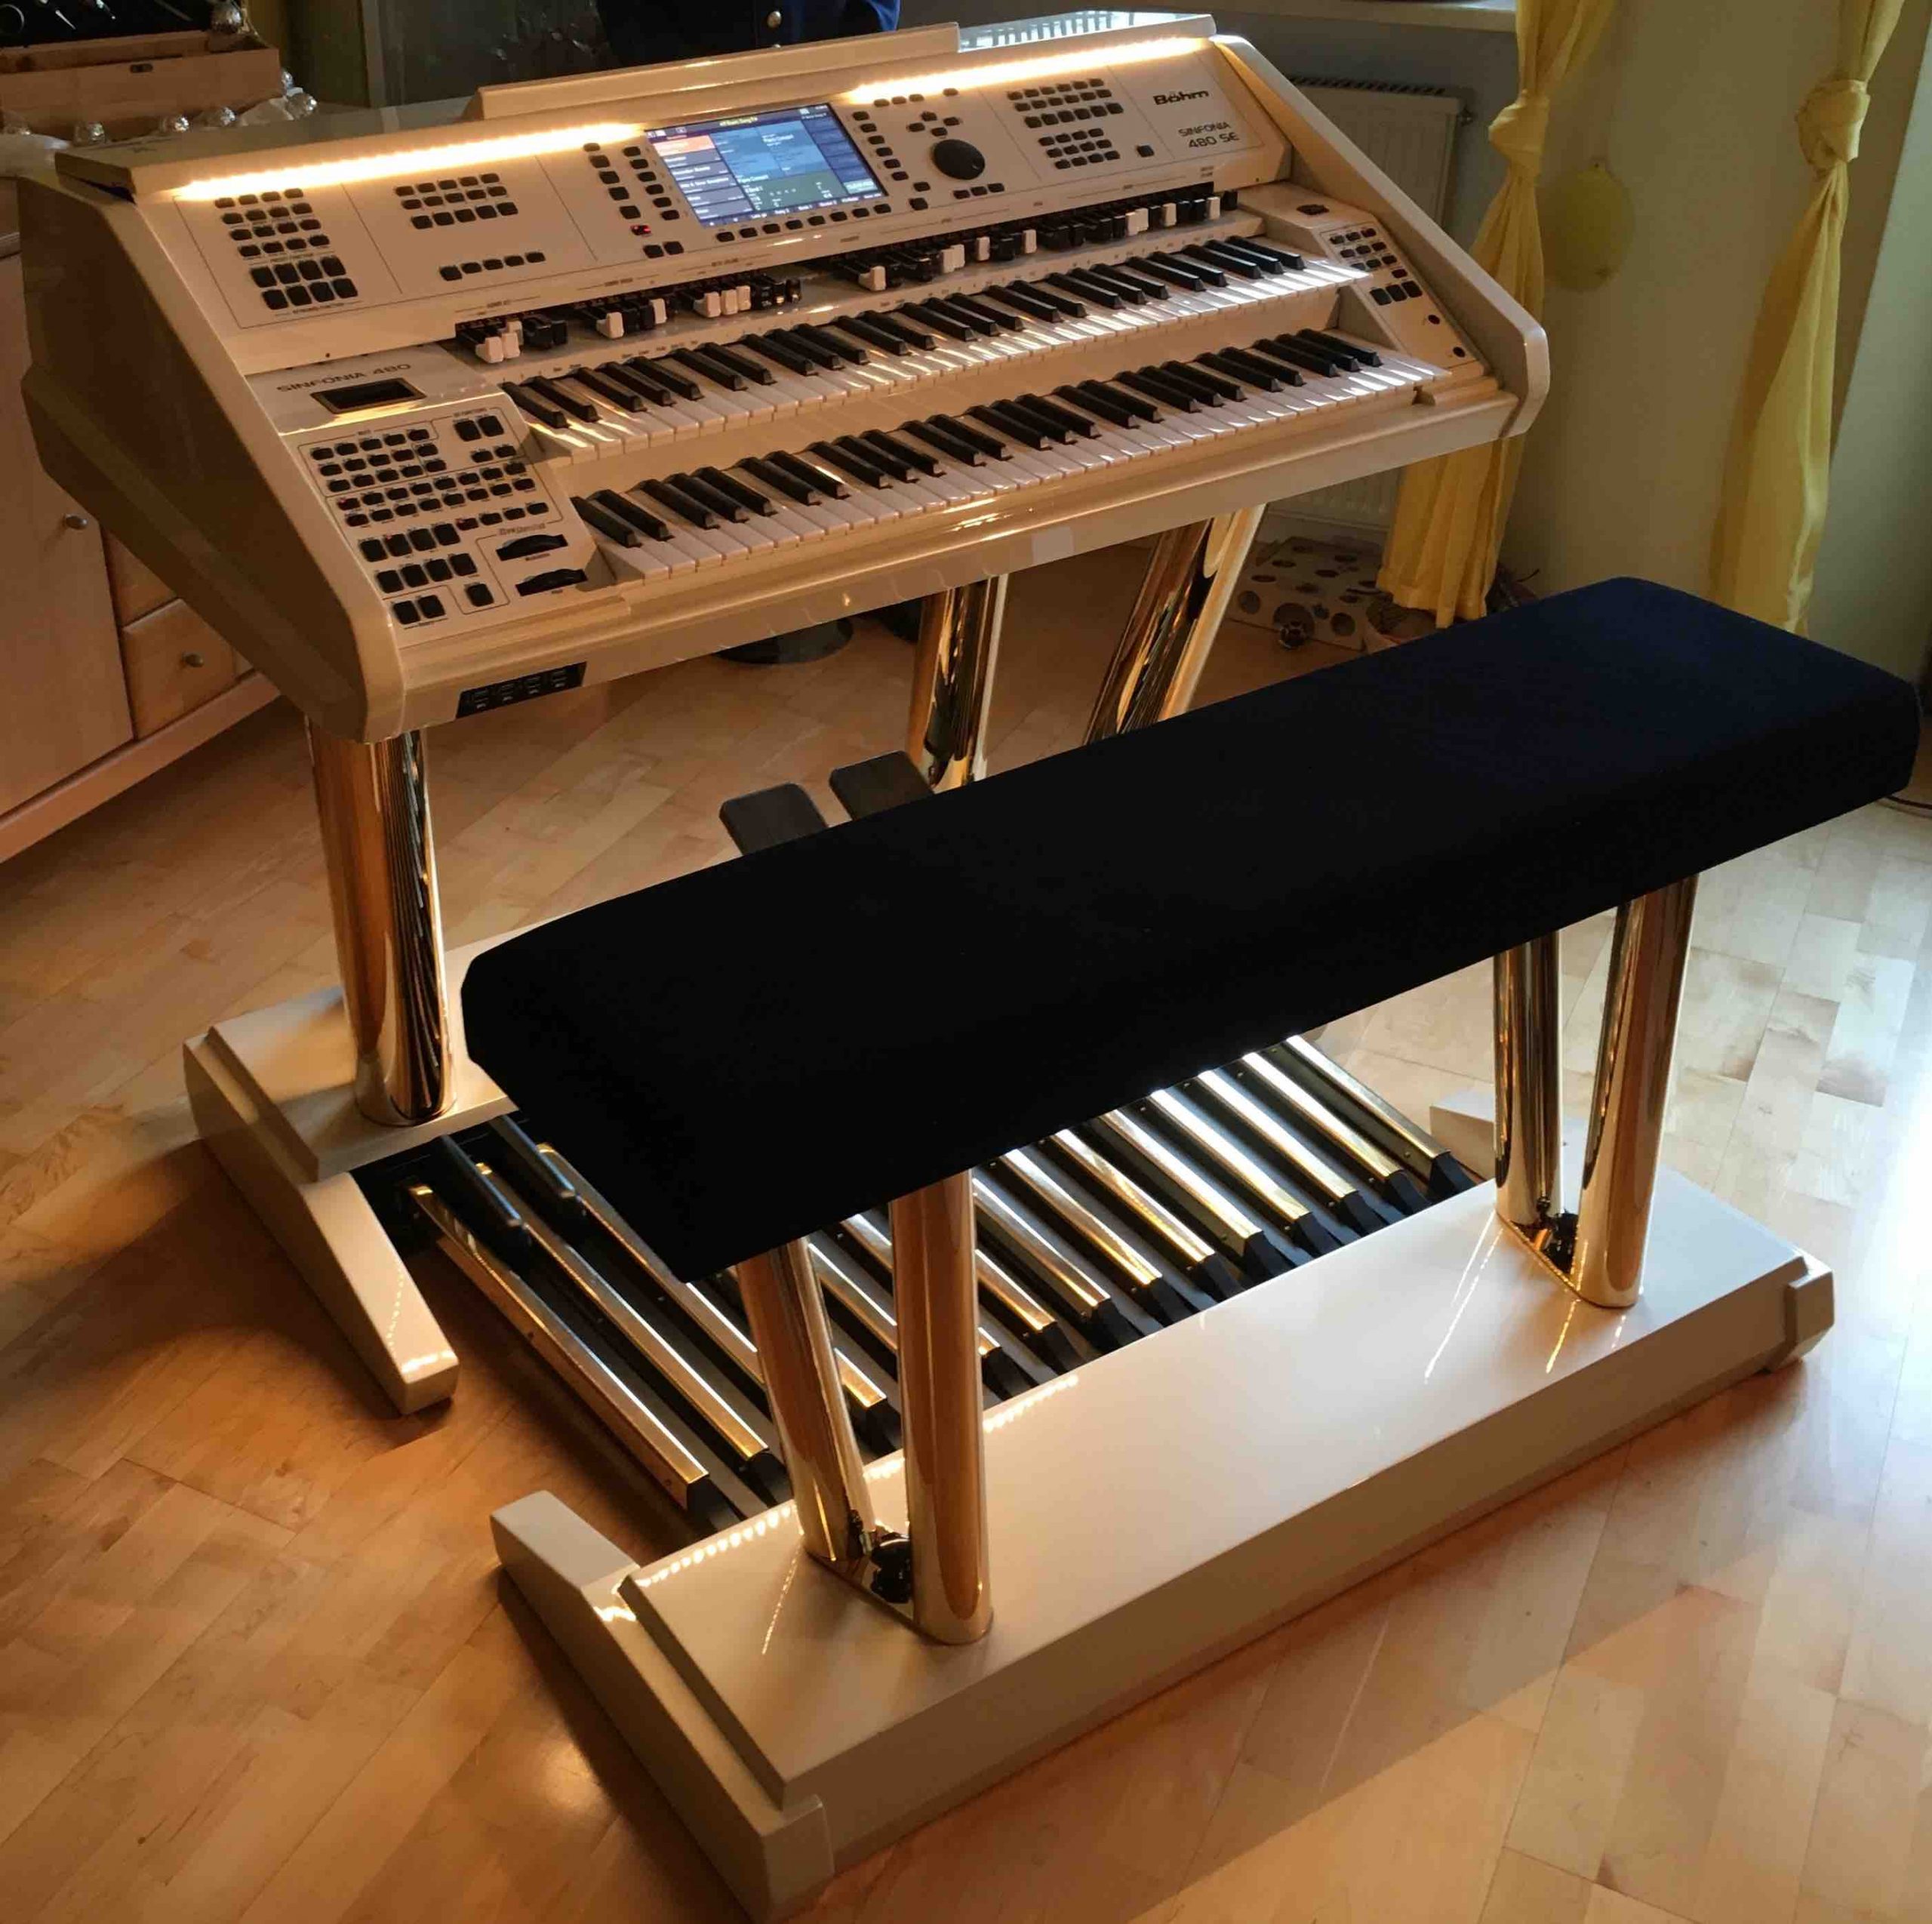
E v e r y t h i n g F I N I S H E D
Photo 28
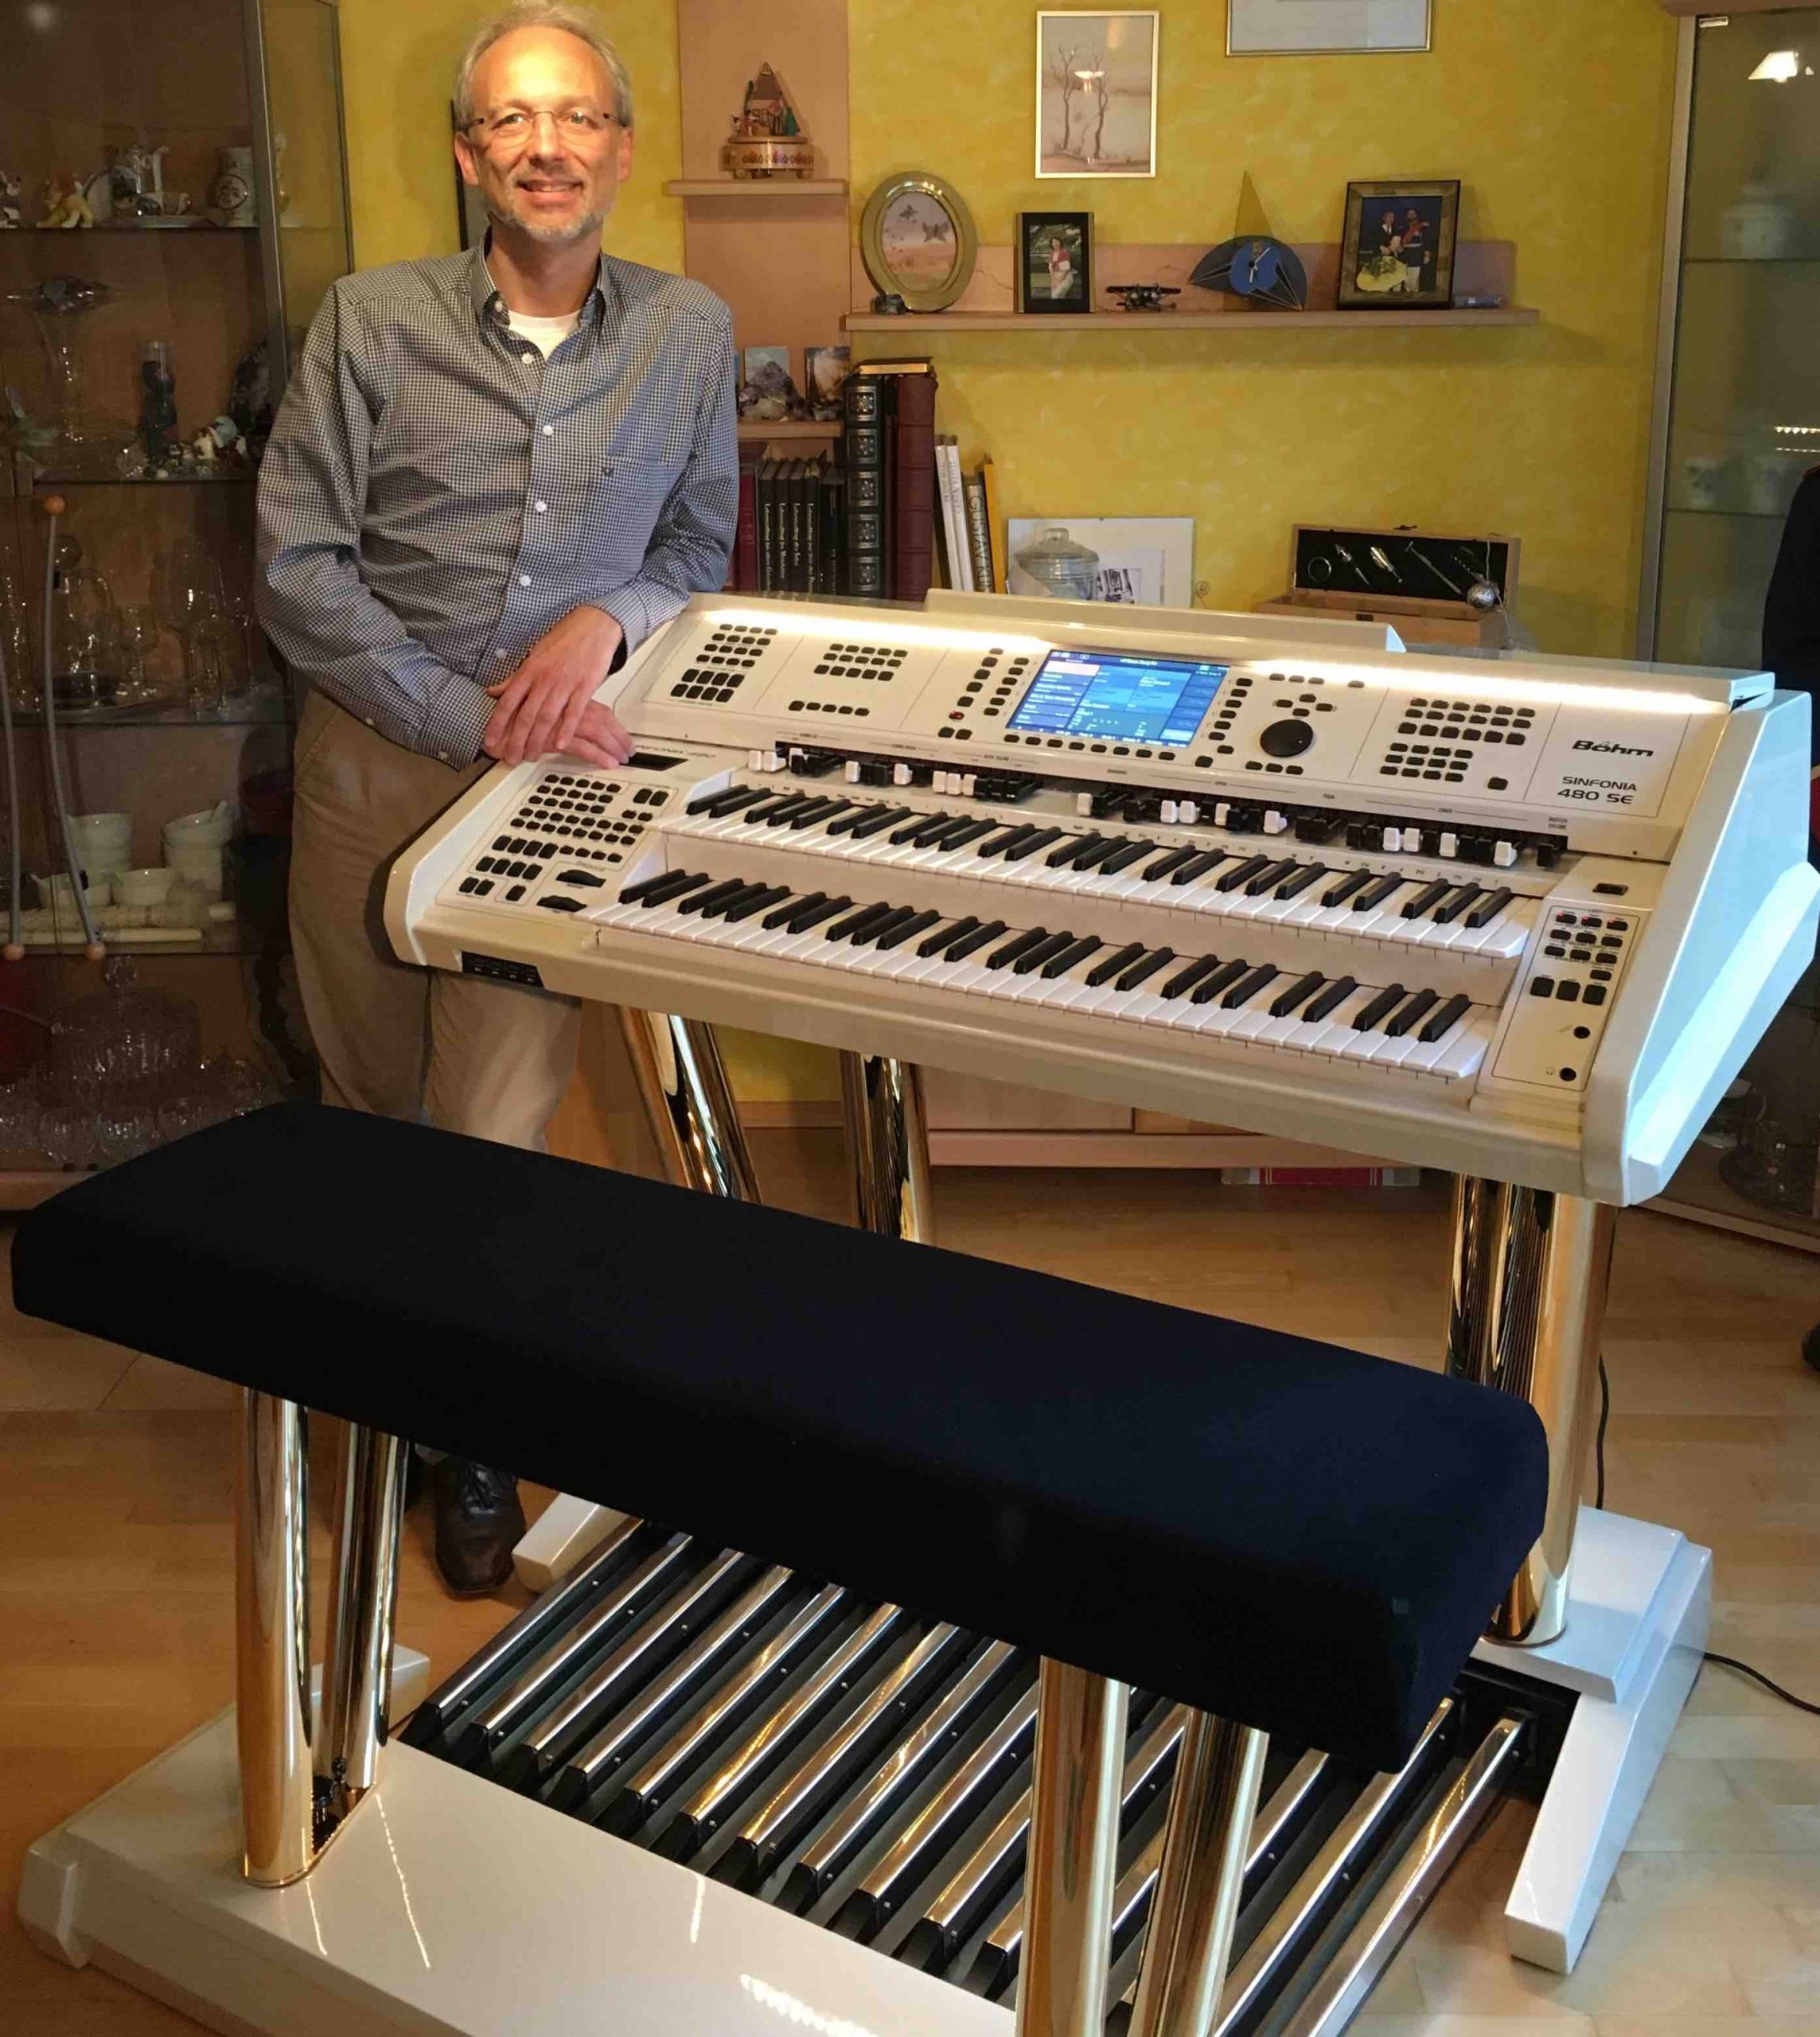
The h a p p y owner
Photo 29
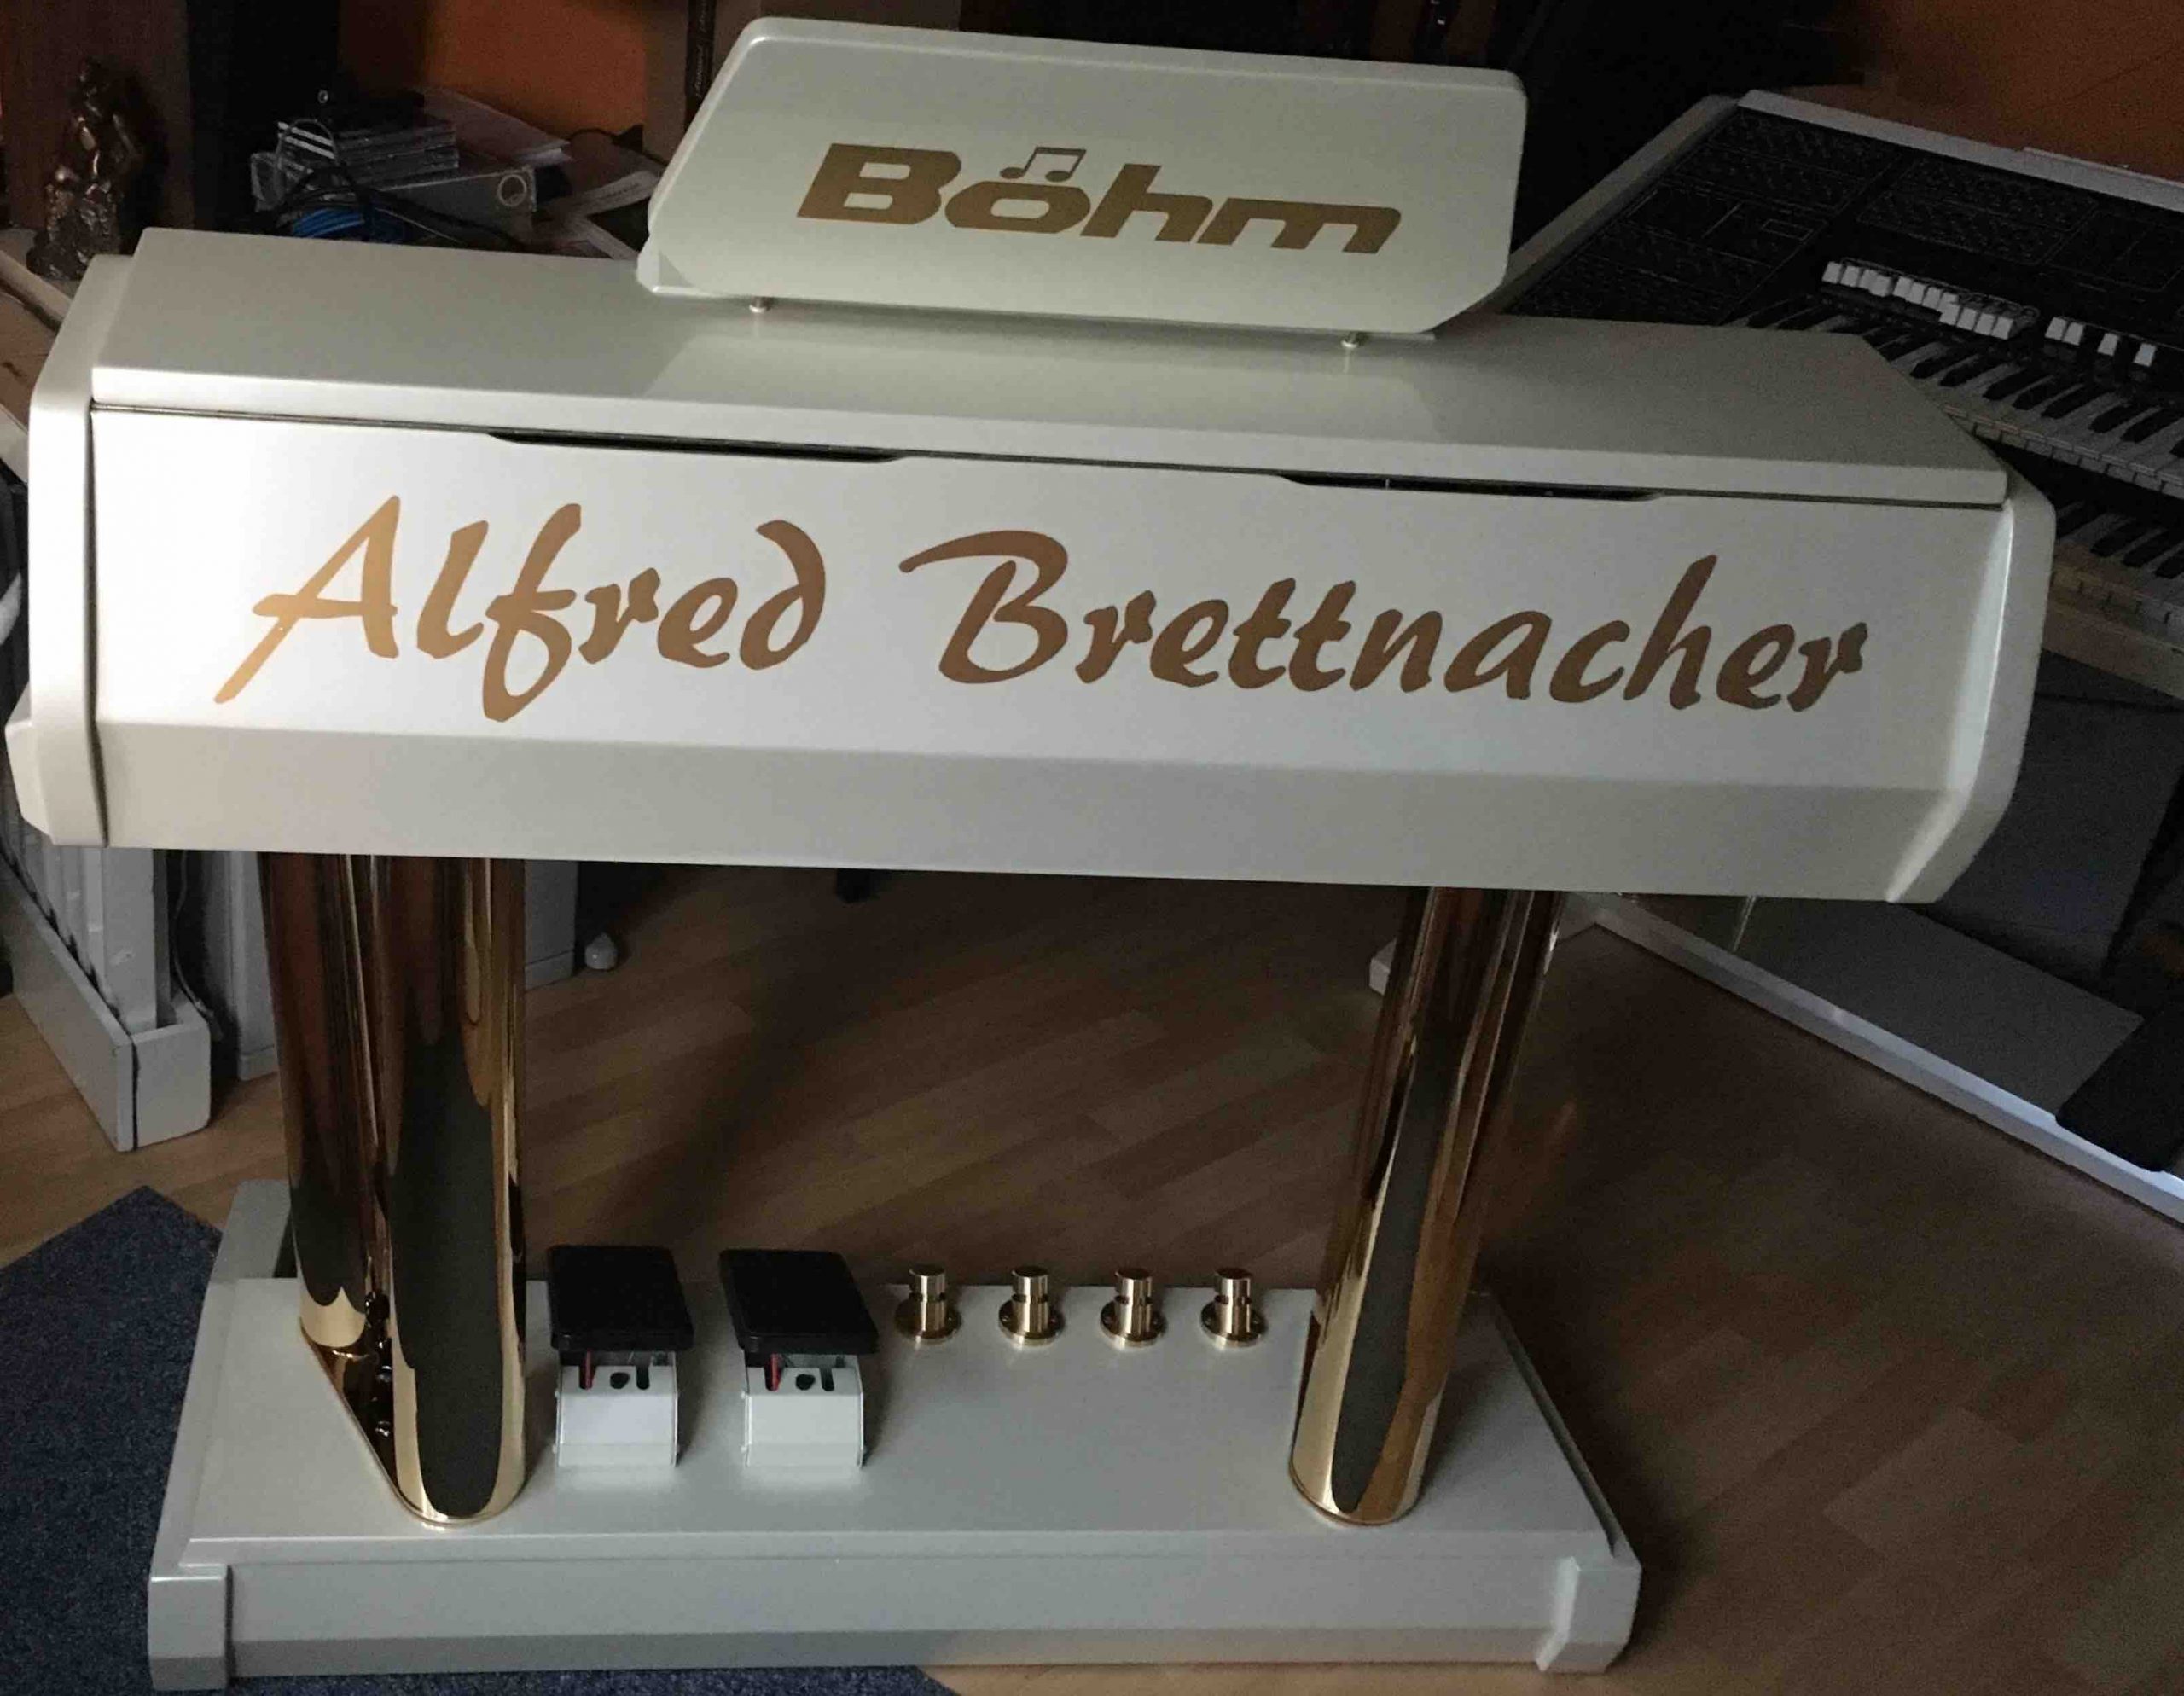
Photo 30a
Of course, they can't be missing. In the meantime, the logos to the designated places. What must be, must be.